13/41
Upgrading BIACOMP Schema
Follow these instructions to upgrade the BIACOMP schema.
To upgrade the BIACOMP schema:
- Go to
mw_home/BI_ORACLE_HOME/binand invoke the Patch Set Assistant (PSA). For example, for Linux,<BI_Oracle_Home>/bin/psaand for windows<BI_Oracle_Home>\bin\psa.sh. - Click Next in the Welcome dialog.
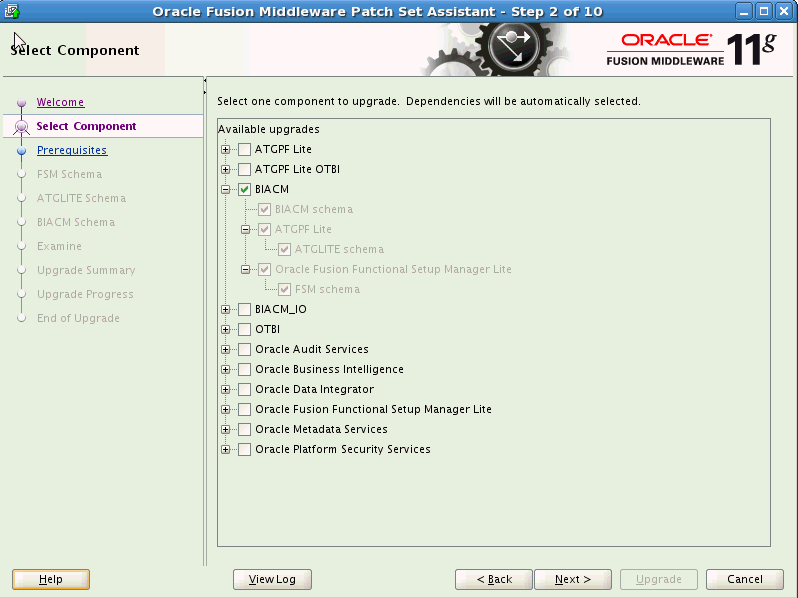
- In the Select Component dialog, select BIACM and click Next.
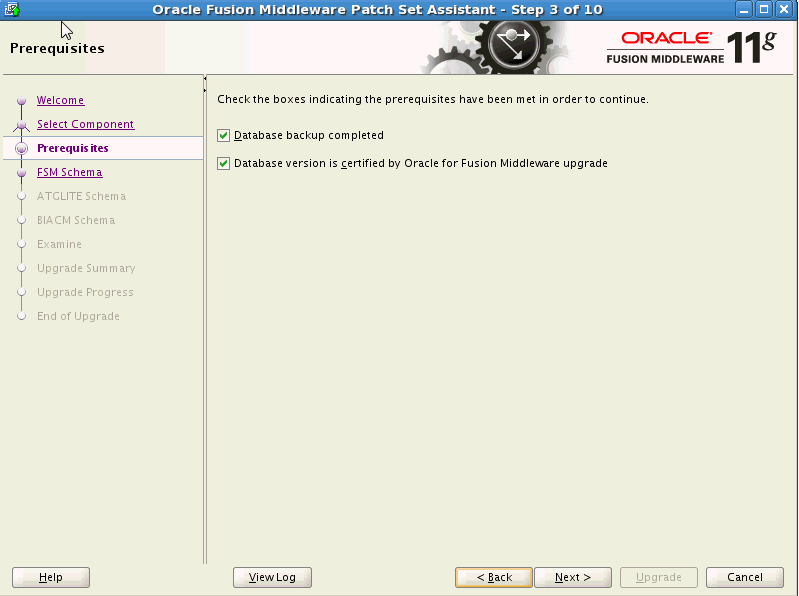
- In the Prerequisites dialog, select the check boxes to indicate that the prerequisites have been met and click Next.
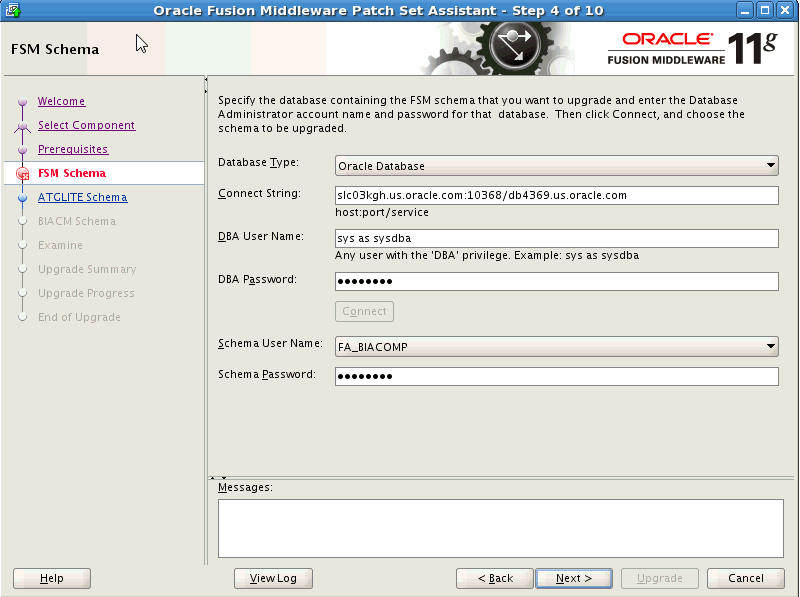
- In the FSM Schema dialog, specify information pertaining to the FSM schema. Click Connect and then click Next.
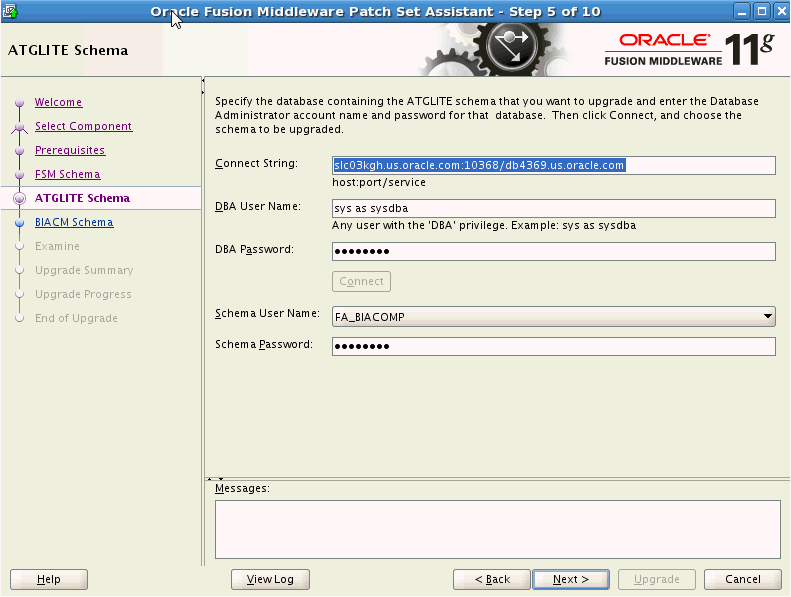
- In the ATGLITE Schema dialog, specify information pertaining to the ATGLITE schema. Enter details such as the connect string, the DBA user name and password. Enter sys as sysdba as user name and enter sys as password.
- Click Connect and then click Next.
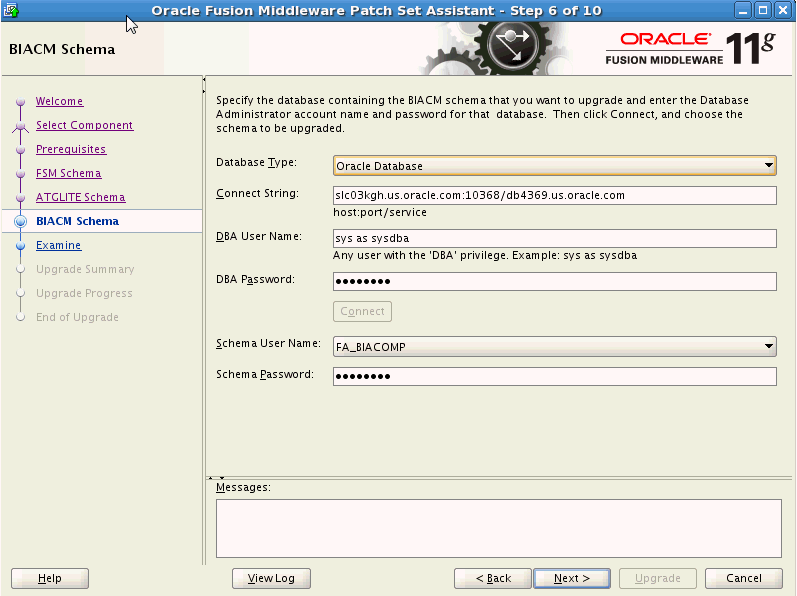
- In the BIACM Schema dialog, specify information pertaining to the BIACM schema. Click Connect and then click Next.
- Click Upgrade in the next dialog to complete the upgrade.
- Repeat all the above steps by selecting BIACM_IO in the Select Components dialog.
The Patch Set Assistant upgrades these components in the BIACOMP schema and displays the success message.
- Log in into Middleware host where BI ORACLE HOME is present.
- Use SQLPlus or any SQL tool, log into BIACOMP schema, and run the following command:
<ORACLE HOME>/biapps/admin/provisioning/update/11.1.1.10.2/from11.1.1.10.1/schema/oracle/obiacm/upgrade_grant_sysnonym_io.sql <BIACM_IO schema name>
- Ensure that there is no error message and exit from the BIACOMP schema.
- Log into BIACM_IO schema using SQLPlus and run the following command:
<ORACLE HOME>/biapps/admin/provisioning/update/11.1.1.10.2/from11.1.1.10.1/schema/oracle/biacm_io/upgrade_synonym_io.sql <BIACOMP schema name>
- Ensure that there is no error message and exit from the BIACM_IO schema.
- Use SQLPlus or any SQL tool, log into BIACOMP schema, and run the following command:
