Importing Content into the 11.1.1.10.2 ODI Repository
Use these instructions to import content into the 11.1.1.10.2 ODI repository.
- Import connection details as follows:
- Launch the ODI Studio client and connect to the ODI repository for Oracle BI Applications 11.1.1.10.2.
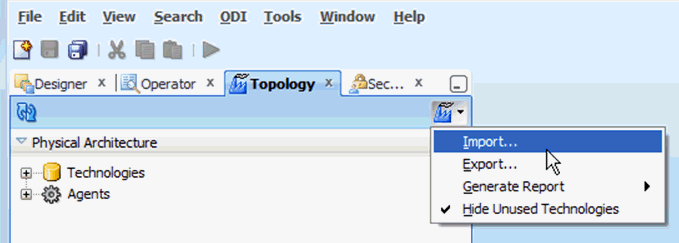
- Navigate to the Topology tab. In the Topology tab, from the Connect Navigator (Topology icon drop-down on the top right side of the navigator pane), select Import. As part of the procedures described below, import the file created by exporting the Global context while exporting connections.
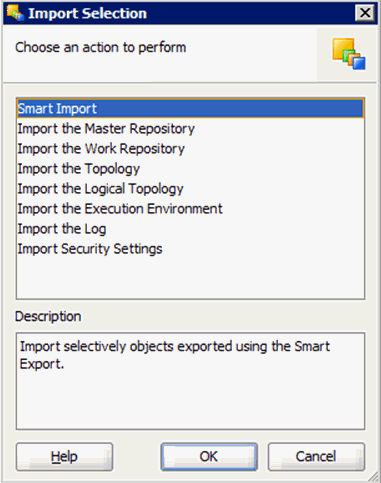
- In the Import Selection dialog, select Smart Import.
- In the File Selection dialog, specify the export file created while exporting connections.
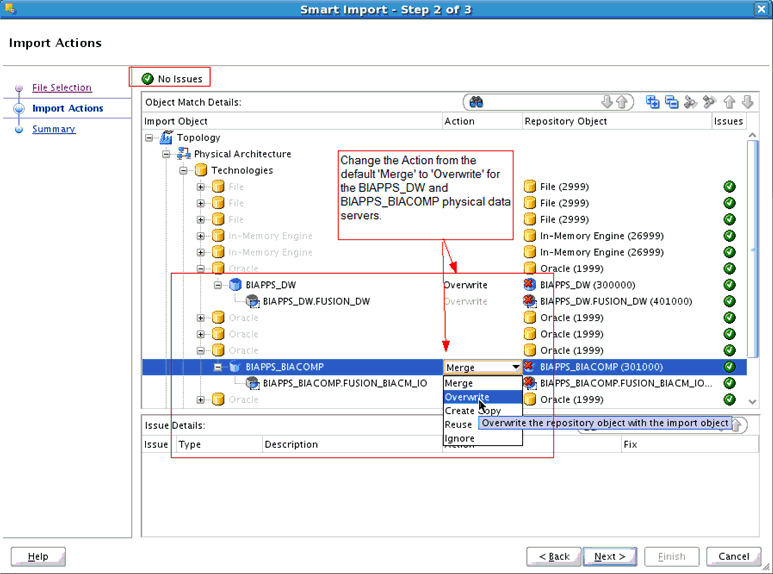
- The default behavior of Smart Import is to merge details in the target repository. Ensure that no issues are reported – if issues are reported, then resolve them to ensure that the existing details are replaced by the details being imported. Select the
BIAPPS_DWandBIAPPS_BIACOMPData Servers, select the Overwrite option and continue.
- Verify that the physical servers have the correct details and the physical schemas have the correct
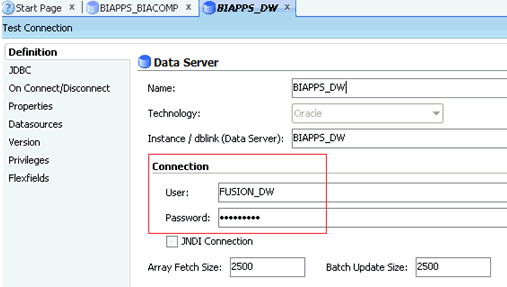
Datasource Num IDvalue set in theDATASOURCE_NUM_IDflexfield as follows:- In ODI Studio, click Topology and select Physical Architecture. Open the
BIAPPS_DWphysical server. - Verify that the user and password are correctly populated under the Definition tab.
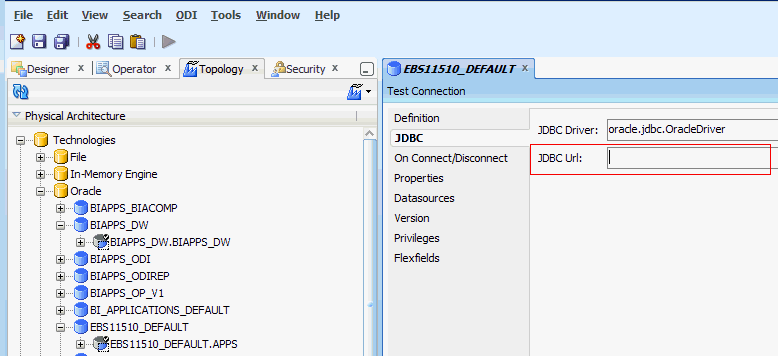
- On the JDBC tab, verify that the JDBC URL is correctly set. If you used the default Merge action during the Smart Import, then the user and password will be updated but the JDBC URL will remain unchanged.
- Repeat step 2 and its substeps for the
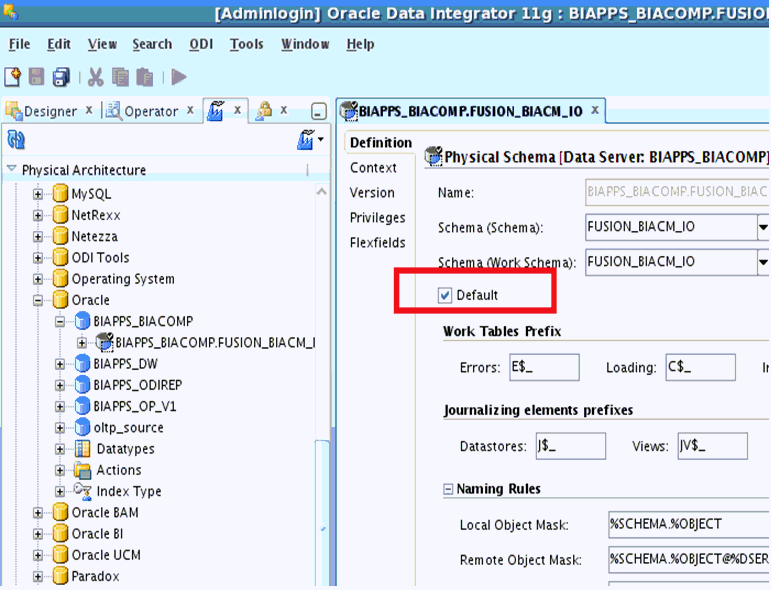
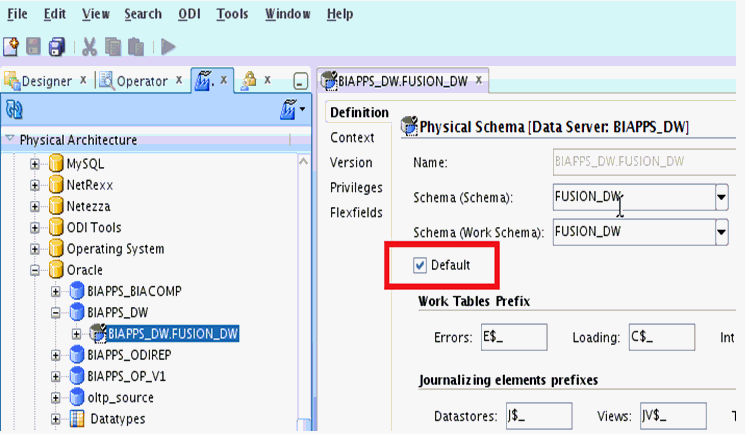
BIAPPS_BIACOMPphysical server. - Verify that the physical schema for BIACOMP and DW are set as defaults using these instructions. If they are not set as defaults, then the Load Plans will fail.
-
In the ODI Studio, click Topology and select Physical Architecture.
-
Open the physical schema under the
BIAPPS_BIACOMPphysical server. -
Verify that the Default check box is selected on the Definition tab and save the changes.
-
Repeat steps ii and iii for the physical schema under the
BIAPPS_DWphysical server.
-
- Verify the source connection details.
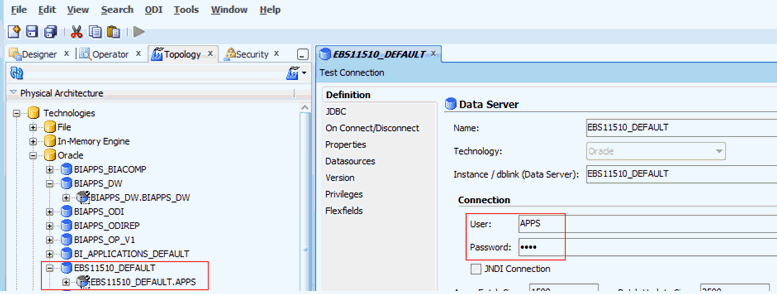
For example, if you need to extract from an instance of eBusiness Suite 11.5.10, then open the corresponding physical server (here named
EBS11510_DEFAULT) and verify the User/Password and the JDBC.Note:
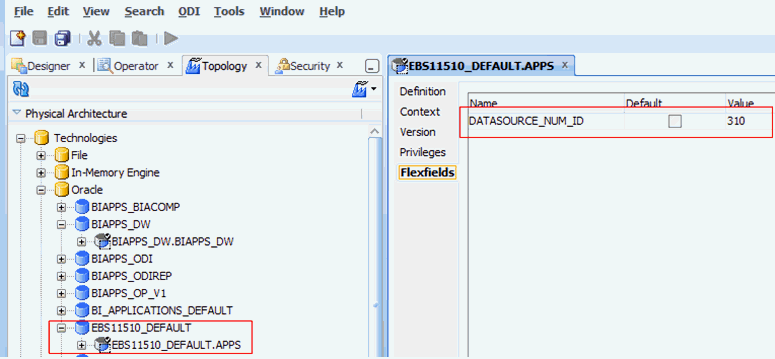
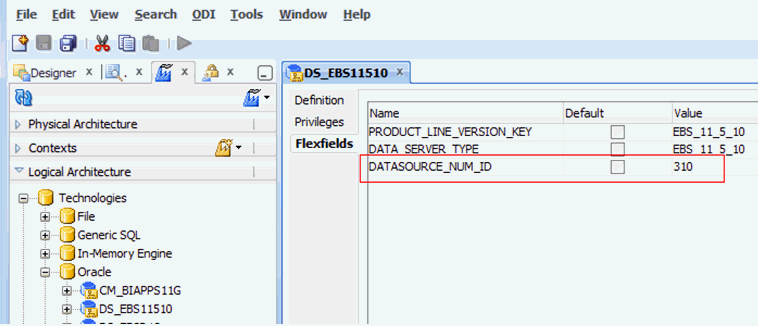
The physical server name is the one that you specified in the Configuration Manager user interface when you registered the source. - Verify the associated physical schema. Navigate to the Flexfields tab and verify that the DATASOURCE_NUM_ID flexfield is set to the value you originally assigned. This value of the
DATASOURCE_NUM_IDmust match the value in Configuration Manager for this source connection. - Open the corresponding logical schema and verify that the DATASOURCE_NUM_ID flexfield is also set with the same value.
- Verify that the following logical schemas have the correct Data Source Num ID value set in the DATASOURCE_NUM_ID flexfield:
If you do not see 999 values for all these logical schemas, then set it with 999 values.
-
DW_BIAPPS11G_LOG_FILES -
DW_BIAPPS11G_SHARED_FILES -
DW_BIAPPS11G_SRCFILES
- Ensure that all the registered file technology data servers have the following property in their JDBC url:
NO_RTRIM_DEL_STRING=trueIf not , then add this property to the end of the JDBC url as shown below:jdbc:snps:dbfile?ENCODING=UTF-8&NO_RTRIM_DEL_STRING=true
- In ODI Studio, click Topology and select Physical Architecture. Open the
- Import the Security settings that you exported while exporting security settings. Import the Security settings using the Insert and Update options as follows:
- Import new security objects as follows:
-
In the Topology tab, from the Connect Navigator (Topology icon drop-down on the top right side of the navigator pane), select Import.
-
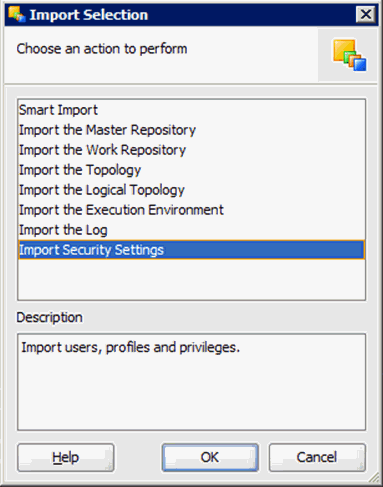
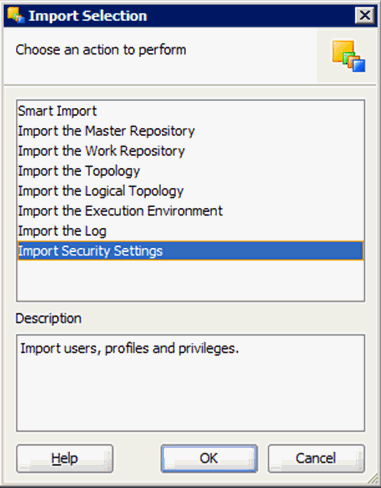
In the Import Selection dialog, select Import Security Settings.
-
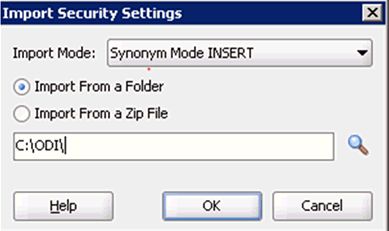
In the Import Security Settings dialog, select Synonym Mode INSERT for the Import Mode. Select the Import from a Folder radio button. Enter the directory location to which you had exported the Security settings while exporting security and click OK.
-
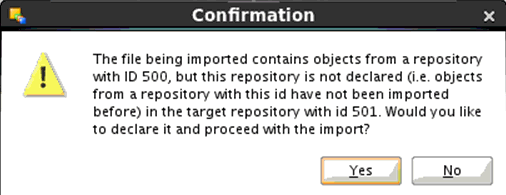
Click Yes in the Confirmation dialog.
-
- Update the existing security objects as follows:
-
In the Topology tab, from the Connect Navigator (Topology icon drop-down on the top right side of the navigator pane), select Import.
-
In the Import Selection dialog, select Import Security Settings.
-
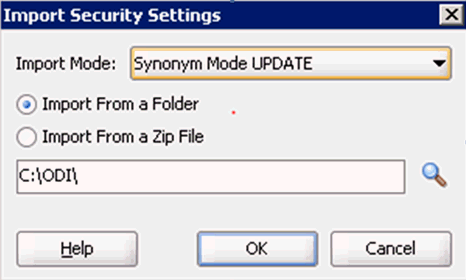
In the Import Security Settings dialog, select Synonym Mode UPDATE for the update Mode. Select the Import from a Folder radio button. Enter the directory location to which you had exported the Security settings while exporting security settings and click OK.
-
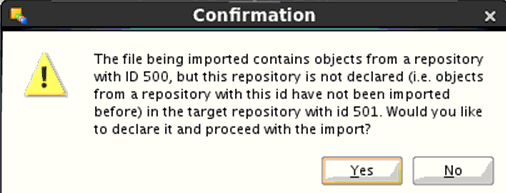
Click Yes in the Confirmation dialog.
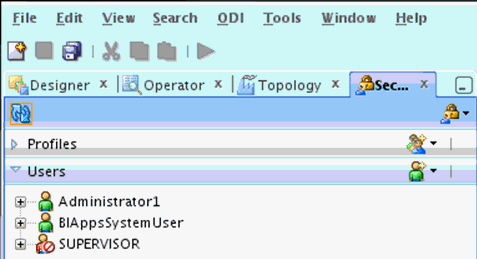
After the import is complete, the SUPERVISOR user may no longer be enabled. To ensure that you can still connect to the ODI repository in case of any issues, you should enable this user by ensuring that the Supervisor property is set and this user does not have an expiration date. Once external authentication is complete, you can log in with another administrative user and disable the Supervisor user. -
- Restart the ODI Managed Server using Oracle WebLogic Server Administration Console.
Once logged out of ODI Studio, you will have to log in with the administrative user configured in the prior ODI repository. For example, if your administrative user that you previously used to connect to the pre-upgrade ODI repository was named Administrator1, then you would log in with this user. To enable this user for external authentication, see Reconfiguring External Authentication .
- Import new security objects as follows:
