4
Standard Edition
This chapter guides you through the installation steps for the Standard Edition of Oracle9i Application Server. The following topics provide detailed installation steps, and basic postinstallation tasks:
Installation
The installation process is divided into two parts:
Preparing System for Installation
The following instructions prepare your machine for the installation of Oracle9i Application Server.
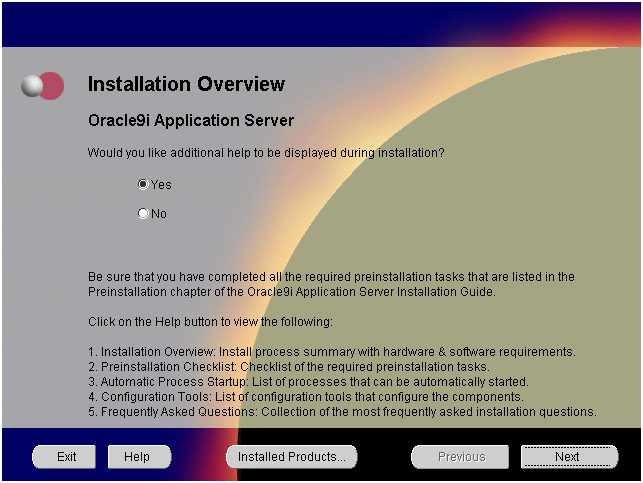
- Review the Installation Overview screen and make the appropriate choice for the installer to display additional help, and click Next.
Figure 4-1 Installation Overview Screen
Text description of the illustration over.gif
The Installation Overview screen enables you to launch and view additional installation help and information during installation. Both choices enable you to click Help to view information for each screen.
- Yes: This will launch a Web browser that displays additional installation information such as installation summary and frequently asked questions.
- No: This option will disable the additional help option.
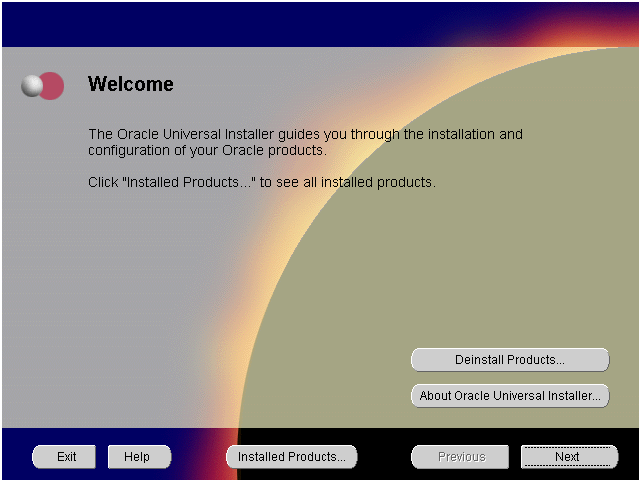
- Review the Welcome screen and click Next.
Figure 4-2 Welcome Screen
Text description of the illustration n_wel.gif
The Welcome screen provides information about the Oracle Universal Installer.
The following function buttons appear on the installation screens.
- Deinstall Products: Deinstall individual components or the entire product. This button appears only on the Welcome screen.
- About Oracle Universal Installer: View the version number of the installer in use.
- Exit: Quit the installation process and exit the installer.
- Help: Access detailed information about the functionality of each screen.
- Installed Products: View currently installed products or to deinstall the entire product or components.
- Previous: Return to the previous screen.
- Next: Move to the next screen.
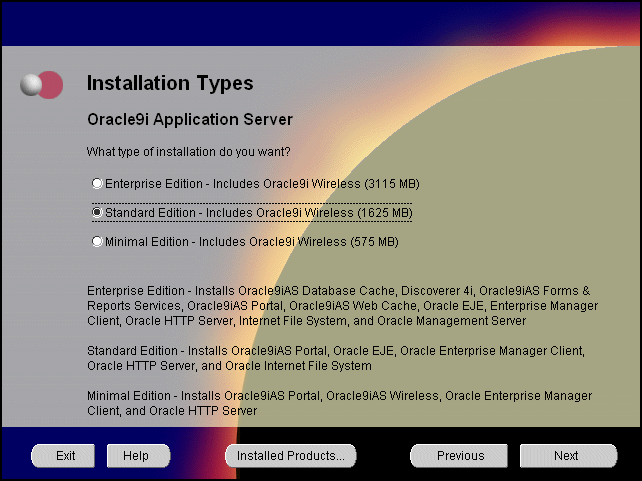
- Select Standard Edition and click Next.
Figure 4-3 Installation Types Screen
Text description of the illustration n_std.gif
The Installation Types screen allows you to select the Oracle9i Application Server installation option that you are licensed to use.
- Enterprise Edition: Installs Oracle9iAS Database Cache, Oracle9iAS Discoverer, Oracle9iAS Forms Services, Oracle9iAS Portal, Oracle9iAS Reports Services, Oracle9iAS Web Cache, Oracle9iAS Wireless, Oracle Enterprise Java Engine, Oracle Enterprise Manager Client, Oracle HTTP Server, Oracle Internet File System, and Oracle Management Server.
- Standard Edition: Installs Oracle9iAS Portal, Oracle9iAS Wireless, Oracle Enterprise Java Engine, Oracle Enterprise Manager Client, Oracle HTTP Server, and Oracle Internet File System.
- Minimal Edition: Installs Oracle9iAS Portal, Oracle9iAS Wireless, Oracle Enterprise Manager Client, and Oracle HTTP Server.
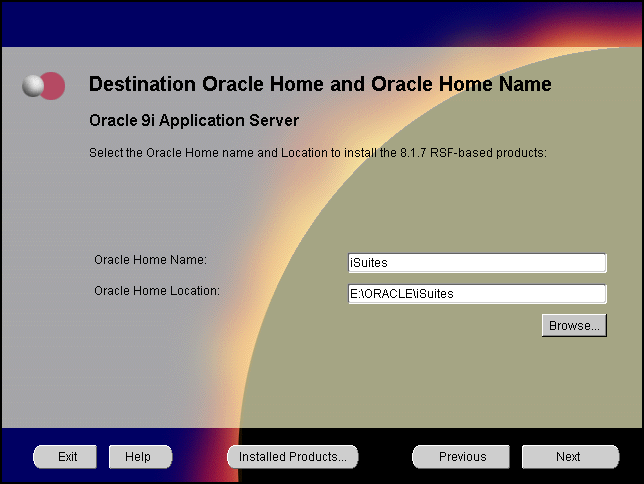
- Verify the Oracle home name and location, and click Next.
Figure 4-4 Destination Oracle Home and Oracle Home Name Screen
Text description of the illustration n_oh.gif
The Destination Oracle Home and Oracle Home Name screen allows you to enter the name and location of your Oracle home for the 8.1.7 RSF based products. You can accept or change the defaults.
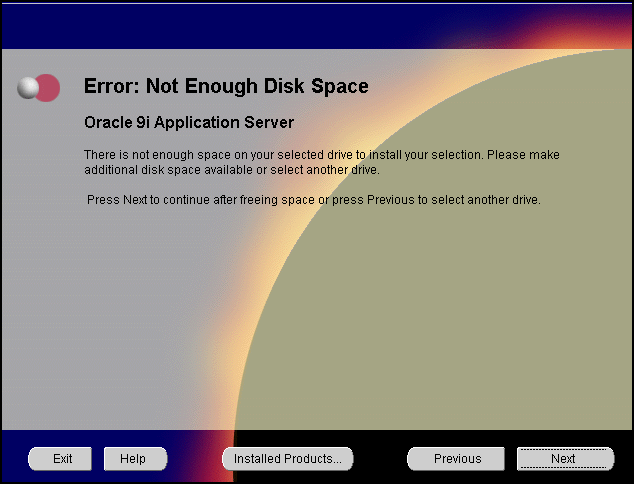
- You do not have sufficient space to install Oracle9i Application Server. Free enough disk space to meet the hardware requirements and click Next, or click Previous to select another drive. This screen will appear only if you do not have sufficient disk space.
Figure 4-5 Insufficient Disk Space Screen
Text description of the illustration n_disksp.gif
Insufficient Disk Space screen appears only if you do not have enough disk space on your selected drive to install Oracle9i Application Server. You can:
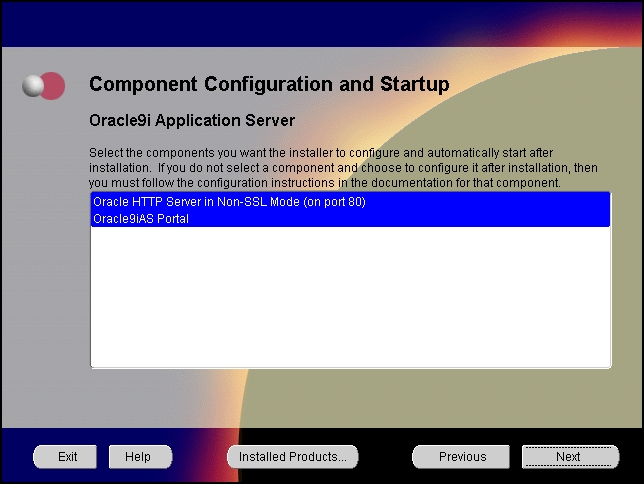
- Select the components for configuration and startup after installation and click Next.
Figure 4-6 Component Configuration and Startup Screen
Text description of the illustration n_sstart.gif
The Component Configuration and Startup screen allows you to select the components that you want the installer to configure and start after installation. This screen offers two configuration options:
You can select or de-select multiple components by holding down the Control key while clicking on the component name.
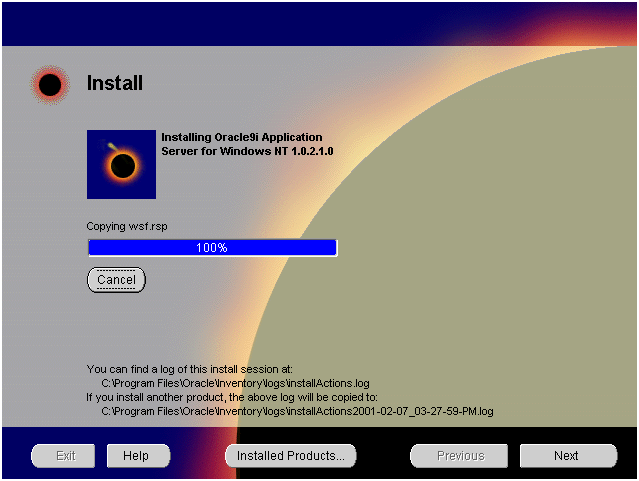
- Monitor the installation process and after the installer finishes, click Next.
Figure 4-7 Install Screen
Text description of the illustration n_inst1.gif
The Install screen appears while Oracle Universal Installer incorporates all the user input for Oracle9i Application Server. It also displays the full path of the installation log.
- Cancel: To discontinue the installation process.
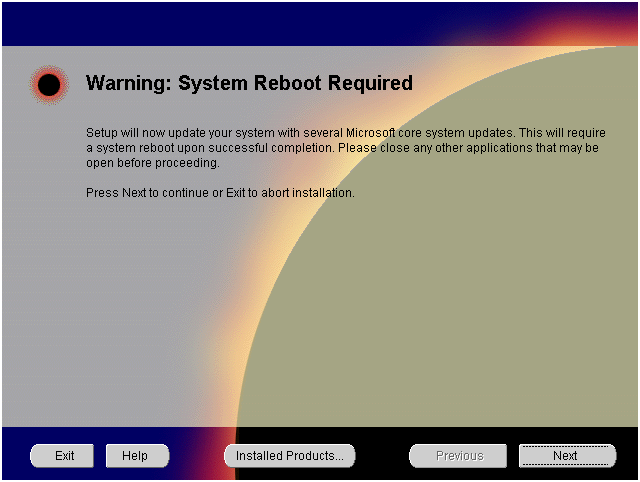
- Review the system reboot information and click Next. This screen will not appear under the following conditions:
Figure 4-8 System Reboot Screen
Text description of the illustration n_reboot.gif
The System Reboot screen informs you that after the installer copies the necessary files required to install Oracle9i Application Server, your machine will reboot to allow the configuration changes to take effect. When the machine starts up again, Oracle Universal Installer appears and begins the installation process of the Oracle9i Application Server.
- Monitor the installation process and after the installer finishes, your machine reboots. This screen will not appear if you are installing on Windows 2000.
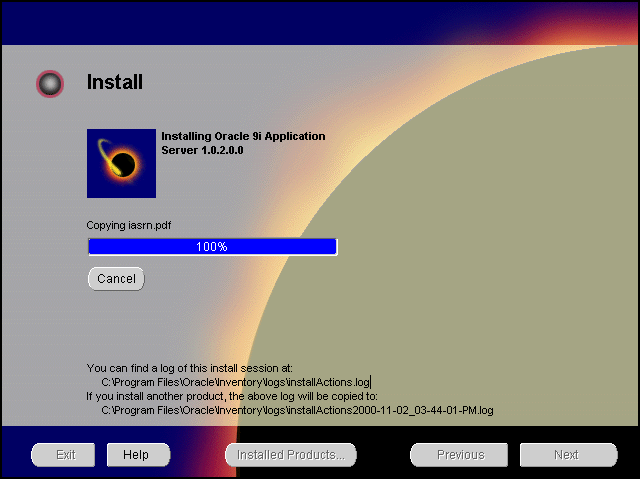
Figure 4-9 Install Screen
Text description of the illustration n_inst2.gif
The Install screen appears while Oracle Universal Installer installs required configuration files for Oracle9i Application Server. It also displays the full path of the installation log.
- Cancel: To discontinue the installation process.
Your machine will reboot once the configuration files are copied. Do not attempt to restart the installer after reboot. It will launch automatically.
Installing Oracle9i Application Server
Once your machine starts up after rebooting, the Oracle Universal Installer appears and proceeds to install Oracle9i Application Server The reboot process will not occur if you are installing on Windows 2000.
Note:
Be sure to log in with administrator privileges after your machine starts up again.
|
The following screen appears as Oracle Universal Installer relaunches.The installer may take up to several minutes to start, and might pause if some screensavers are activated.

Text description of the illustration n_oui.gif
- If needed, verify and change the locations of the components displayed on the screen, and click Next.
This screen appears only if Oracle Universal Installer has detected insufficient disk space in the Oracle home directory.
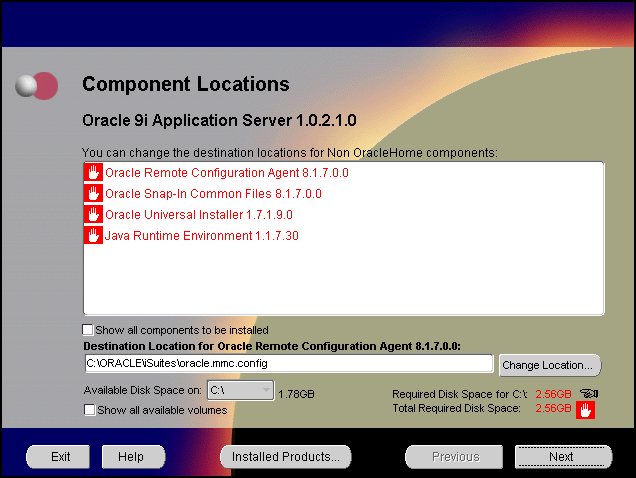
Figure 4-10 Component Locations Screen
Text description of the illustration comploc.gif
The Component Locations screen allows you to select alternative locations for some components.
- Show all components to be installed: To view the complete list of components chosen for installation. Select check box to display component list.
Click individual components to view and change destination location path. The installer enables you to change the destination location of the components displayed on the screen.
- Enter or accept the default Portal DAD and Schema names. Also, enter the TNS Connect String, if necessary. Click Next. This screen will appear only if you selected Oracle9iAS Portal in the Component Configuration and Startup screen.
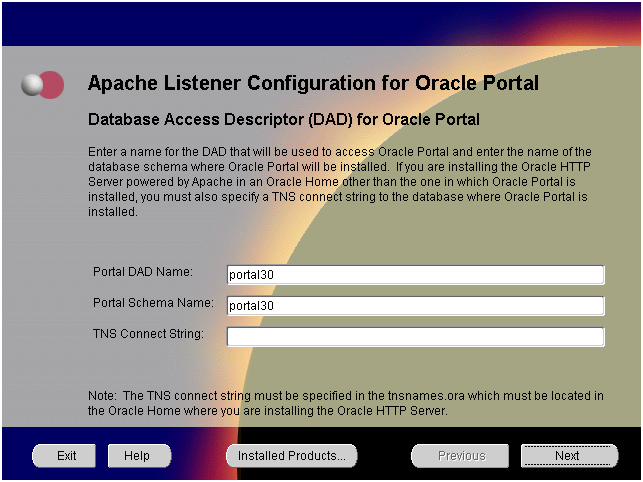
Figure 4-11 Apache Listener Configuration for Oracle Portal (DAD and Schema name) Screen
Text description of the illustration n_adad.gif
The Apache Listener Configuration for Oracle Portal DAD screen allows you to enter the name of the Database Access Descriptor (DAD) that will be used to access Oracle Portal, and the name of the database schema where Oracle Portal will be installed. It also enables you to enter the TNS connect string if Oracle Portal and Oracle HTTP Server are installed in different Oracle homes. The information you enter here is used to create the PL/SQL Gateway settings which you can access upon installation from the following location: http://machine_name:port/pls/admin_/gateway.htm
- Portal DAD Name: Enter the name of the DAD for each instance you installed in the database. A Database Access Descriptor (DAD) is a set of values that specify how the Apache Listener connects to your Oracle database server to fulfill an HTTP request. Based on this DAD name, the installation automatically sets other DAD-related and default settings such as the name and location of the document table. The default DAD name is
portal30.
- Portal Schema Name: Enter the name of the database schema that will contain Oracle Portal. A schema is a collection of components and database objects under the control of a given database user. Each Oracle Portal application maps to an Oracle database schema. The default schema name is
portal30.
- TNS Connect String: Enter the TNS connect string or TNS alias that you will use to connect to the remote Oracle database after installation. It enables you to install the Portal database objects into a remote database. Since you are installing in a new Oracle home, you will need to enter a TNS connect string before it is actually created. The Net8 Assistant will appear later in the installation process to guide you in the configuration of a new TNS alias. Be sure to note the name of the TNS connect string you enter here, so that you will use the same name when the Net8 Assistant appears later.
- Enter or accept the default Login Server DAD and Schema names. If necessary, enter the TNS Connect String. Click Next. This screen will appear only if you selected Oracle9iAS Portal in the Component Configuration and Startup screen.
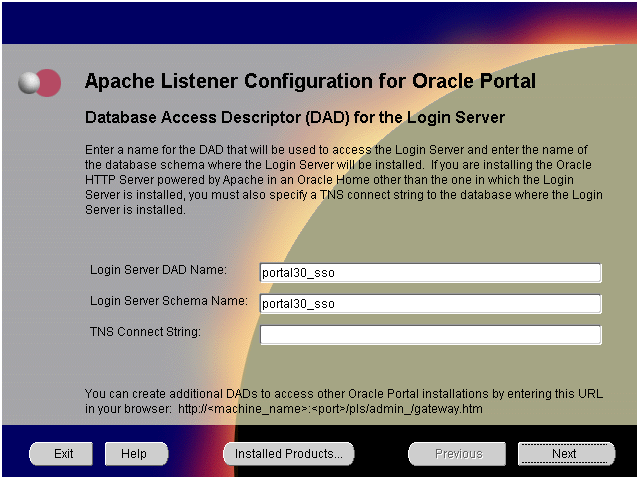
Figure 4-12 Apache Listener Configuration for Oracle Portal (Login Server) Screen
Text description of the illustration n_alog.gif
The Apache Listener Configuration for Oracle Portal screen allows you to enter the Login Server DAD and Schema Name, with a _sso extension for easy recognition. The Login Server provides an enterprise-wide Single Sign-On (SSO) mechanism that enables an Oracle Portal user to log in securely to Oracle Portal and any partner and external applications using a single user name and password. It also enables you to enter the TNS Connect String if Oracle Portal and Oracle HTTP Server are installed in different Oracle homes.
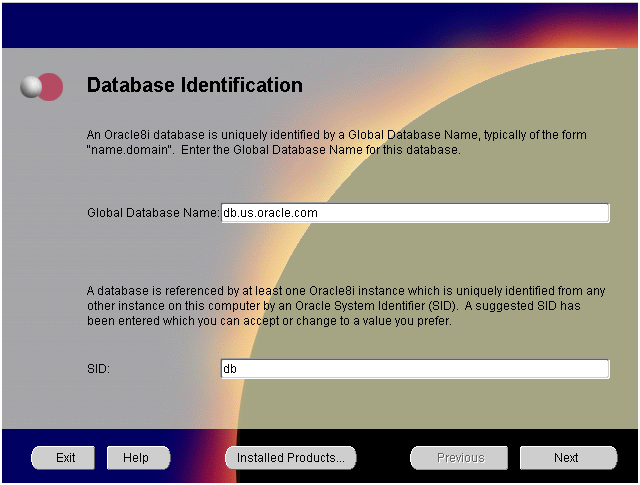
- Enter the Global Database Name and System Identifier (
SID) and click Next.
Figure 4-13 Database Identification Screen
Text description of the illustration n_dbid.gif
The Database Identification screen allows you to enter the Global Database name and SID of the database used to run Oracle Enterprise Java Engine applications.
Note:
This database is licensed only to run Oracle Enterprise Java Engine applications and should not be used for other purposes. It will be installed in the same Oracle home as Oracle9i Application Server.
|
- Global Database Name: This is the full database name that distinguishes it from any other database in your network domain. For example:
db.us.oracle.com, where db is the name of the database and us.oracle.com is the network domain in which the database is located.
- SID (System Identifier): This is the database instance name that distinguishes it from any other database on your system. For any database, there is at least one instance associated with the database. The
SID field defaults to the database name portion of the Global Database Name. (For example: db). You can accept or change the default value.
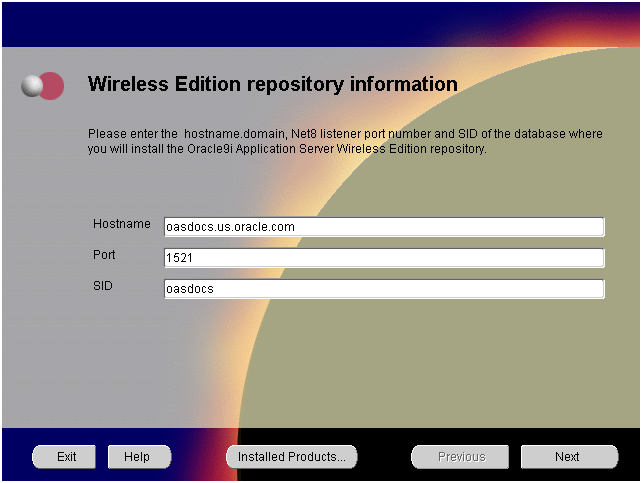
- Enter the hostname, port number, and SID of the database where you will install the Oracle9iAS Wireless repository, and click Next. If you are upgrading from Oracle9i Application Server, Release 1.0.2.0, then an "Upgrade Installation Detected" screen will appear. Review the screen and click Next or Exit accordingly. If you click Next, then the following screen will appear.
Figure 4-14 Wireless Edition Repository Information Screen
Text description of the illustration n_repinf.gif
The Wireless Edition Repository Information screen allows you to enter the hostname, Net8 Listener port number, and SID of the database where you will install the Oracle9iAS Wireless repository.
Note:
Do not install Oracle9iAS Wireless on Oracle9iAS Database Cache.
|
- Hostname: Enter the
hostname.domain of the database where you will install the Oracle9iAS Wireless.
- Port: Enter the Net8 Listener port number.
- SID: Enter the System Identifier (SID) of the database where you will install the Oracle9iAS Wireless repository.
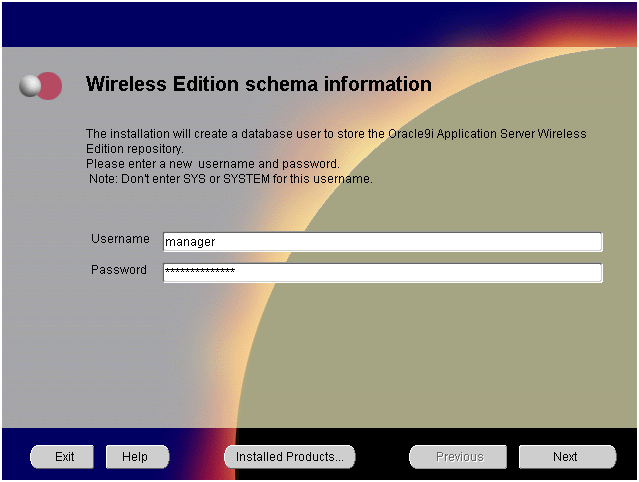
- Enter the new username and password for the database user to store the Oracle9iAS Wireless repository, and click Next. If you are upgrading from Oracle9i Application Server, Release 1.0.2, then the "Oracle9iAS Wireless Schema Information Screen" will be slightly different. Enter the existing Oracle9iAS Wireless username and password, and click Next.
Figure 4-15 Wireless Edition Schema Information Screen
Text description of the illustration n_schema.gif
The Wireless Edition Schema Information screen allows you to create a database user to store the Oracle9iAS Wireless repository.
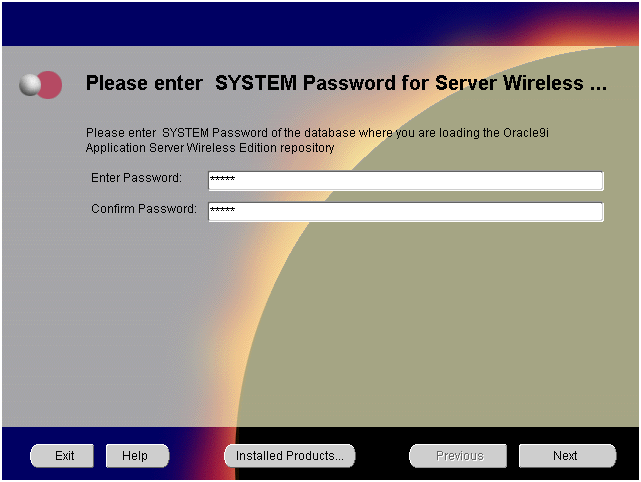
- Enter and confirm the
SYSTEM password of the database, and click Next. If you are upgrading from Oracle9i Application Server, Release 1.0.2, then a "Wireless Edition Administrator Password Information" screen appears. Enter and confirm the "Administrator" password, and click Next. Do not enter the database schema owner password.
Figure 4-16 System Password Screen
Text description of the illustration n_system.gif
The System Password screen allows you to enter and confirm the SYSTEM password of the database where you are loading the Oracle9iAS Wireless repository.
- Enter Password: Enter the
SYSTEM password of the database where you will install the Oracle9iAS Wireless.
- Confirm Password: Re-enter the
SYSTEM password as entered above for verification.
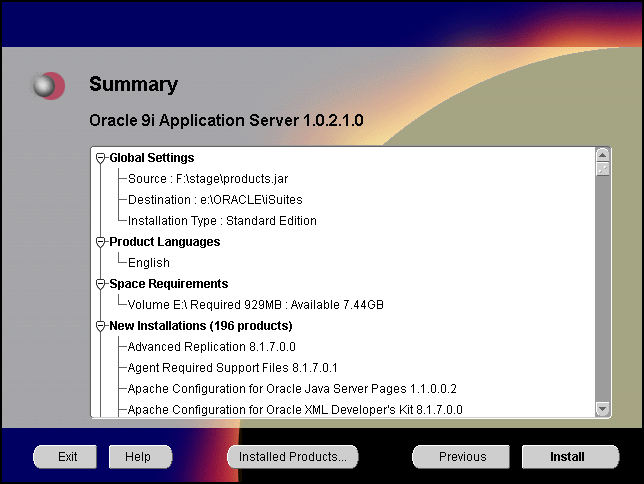
- Review the summary and click Install to begin the installation process.
Figure 4-17 Summary Screen
Text description of the illustration n_ssumm.gif
The Summary screen allows you to review all the settings before the actual installation process. These settings include source, destination, installation type, product language, space requirements, and a list of components.
When you click Install, the installation process begins.
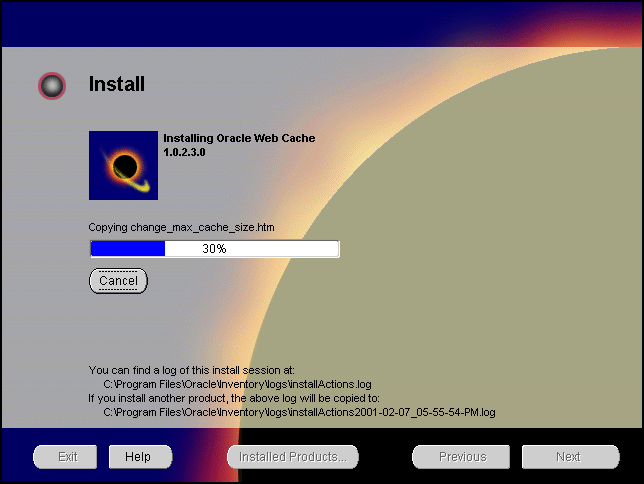
- Monitor the installation process and after the installer finishes, click Next.
Figure 4-18 Install Screen
Text description of the illustration n_inst3.gif
The Install screen appears while the product is installing. Installation operations include executing actions such as file copy and linking, and executing decision points and calculations. It also displays the full path of the installation log.
- Cancel: To discontinue the installation process. You can then choose to stop the installation of an individual component or the entire product.
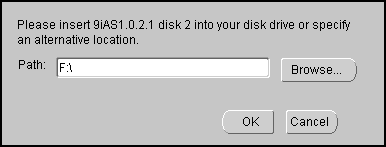
Changing Disks: During the installation process, the Disk Location dialog appears and prompts you to change disks. Insert the requested disk into your disk drive, or specify an alternative location, and click OK.
Text description of the illustration n_1_2.gif
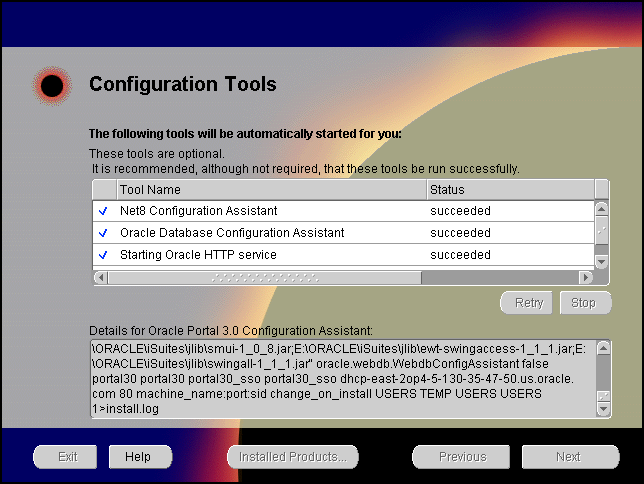
- Verify the list of configuration tools and click Next. This screen appears only if you select components to configure and start in the Components Configuration and Startup screen.
Note:
The installer has completed copying and linking the necessary files. Be sure to start the database if it had been shut down for the installation process. The configuration tools such as Oracle9iAS Portal Configuration Assistant need to connect to an active database for configuration purposes.
|
Figure 4-19 Configuration Tools Screen
Text description of the illustration n_stdcfg.gif
The Configuration Tools screen lists the configuration tools for all installed components.
Scroll down the list to review the configuration status of each tool. The status changes as each component is configured.
The installer performs the following functions in this screen:
- Executes a configuration tool for each component selected previously in the Component Configuration and Startup screen.
- Displays all the configuration settings in the display window below as it executes a configuration tool for each component.
- Enables you to view configuration settings after all configuration tools are executed. Click on each component to review all the changes made.
- Allows you to view data for failed executions in the display window. You can either fix the error and click Retry to execute the configuration tool again, or ignore the error and click Next to proceed to the next screen.
- Retry: To re-execute the configuration script if the configuration of a component fails.
- Stop: To quit the configuration process.
Configuration Tools
This installation option launches the following configuration tools:
Net8 Configuration Assistant - This configuration assistant enables you to connect and configure the Oracle client/server network environment.
|
See Also:
Net8 Administration's Guide in the Oracle Database Documentation Library for information on running Net8 Configuration Assistant.
|
Oracle Database Configuration Assistant - This configuration assistant configures the database for Oracle Enterprise Java Engine. Oracle Database Configuration Assistant will not appear if you are migrating from Oracle9i Application Server 1.0.2.0 to 1.0.2.1.
Starting Web Server in Non-SSL mode on port 7777 - This starts Oracle HTTP Server.
Oracle9iAS Portal Configuration Assistant - This configuration assistant loads necessary database objects for Oracle9iAS Portal to run.
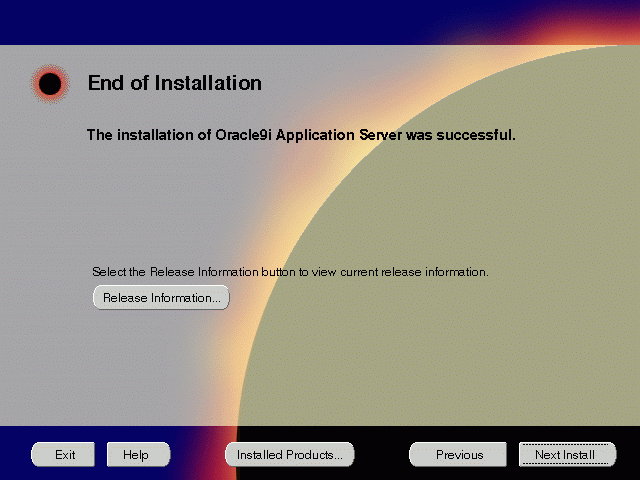
- Ensure that the installation was successful. Click Exit to quit the installer.
Figure 4-20 End of Installation Screen
Text description of the illustration end.gif
The End of Installation screen appears at the end of the installation process. It notifies you whether the installation was successful or unsuccessful.
- Release Information: To view the latest release information.
You have successfully installed the Standard Edition installation option of Oracle9i Application Server. Proceed to "Postinstallation" to complete the installation process.
Postinstallation
The following instructions guide you through the basic postinstallation tasks for Oracle9i Application Server. Before performing these tasks, install, if needed, Oracle9iAS Wireless client from the Oracle9i Application Server Administrative and Development Client CD included in the Oracle9i Application Server CD pack.
The postinstallation contains the following sections:
Component-specific Tasks
Oracle Internet File System
You must run the Oracle Internet File System Configuration Assistant to configure Oracle Internet File System.
Starting and Stopping Components
You can manually start and stop a component by doing the following:
- In the Windows Control Panel, open Services.
- In Services, select the service then click Start or Stop for desired result.
Table 4-1 lists the service names for the Oracle9i Application Server components.
Table 4-1 Starting and Stopping Components
Note:
Use the following commands for Oracle Internet File System:
Setting Environment:ifs1.bin\ifsenv.bat and ifs1.1\bin\ifsconfig.bat
Start: ifs1.1\bin\ifstart.bat
Start:ifs1.1\bin\ifstop.bat
|
Component Web Sites
Table 4-2 lists Web sites for Oracle9i Application Server components.
Table 4-2 Component Web sites
Component Port Numbers
Table 4-3 lists the default port numbers on which requests are received for each component.
Table 4-3 Port Numbers
Additional Documentation
For further information on postinstallation and configuration tasks, refer to component-specific documentation. For information on viewing and installing the documentation, refer to Appendix E, "Installing Documentation Library".


