Release 9.0.1
Part Number A87535-01
Library |
Solution Area |
Contents |
| Oracle9iAS Personalization Getting Started with Oracle9iAS Personalization Release 9.0.1 Part Number A87535-01 |
|
The OP Administrative UI is a browser-based user interface that permits the OP administrator (a Java programmer or DBA) to manage RE Farms and REs, schedule and deploy packages, and otherwise manage OP.
Bring up the OP Administrative UI by typing the following in the URL field of your browser:
http://<hostname-oracle9i>/OP/Admin/
where <hostname-oracle9i> is the name of the system on which Oracle 9i and the OP components associated with the database are installed.
Note that the URL is case-sensitive.
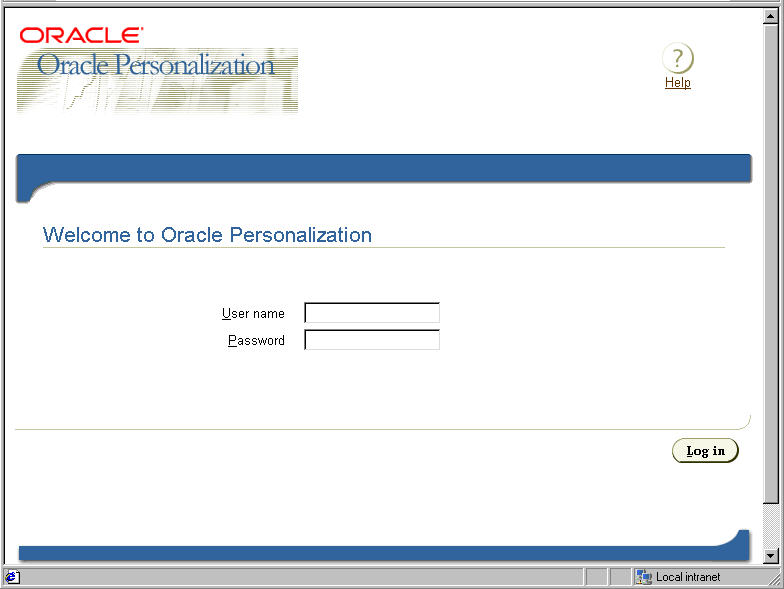
The first page that appears is the login page, which welcomes you to Oracle9iAS Personalization.

Enter user name and password for the MOR schema (a valid user name and password were established during OP installation; if you don't know what they are, ask your DBA).
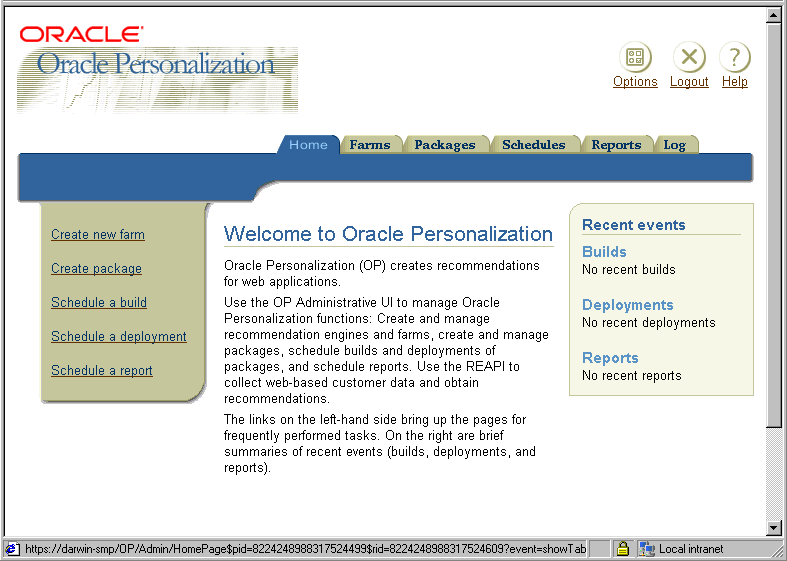
The Home page welcomes you and briefly describes the product. At the left are links to common tasks, such as create new farm, create package, schedule a build, etc. They are listed in the order you would follow in executing the tasks. To the right is a brief status of recent events (builds, deployments, and reports).

Browse the pages to get familiar with their structure and content. Click the tabs to see what's what and what's where. The tabs are Home, Farms, Packages, Schedules, Reports, and Log. The tab pages organize OP administrative tasks.
The Farms page lists the current recommendation engine farms. Use the Farms page to create, delete, and in general manage recommendation engine farms.
The Farms page gives access to recommendation engines, which you add to a farm. Adding a recommendation engine to a farm means specifying the RE's database connection details. These details were established during the installation of the database.
An RE must have a connection to the MTR. If there is no pre-existing MTR connection, you create one. This also requires information established during installation and configuration of the database.
The Packages page lists current packages. Use this page to create, delete, and manage packages.
An OP package contains all the information needed for building predictive models, which includes the general settings for the package, information about its connection to the MTR, and settings specified for the package's build (which includes settings for building the model(s)).
To create a package, click Create Package. This brings up the first of three pages that guide you through creating a package:
The Confirm Settings page also gives you the option of going directly to scheduling a build for the package.
Click the Schedules tab and note the three kinds of events that are scheduled: Builds, deployments, and reports. The Schedules tab opens by default to the Build Schedule page.
Use this page to create, edit, delete, and in general manage the building of a package, that is, the creation of predictive models and other information needed to make recommendations.
To create a new build schedule, click Create Build Schedule. The Create Build Schedule page gives you the following options:
This page also gives you the option of going directly to scheduling deployment of the package.
Use this page to create, edit, delete, and in general manage deployment schedules.
Deploying a package means copying it to every RE on a given RE Farm. Multiple REs with the same package can share the load.To create a new deployment schedule, click Create Deployment Schedule. The Create Deployment Schedule page gives you the following options:
Use this page to create and manage report schedules.
To schedule a report, click Create report schedule.
The Create Report Schedule page gives you the following options:
The Create Report Schedule page also lets you do the following:
Note: You cannot edit or delete a scheduled report while it is running or canceling; it must be idle.
Use this page to monitor reports. There are three types of reports:
Specifically, it reports the number of unique visitor sessions, the number of unique customer sessions (sessions that had at least one purchase), and the conversion rate (number of customers divided by the number of visitors).
Note: The MTR tables MTR_SESSION and MTR_RECOMMENDATION_DETAIL must be populated before a report can be generated.
The event log allows you to monitor results of scheduled builds, deployments, and reports.
To view details of an item, click its Details icon. To delete one or more items, select the item(s) and click Delete.
|
|
 Copyright © 2001 Oracle Corporation. All Rights Reserved. |
|