User Guide
|
|
Using Advanced Features of the Management Console
This section describes the more advanced features of the Management Console. Some of these are only available when running in the Developer mode, described in Mode of Operation.
This section is divided into the following topics:
Historical Data
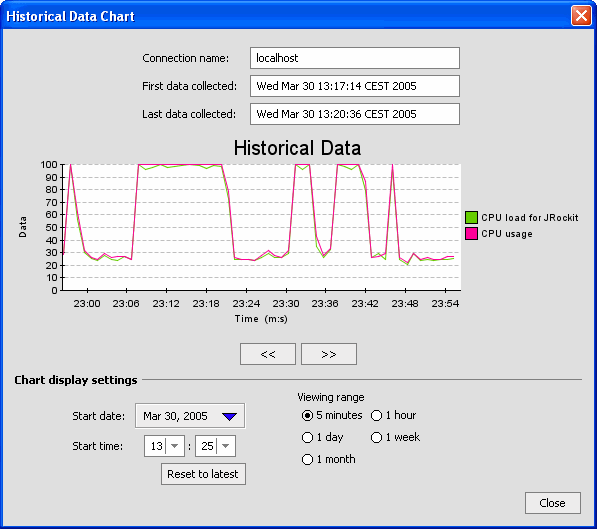
The historical data window displays a chart where historical data for an attribute subscription can be viewed. This is useful for observing trends over time and, for example, finding when a server running with BEA JRockit JVM has its peak loads.
Viewing Historical Data
The Historical Data Chart appears (see Figure 7-1).
Figure 7-1 Historical Data Chart
- Add an attribute subscription to the Historical Data Graph (see Customizing Graphs for information on how to change the graph.
Thread Stack Dump
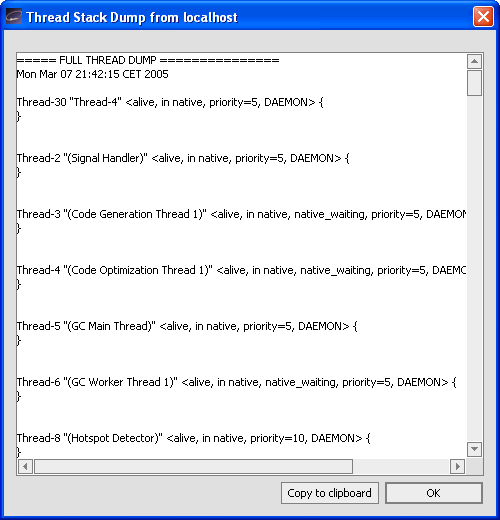
The thread stack dump contains a list of all running threads in BEA JRockit JVM with a method call stack trace for each thread.
Viewing the Thread Stack Dump
The Thread Stack Dump window appears (see Figure 7-2).
Starting and Running the Console in Headless Mode
You can run the Management Console, its notification subsystem, and the user actions without using a GUI. This function is referred to running the console in a "headless" mode and can greatly reduce the amount of system overhead required to run BEA JRockit.
Running a Headless Management Console
To run the Console in the headless mode, start the console as you normally would (see Start the BEA JRockit Management Console for details) but add the -headless command-line option; for example:
java -jar ManagementConsole.jar -headless
You can control the console's behavior by using the command-line options described in Table 7-1.
As it runs, the JVM statistics normally associated with the Management Console can be written to file. The file to which statistics are written will be automatically created, but only if you choose to save, or "persist" data. It will be created in a directory of your choosing.
You can control which JVM statistics are persisted by specifying them in an XML settings file. The settings file is also created automatically, when you exit the application when it is running in GUI mode. By default, it will be created in the <user_home>/.ManagementConsole directory. You can specify another file at another location by using the -settings command-line option.
Controlling the Console with Command Line Options
You can use one of the command line options listed in Table 7-1to control the behavior of the headless Management Console.
Note: These options are not specific to running the Console in the headless mode; they are also valid when running it with a GUI.
java -jar ManagementConsole.jar -headless -settings
   C:\Headless\consolesettings.xml -connectall -autoconnect -uptime 3600
   -useraction ctrlbreak 30 60
- Starts the management console in headless mode (-headless).
- Reads the specified settings file (-settings C:\Headless\consolesettings.xml).
- Tries to connect to all previously specified JVMs (-connectall).
- Actively searches for new connections using JDP (-autoconnect).
- After an hour it will automatically shut down (-uptime 3600).
- After running 30 seconds, it will start issuing control breaks to all connected JVMs every minute (-useraction ctrlbreak 30 60).
All notification rules that have been previously added to specific connections will be active.
JRA Recordings
The BEA JRockit Runtime Analyzer (JRA) is an internal tool used by the BEA JRockit development team to analyze runtime performance of BEA JRockit and Java applications running on it. This tool provides information on internals in BEA JRockit that are useful to the development team and BEA JRockit in general.
One part of the JRA runs inside the JVM, recording information about it and the Java application currently running. You start the recording in the Management Console and view the recorded result in the JRA. For information on how to use the JRA, see Using the BEA JRockit Runtime Analyzer.
Creating a JRA Recording
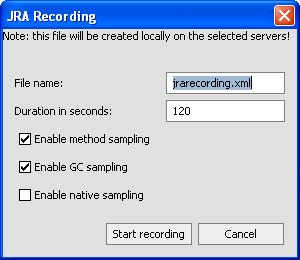
The JRA Recording dialog appears (Figure 7-3).
Figure 7-3 JRA Recording Dialog
- Type a descriptive name for the recording in the File name field. This is the name by which the file is saved.
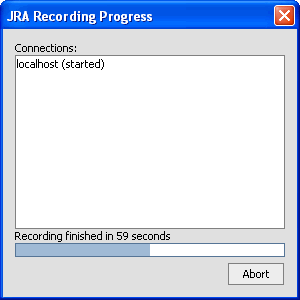
The JRA Recording Progress box appears (Figure 7-4).
Figure 7-4 JRA Recording Progress Box


