You can install Workshop for WebLogic in two ways: You can (1) add it to an existing Eclipse installation or (2) use the Eclipse installation bundled with the installer.
To add Workshop for WebLogic to an existing Eclipse installation, follow these instructions:
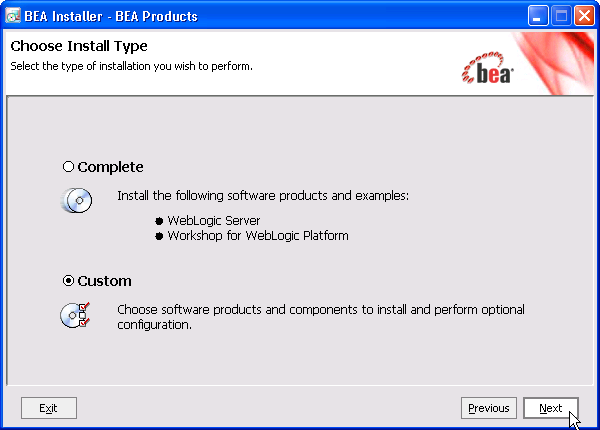
In the installer dialog, on the Chose Installer Type screen, select Custom.
On the Install Eclipse Location Options, select Use Existing Eclipse and browse to an existing Eclipse home directory.
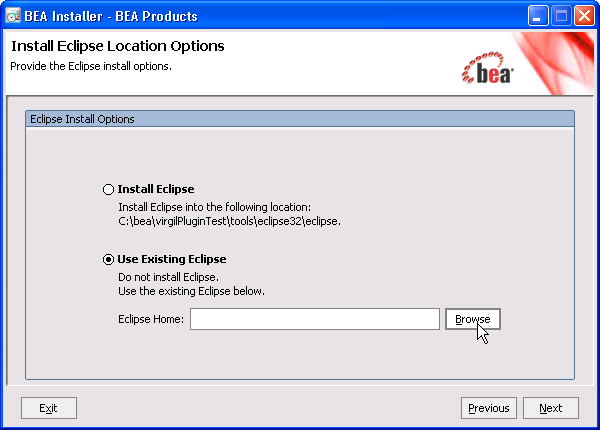
The existing Eclipse installation must meet the the following requirements:
If Workshop for WebLogic is added to an existing Eclipse installation, you may choose to launch using the existing eclipse launcher (ECLIPSE_HOME/eclipse.exe) instead of the custom launcher (WORKSHOP_HOME/workshop4WP/workshop4WP.exe) provided with the Workshop for WebLogic installation. If you choose to launch Workshop for WebLogic using the existing eclipse launcher, you may need to modify the eclipse.ini file (ECLIPSE_HOME/eclipse.ini).
The required and optional additions to eclipse.ini are shown below:
Required
-vm (a Java 5 VM is required)
-vmargs
-Xms384m (or greater)
-Xmx768m (or greater)
-XX:MaxPermSize=256m (or greater)
Optional
-Dweblogic.home
-Dosgi.instance.area.default
-Dosgi.configuration.area
-Declipse.product
-Dosgi.splashPath
Not applicable
-Dosgi.install.area
The eclipse.ini file is located at ECLIPSE_HOME/eclipse.ini.
-vmargs
-Xms40m
-Xmx256m
The workshop4WP.ini file is located at WORKSHOP_HOME/workshop4WP/workshop4WP.ini.
-vm
C:/bea/jdk150_06/jre/bin/javaw.exe
-vmargs
-Xms384m
-Xmx768m
-XX:MaxPermSize=256m
-Dweblogic.home=C:/bea/wlserver_10.0
-Dosgi.install.area=C:/bea/tools/eclipse32/eclipse
-Dosgi.instance.area.default=C:/bea/user_projects/w4WP_workspaces/Untitled
-Dosgi.configuration.area=C:/bea/workshop_10.0/workshop4WP/eclipse/configuration
-Declipse.product=com.bea.workshop.product.wl.workshop
-Dosgi.splashPath=file:C:/bea/workshop10.0/workshop4WP/eclipse/plugins/com.bea.workshop.product.wl_1.0.0