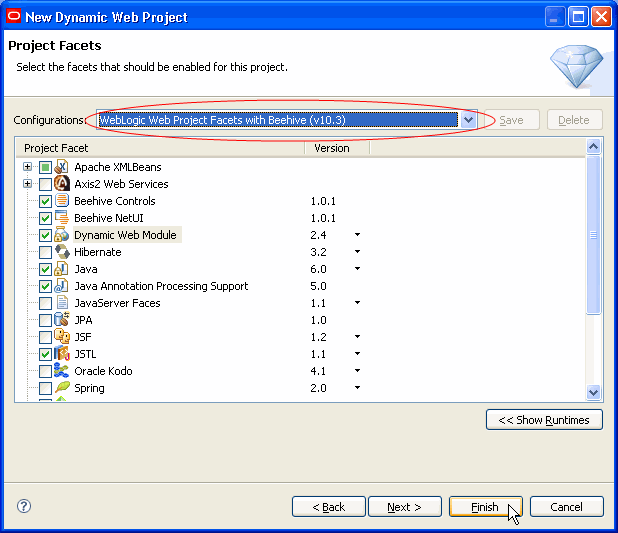
You'll use the steps in this topic to create a web project with which to test your EJBs. As with the EJB project you created earlier, this project is a framework within which to write your source code. You'll add the code in the next step.
In this section, you will:
To Create a Web Project for Testing the EJB
Begin by creating a web project that will contain the user interface code you'll use to make sure your EJB is doing what it should.
When you create a WebLogic web project, you get the beginnings of a Java Page Flow (also known as a JPF or page flow). A page flow makes it easier for you to keep client logic and presentation separate, as you'll see in the next step.
- Click File > New > Project.
- In the New Project dialog, expand Web, click Dynamic Web Project, then click Next.
- In the New Dynamic Web Project dialog, in the Project name box, enter VisitWebTest.
- Place a check next to Add project to an EAR. From the dropdown menu, select EJBTutorial_EARProject.
- Click Next.
- Click the Configurations dropdown and select WebLogic
Web Project Facets with Beehive (v10.3).
Click Finish.

With your test project created, it's time to move on to writing test code.