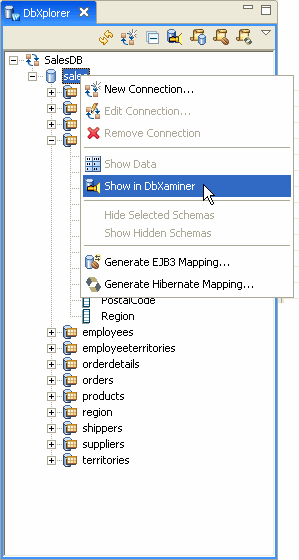

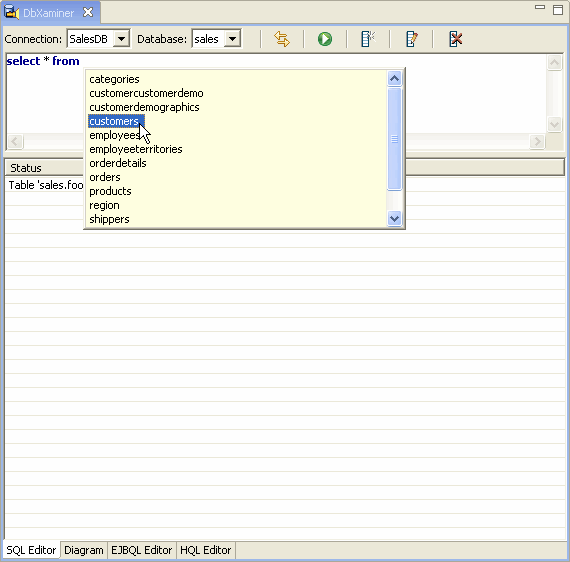
In addition to exploring the database and its contents through the DbXplorer view , Workshop renders database diagrams and allows you to run queries through the DbXaminer.
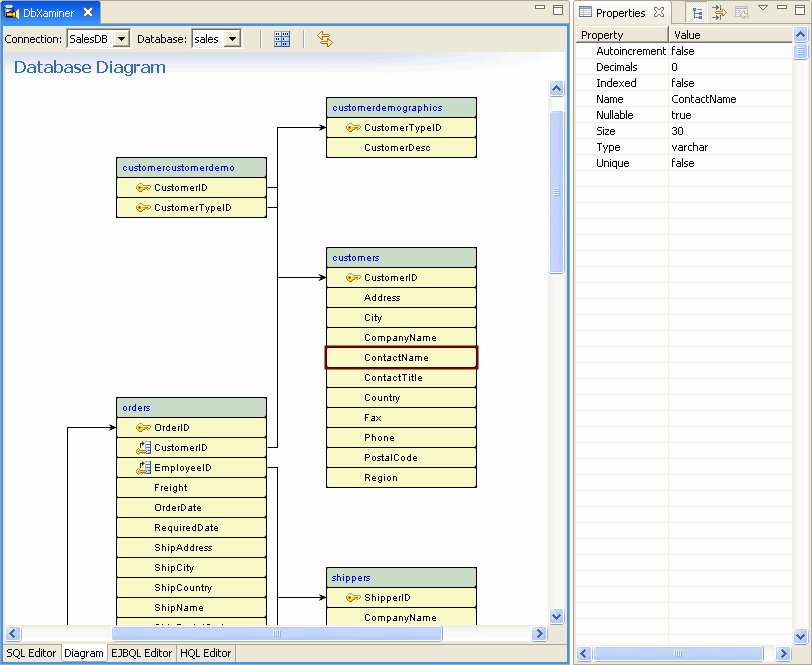
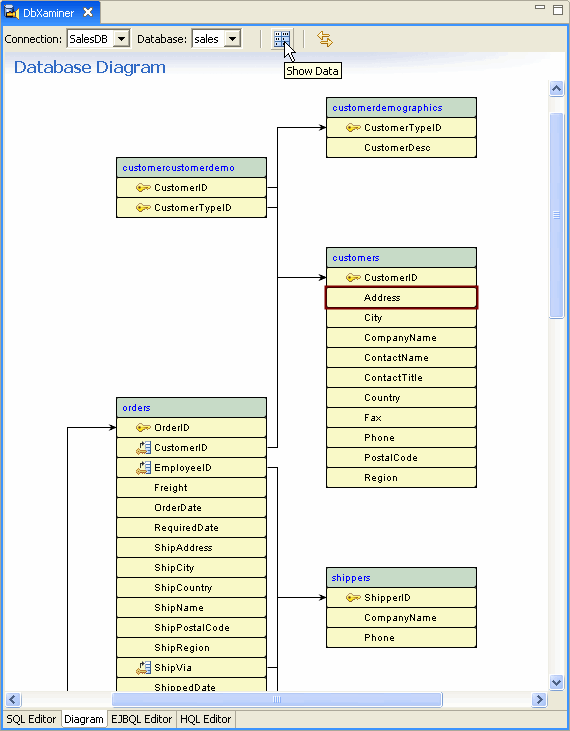
The DbXaminer renders the database diagram for a specific schema, table, or column and maps out the relationships between the tables, the primary keys, and foreign keys.
Note: If the DbXplorer is not currently open, go to the Window menu and select Show View > DbXplorer.
In addition to providing a database diagram, DbXaminer provides three query editors: the SQL Editor, EJBQL Editor (for building EJB Query Language expressions), and HQL Editor (for building Hibernate Query Language expressions). Each of these each features syntax coloring and statement completion for their respective languages.
Using the EJBQL and HQL Editors
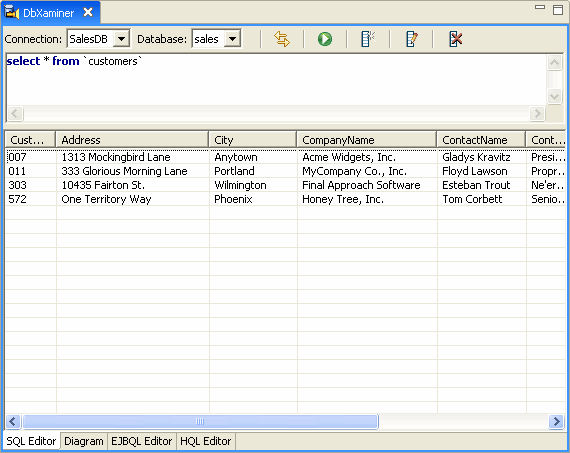
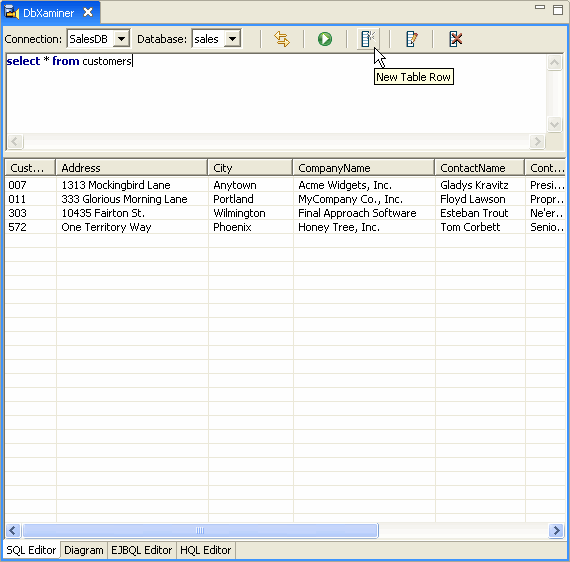
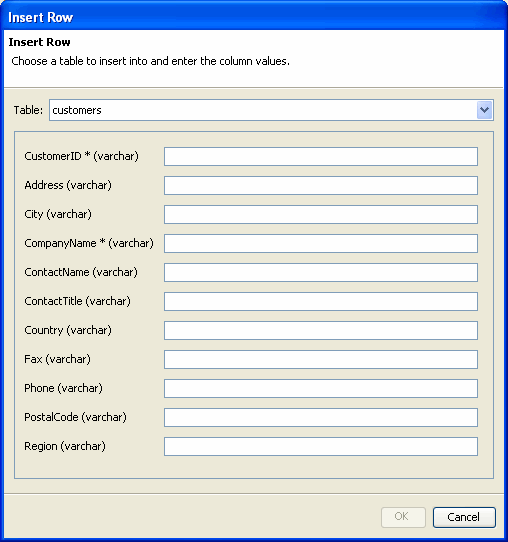
The SQL query editor provides a simple way to define and run query statements, display and sort query results, and add new data.

The EJBQL and HQL editor provide essentially the same kinds of functionality as the SQL editor, with the exception that queries are executed against entities rather than the database. In other words, you use entity and property names in expressions rather than table and column names. In addition, the editor provides the ability to get corresponding SQL expressions for EJBQL and HQL expressions you build, as shown at the end of this section.
Note: before you can run queries against entities generated from a Pointbase database, you must first edit the persistence.xml file ( located at <Project>/src/META-INF/ ) so that GenericDialect has the value org.hibernate.dialect.PointbaseDialect.


Completing an EJBQL Expression

Completing an HQL Expression

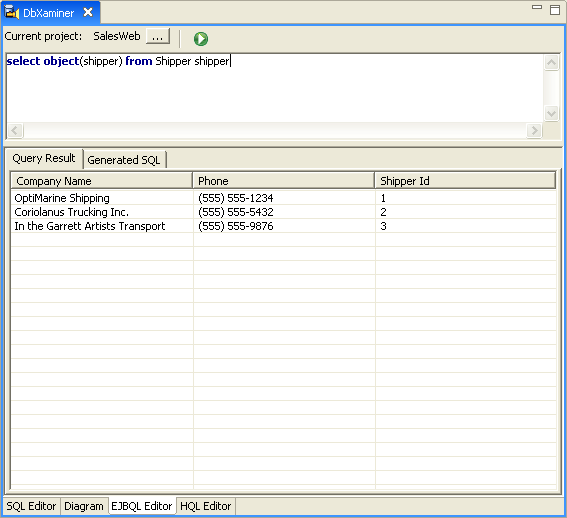
EJBQL Query Results
HQL Query Results

Select a single return line and notice the information that gets populated in the Properties view. While you only see data columns in the Query results, the Properties view shows more. In the Properties view, when you select a result, you are looking at the field values for the specific instance of the object.
Notice that items are listed and are expandable. When you expand these selections you are drilling down through the entity relationships as defined in the JPA annotations. To expand on the above example, select an item and the Properties view displays the field which maps to the entity bean. Expanding allows you to drill down into the specific data of that instance.
Expanding a property allows us to drill into the relationship between the entity bean and its data. This demonstrates the many to one relationship between data as defined in the annotations). All of this is going through the JPA runtime engine instead of making direct SQL calls to the database. (Note: if your Kodo license is invalid and you linked to a Kodo project, you will get an error when trying to run one of these queries.)
SQL Generated from EJBQL Query

SQL Generated from HQL Query

For more information on EJBQL and HQL (which are very similar), you might be interested Chapter 7: EJB-QL: The Object Query Language at the Hibernate web site.
![]()
Generating EJB3 Persistence Mappings