Step 1: Setup Project and Connect to Database
In general, it is not necessary to create a project to use the database tools of Workshop. The IDE can connect with any existing database that has a JDBC driver. From Workshop, you can simply create a database connection and proceed to use the database tools.
For this tutorial, we will open an existing demo application which contains a database, so that we can demonstrate the database tools.
Create a new project and load the sample application
In order to access the demo database, we must first create a project and install the files.
- Choose File > New > Example.
- In the New Example dialog, select JPA > Workshop
JPA Tutorial from the list.
- Click Next.
- Verify that the value workshop-jpa-tutorial is in the
project name field, click Finish.

Connect and analyze database schema using DbXplorer
In this step, we will learn how to explore databases using the DbXplorer™,
a view that provides an intuitive interface for database access through
the ORM Workbench. Using the DbXplorer, you can setup a database connection,
add and edit data, review the database artifacts, query the data in an
existing table or column, and generate object relational mappings.
Create a New Database Connection
- Click on the DbXplorer view tab, if it is visible. If not, open
the DbXplorer view by clicking Window > Show
View > DbXplorer.
- Right-click anywhere within the DbXplorer view and select New Connection.

- In the Add Database Connection wizard, enter a database
connection name. The database connection name can be arbitrary and does not
have to match the actual name of the database server. Click Next to proceed.

- In the Add Database Connection dialog, click Add
and select the Hypersonic JDBC driver file, <path to workspace>\workshop-jpa-tutorial\web\WEB-INF\lib\hsqldb.jar.
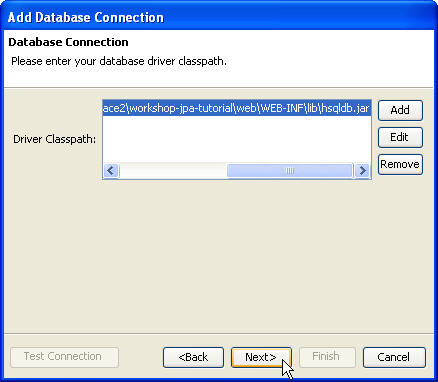
- Click Next.
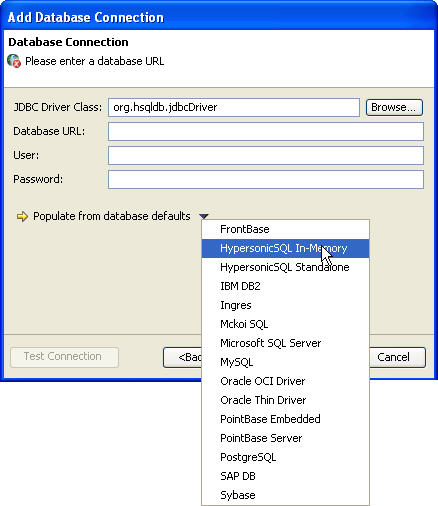
- In the JDBC Driver Class field click Browse and select org.hsqldb.jdbcDriver.
- Workshop provides sample Database URL's for some standard databases, which
can be accessed from the Populate from database defaults
pull down menu. Select HypersonicSQL In-Memory.
- For database URL jdbc:hsqldb:{db filename}, specify the
Hypersonic database script file location for {db filename}: <path to workspace>\workshop-jpa-tutorial\web\hsqlDB\SalesDB
.
- For User, enter sa.

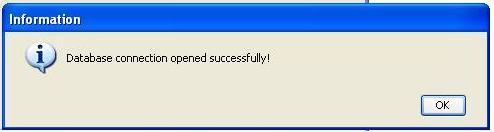
- Click the Test Connection button to verify the connection
information.
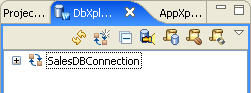
- Click Finish. The new database connection displays
in the DbXplorer view.
Click one of the following arrows to navigate through the tutorial:
Still need help? Post a question on the Workshop
newsgroup.