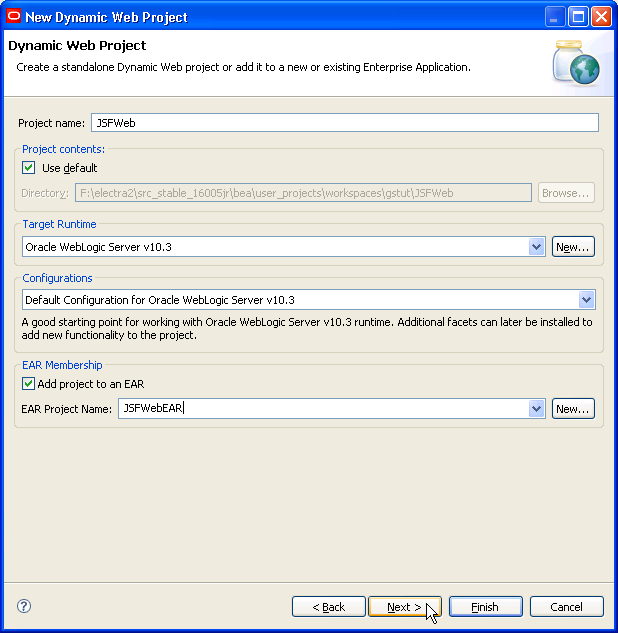
In the Project Name field, enter
JSFWeb.Place a checkmark next to Add project to an EAR.
Confirm that the field EAR Project Name shows the value:
JSFWebEAR.Click Next.
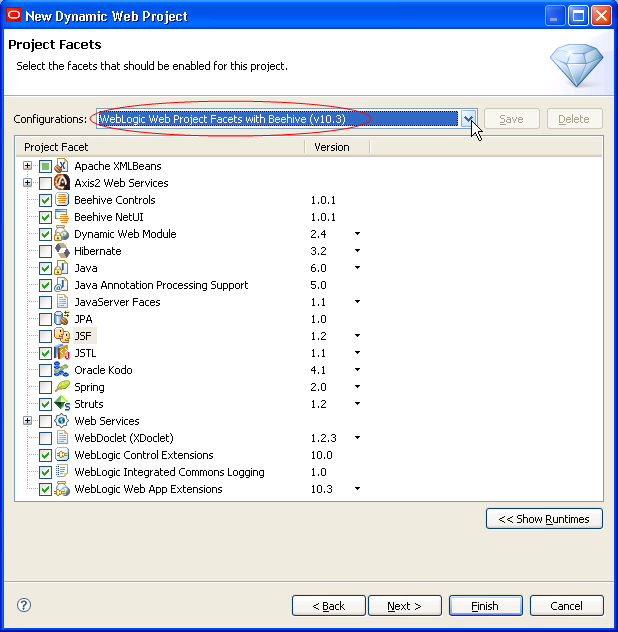

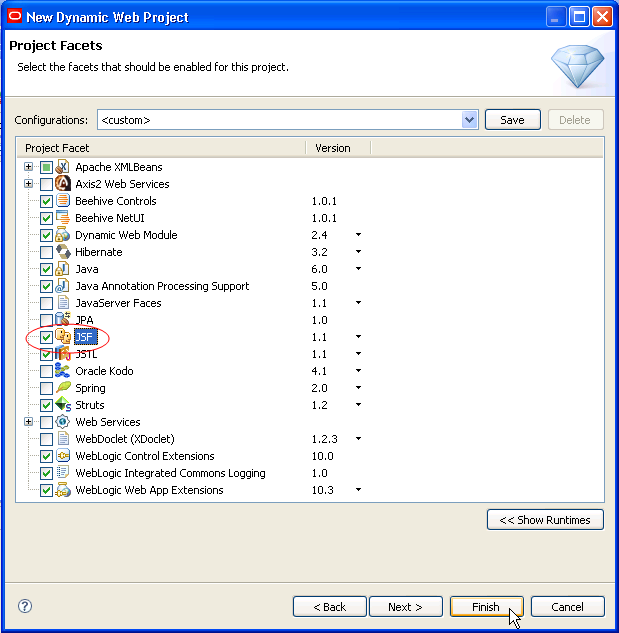
Place a checkmark next to the JSF facet and click Finish.
In this step you will set up a JSF-enabled web project.
The tasks in this step are to:
If you haven't started Workshop yet, follow these steps: Start Workshop.
If you would like to execute the tutorial in a separate workspace follow these steps: Create a New Workspace.
Note: If you already have a workspace open, this will restart Workshop. Before beginning, you might want to launch help in standalone mode to avoid an interruption the restart could cause, then locate this topic in the new browser. See Using Help in a Standalone Mode for more information.
In this step you will add a WebLogic Server domain for use with Workshop. This server domain contains runtime libraries required by the application and the application will be deployed to this server.
JSFWeb.JSFWebEAR.
In this step you will import control files into your web project, control files that provide access to customer data.
Integrating Java Server Faces into a Web Application
Click one of the following arrows to navigate through the tutorial:
|
|
|