Create a JSP File
To create a JSP file:
- Click File > New > JSP.

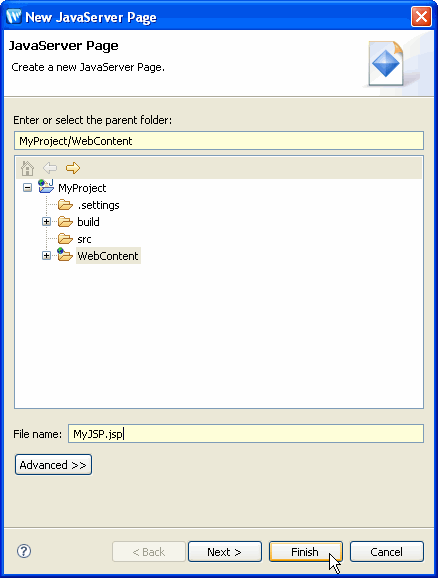
Notice that the WebContent subfolder has already been selected as the parent folder for the JSP. Then fill in the file name in the File name field. Click Finish to create the JSP.
In this step, you will create a simple "hello world" web application: a project and a JSP.
The tasks in this step are:
If you haven't started Workshop yet, follow these steps: Start Workshop.
If you would like to execute the tutorial in a separate workspace follow these steps: Create a New Workspace.
Note: If you already have a workspace open, this will restart Workshop. Before beginning, you might want to launch help in standalone mode to avoid an interruption the restart could cause, then locate this topic in the new browser. See Using Help in a Standalone Mode for more information
In this step you will add a WebLogic Server domain for use with Workshop. This server domain contains runtime libraries required by the application and the application will be deployed to this server.
The Eclipse IDE requires that all web application files be grouped into a project--a single top-level folder. Eclipse then generates metadata files and uses the project folder as a basis for building the web application and deploying it to a server. When projects are created, the features that the project will use (called facets) are specified so that the appropriate libraries and settings are added to the project.
Web applications that use JSPs are created in a Dynamic Web project.
Click Next to continue.
For the purposes of this tutorial, deselect the facet Beehive
NetUI (if it is already selected).
Click Finish.
To create a JSP file:

Notice that the WebContent subfolder has already been selected as the parent folder for the JSP. Then fill in the file name in the File name field. Click Finish to create the JSP.