In order to use JPA, you need to be working within a project that supports it — in other words, a project that includes the required libraries. You can add this support in one of two ways:
Note also that if you are using Studio with any project using the Java 5.0 compiler (Compiler compliance level of 5.0) including BEA Kodo, then the Eclipse instance should be launched using Java 5.0 as well.
When you create a new web application project, the wizard will prompt you with the following dialog. Select the JPA facet to add JPA support. If you are using Kodo or Hibernate, you must choose the BEA Kodo or Hibernate facet respectively. If you are using another JPA implementation, you must add the libraries manually.
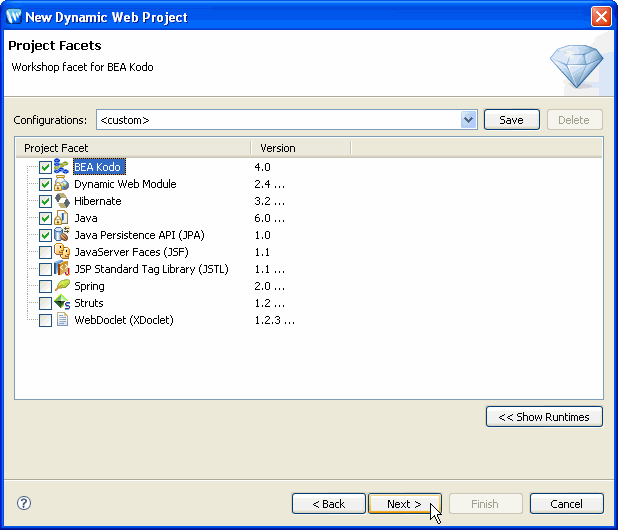
As you continue to click Next through the project creation wizard, you will be prompted for additional parameters.
If you added the BEA Kodo facet, you will be prompted to specify your configuration file:
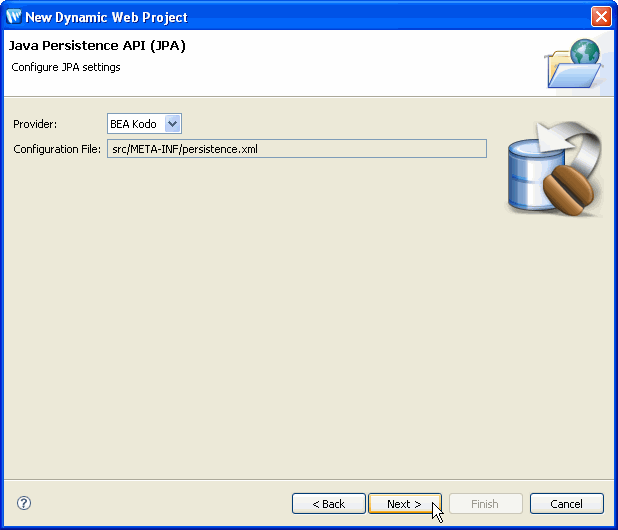
Click Next when you have specified your configuration file.
If this is the first time you have used Kodo, the next screen prompts you to download the libraries. Note that the license for Kodo that is included with Workshop Studio is a trial license only.

To download the library, click Add.

Click Next to download the latest library (4.0). The next screen allows you to specify which library files are to be included in your project.

After you select the libraries, click Finish.
Click Finish to complete your project.
If you selected the Hibernate facet, you will be prompted for Hibernate settings.

Click Next.
If this is the first time you have used Hibernate, the next screen prompts you to download the libraries.

The next screen downloads the libraries from BEA or allows you to specify where the libraries are located.

Specify your preferences and click Next.
The next screen is the Hibernate license. Read the license carefully before you accept the terms.
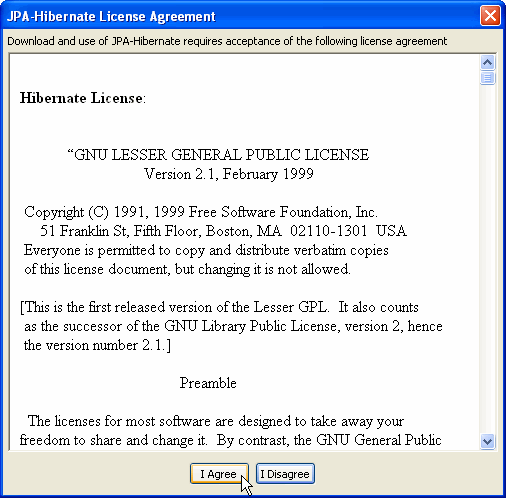
If you do NOT accept the terms of the license, you will not be allowed to download the libraries and proceed.
If you click on I Agree, the libraries will be downloaded.
The next screen allows you to select the files that will be included in this project.

After you select the files, click Finish.
Click Finish to complete your project creation.
You can add JPA support to a web application project you've already created by editing the project's properties. In the project's properties dialog, in the left panel, click Project Facets; in the right panel, click the Add/Remove Project Facets button.
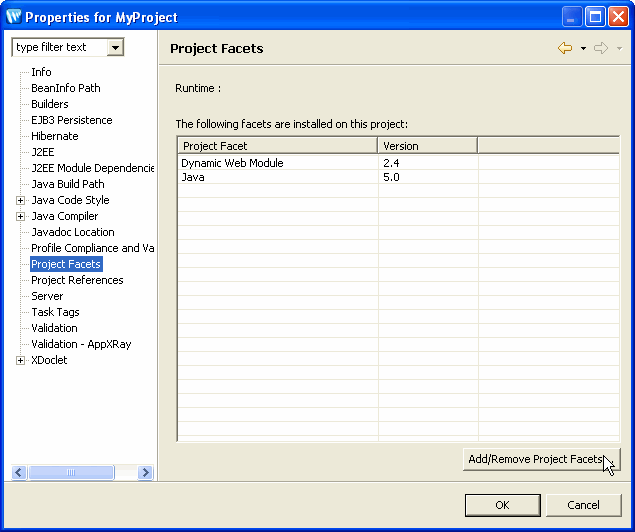
This displays the Select Project Facets dialog where you can choose to add the JPA facet and optionally the Kodo or Hibernate facet.

The next screens are the same as when you add the facets to the project when you create a new project.
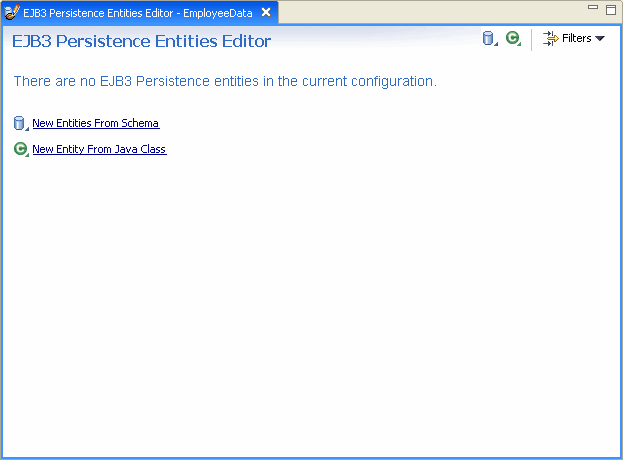
Click Finish to update your project with JPA support. If you've added EJB3 support but no entities — for example, an existing persistence.xml file you selected has no entities defined — the entities editor added to your project will look something like the following. For more information on using the links in the editor to create entities, see Creating JPA Mappings from a Schema and Annotating Existing Classes for JPA.
![]()