2 Configuring the ADF Mobile Environment
This chapter describes how to configure the environment for ADF Mobile applications as well as how to build and test ADF Mobile applications.
This chapter includes the following sections:
-
Section 2.1, "Introduction to the ADF Mobile Development Environment"
-
Section 2.2, "How to Configure the Environment for ADF Mobile Application Development"
2.1 Introduction to the ADF Mobile Development Environment
ADF Mobile application development is almost identical to ADF Web application development, except that ADF Mobile application development uses only mobile JSF pages that consist of Apache MyFaces Trinidad components.
To create an ADF Mobile application:
-
Configure the environment by creating an application and project.
-
Add a Web project
-
Add the JSF pages using Apache MyFaces Trinidad components
Read this chapter to understand:
-
How to create a Web project that contains technologies that support mobile applications.
-
How to implement an ADF Mobile application by adding JSF pages to the Web project that are built with Apache My Faces Trinidad components.
-
How to select the appropriate testing environment for an ADF Mobile application.
2.2 How to Configure the Environment for ADF Mobile Application Development
ADF Mobile application development for desktop browsers differs only from ADF Web application development for desktop browsers in the creation of the Web project. For more information, refer to Section 2.3, "How to Create an ADF Mobile Application".
To configure the environment, first create an ADF Mobile application:
-
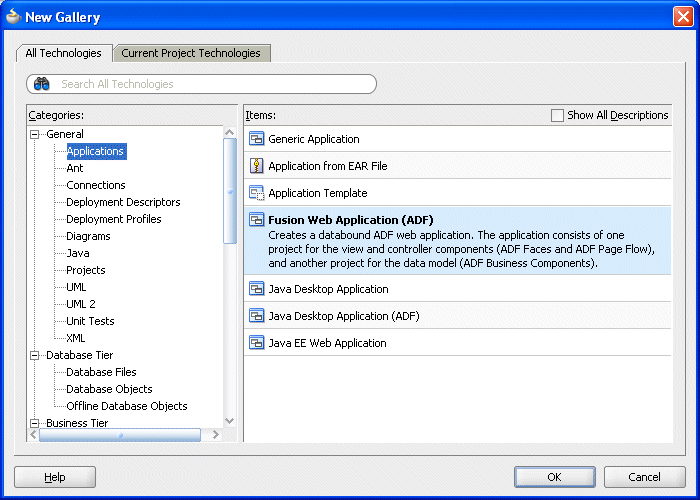
Click File and then New. The New Gallery appears, with General selected in the Categories pane and Application selected in the Items pane (Figure 2-1).
-
Select Applications in the Categories pane and then Fusion Web Application in the Items pane.
Note:
Fusion Web Application must be selected as the application template. -
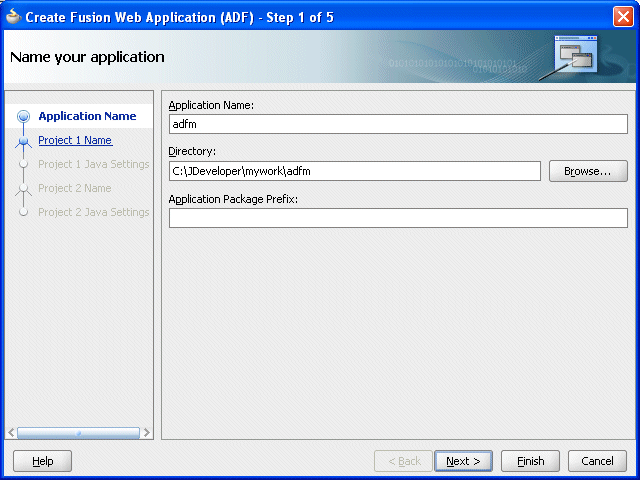
Click OK. The Create Fusion Web Application (ADF) wizard opens to its first page, Step 1: Name your application. (Figure 2-2).
-
Complete this page by entering a name and, if needed, a location for the application in the Directory field.
-
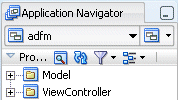
Click Finish. The application's Model and its generated Model-View Controller projects appear in the Application Navigator (Figure 2-3).
Note:
Define the business logic the Model project, but do not use the generated Model-View Controller project. Instead, create a mobile Model-View Controller project as described in the following steps. -
Click File and then New. The New Gallery appears.
-
Select Projects in the Categories pane and then Generic Project in the Items pane.
-
Click OK. The Create Generic Project wizard appears.
-
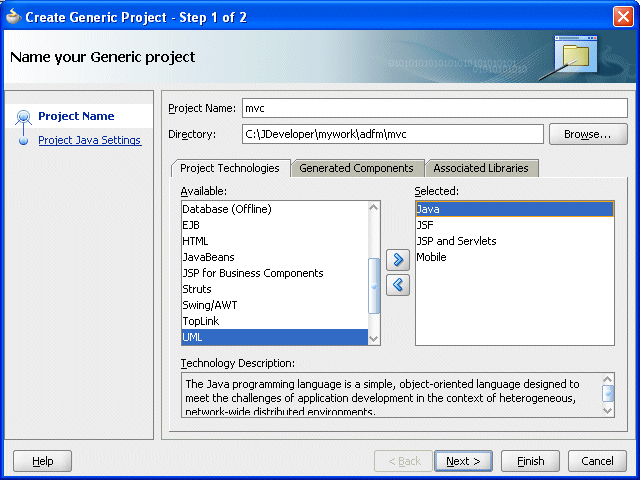
Complete the wizard by first entering a name for the project. For example, enter ViewController-Mobile.
Tip:
To make entering a URL on mobile device easier, enter short, lower-case names for both the application and the project. -
Select the ADF Mobile technology scope for the project by moving Mobile from the Available pane to the Selected pane. As depicted in Figure 2-4, the following technologies appear in the Selected pane:
-
Java
-
JSF (JavaServer Faces)
-
JSP and Servlets
-
Mobile
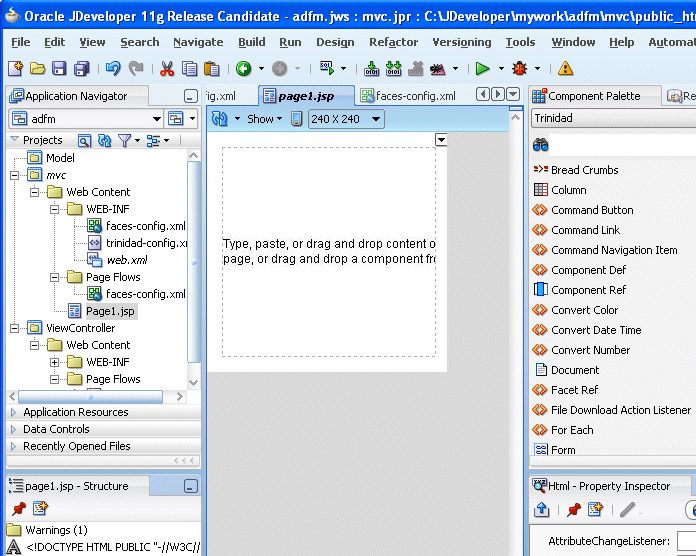
Because you added the Mobile technology scope, the Apache My Faces Trinidad library is automatically loaded to the workspace and the Trinidad component palette will be loaded when you create mobile JSF pages (Figure 2-9).
-
-
Click Next. The Configure Java settings for the project page appears.
-
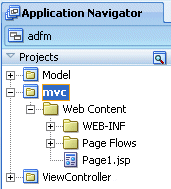
Click Finish to complete the project. The mobile Model-View Controller project (mvc) appears in the Application Navigator (Figure 2-5) within the Fusion Web application.
2.3 How to Create an ADF Mobile Application
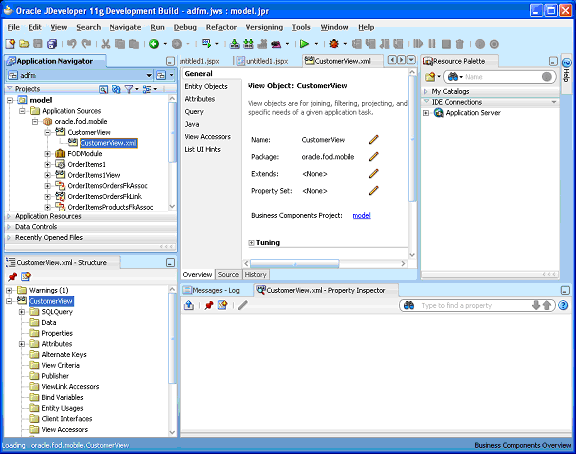
ADF Mobile application development for desktop browsers is nearly identical to ADF Web application development for desktop browsers; the two only differ in how you create the Web project. For ADF Mobile applications, you develop an ADF Mobile application by creating Web pages in the Web project. Otherwise, you develop an ADF Mobile application the same way that you develop an ADF Web application for a desktop browser. Typically, you create a Web project within the application to implement a user interface and ADF business components or a TopLink project to implement a business layer. Figure 2-6 illustrates an ADF Mobile application (adfm) that contains model, a business components project.
2.3.1 Creating a Mobile JSF Page
To create a mobile JSF page:
-
Click File and then New. The New Gallery appears.
-
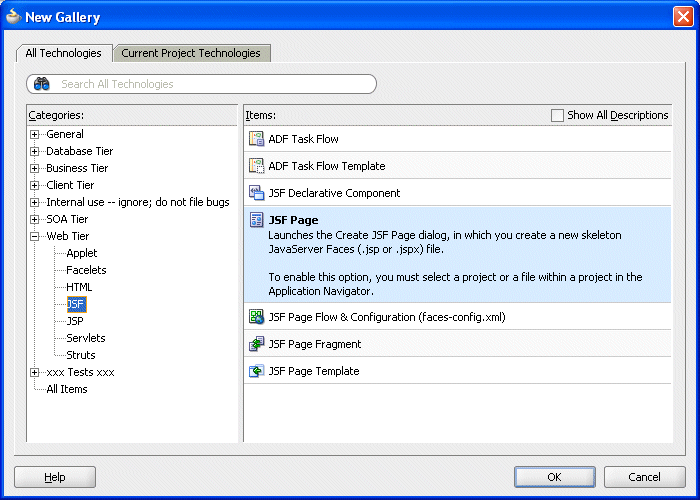
Select JSF from the Web Tier node in the Categories pane.
Note:
Project Technologies (the default) must be selected from the Filter By list. -
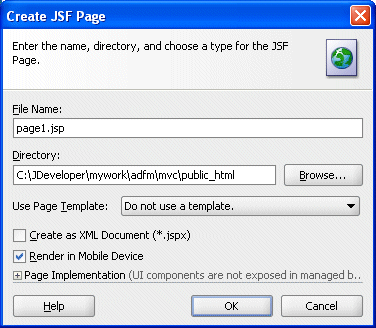
Select JSF Page in the Items pane and then click OK. The Create JSF Page dialog appears (Figure 2-8). A page designer for a mobile JSF page appears.
Note:
Because you added the Mobile technology scope for the application, the Render in Mobile Device option is selected by default. -
Select the Trinidad component palette and then create the page using the Apache My Faces Trinidad components. You can create the page in the same manner as a desktop ADF Web page.
2.4 Testing the Application
You can test an ADF Mobile application on a mobile device, a mobile device emulator, or a desktop browser. Testing on an actual mobile device or mobile device emulator provides more accurate results than does testing on a desktop browser.
Using a desktop browser to test an ADF Mobile application produces only approximate results. Desktop browsers provide a fairly uniform testing environment: Web pages appear and behave similarly and business logic executes identically in any type of browser.
Testing an application on an actual mobile device, however, produces more accurate results, because the capabilities of mobile browsers may cause controls to behave differently than they do on a desktop browser. In addition, mobile browsers are usually smaller than desktop browsers. They also render pages differently than desktop browsers because Web servers optimize the look and feel by generating pages that are specific to the mobile browser.
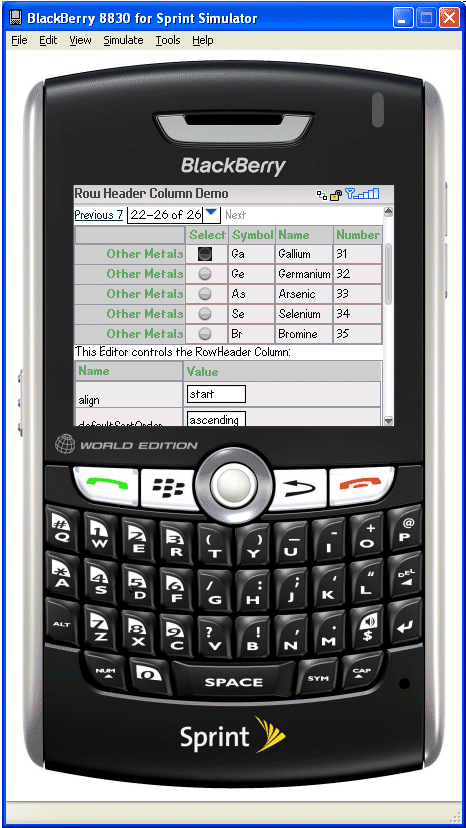
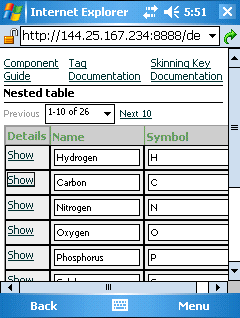
Testing application on mobile devices has limitations as well, in that you may not have access to all of the devices that you want to test. Further, development environments behind firewalls can interfere with testing on mobile devices that access the Internet. In such cases, mobile device emulators provide an alternative testing method. For example, to test applications on BlackBerry or Windows Mobile emulators (Figure 2-10 and Figure 2-12, respectively), first download device emulators from the RIM developer site (http://na.blackberry.com) and the Microsoft developer site (http://www.microsoft.com). Before you test applications on the emulator, you first configure the emulator and connect it to the Web server. Information on downloading and configuring simulators for ADF Mobile is available at the Oracle Technology Network at http://www.oracle.com/technology/tech/wireless/ADFMobile_Emulator_howtos.html.
2.4.1 How to Test ADF Mobile Applications
After you test an application on a desktop browser, you can then test it on an emulator. You can use the URL displayed in the desktop browser, but you must replace the local IP address with the IP address of the server that hosts the emulator. For example, to text an application using a Windows Mobile 6 emulator, change the address from the local IP used by the desktop to that of the server hosting the Windows Mobile 6 emulator.
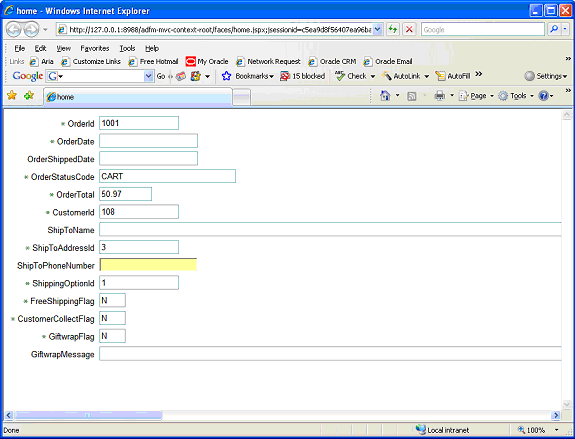
For example, in Figure 2-11, the desktop browser displays the IP address of the local host, 127.0.0.1. In Figure 2-12, the IP address has been changed to that of the server hosting the Windows Mobile 6 emulator (144.25.167.234).
Tip:
To obtain the network IP address, use theipconfig command interface on Windows systems and the ifconfig command on Linux/UNIX systems.In addition, you must remove the session specification that follows the page name. The page name is typically appended with either .jspx or .jsp. In Figure 2-11, the page name, home, is appended with .jspx.
In general, you debug an application by repeating cycles of code and then by testing the application. When you test an application that has been modified, you must do one or both of the following:
-
Refresh the page.
-
Clear the browser's cache.
You do not need to re-enter the URL, as it does not change as long as you develop the same application.
2.4.2 Browser Settings
This section describes the browser setting requirements for Windows Mobile and BlackBerry browsers.
Microsoft Windows Mobile 5 and 6, Microsoft Pocket Internet Explorer
For optimal viewing, select the Fit to Screen view (accessed by selecting Menu, View and then Fit to Screen). Do not select the One Column view, as it causes layout problems.
ADF Mobile only works if JavaScript support is enabled. To ensure that JavaScript support is enabled:
-
Select Options and then Browser Configuration.
-
Ensure that the following tables are selected:
-
Support JavaScript
-
Allow JavaScript Popup
-
Support HTML Tables
-
