Before You Begin
Prior to installation, make sure the machine is performing properly as a router. Do not begin this procedure until you have read the information in "Installation Considerations."
The installation procedure requires that you reboot the machine when indicated. Do not perform any other tasks on the machine while installing the software, as a delay in rebooting the machine can affect installation and cause your system to hang.
To Install SunScreen
The installation wizard guides you through this procedure. You must be on the machine you are installing on in order to use the installation wizard and you must not telnet to the machine.
Note -
This chapter documents a default installation so you should accept all defaults as given. If you want a different choice, quit the installation wizard and restart it using the appropriate installation procedure; see the Table of Contents to locate the types of installations.
-
Insert the Solaris Easy Access CD-ROM into the CD-ROM drive.
A File Manager window appears listing the CD contents. Navigate down to the SunScreen directory.
-
Start the installation by double-clicking on the SunScreen installer icon.
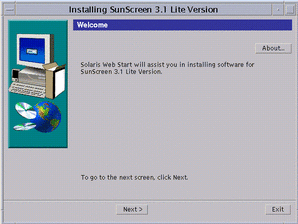
Type the root password for your system when prompted. The SunScreen installer's Welcome window appears (as shown in the following figure).
Figure 3-1 SunScreen Installation Welcome Window
-
Click Next to continue.
The Select SunScreen Components to Install window appears (as shown in the following figure).
Figure 3-2 Select SunScreen Components to Install Window
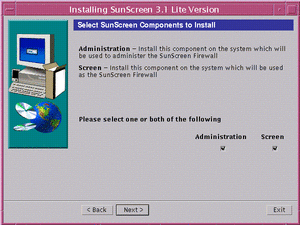
Since this is a local administration installation, you need both the administration and the Screen software.
-
Make sure both Administration and Screen boxes are checked, then click Next to continue.
The Checking System window appears (as shown in the following figure), while a check is verifying that all the required Solaris packages are on your machine.
Figure 3-3 Checking System Window
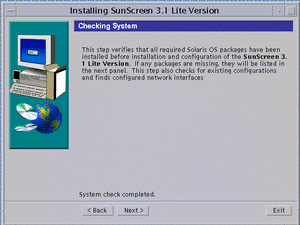
Note -If a list of missing required packages displays, exit the installation wizard now and install the required Solaris packages from your Solaris CD.
-
Click Next to continue.
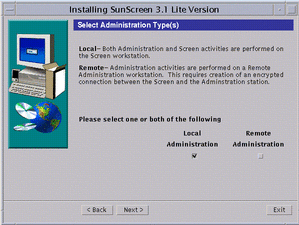
The Select Administration Type(s) window appears (as shown in the following figure) with Local Administration as the default entry .
Figure 3-4 Select Administration Type(s) Window
-
Click Next to continue.
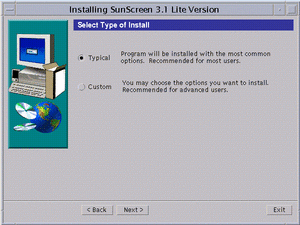
The Select Type of Install window appears (as shown in the following figure). You have two choices: Typical Install or Custom Install.
Figure 3-5 Select Type of Install Window
-
Select the type of install desired, and click Next.
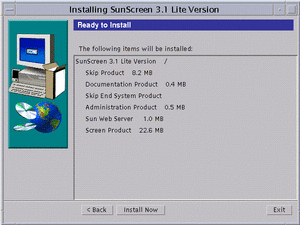
Next, the disk space on your machine is checked. An error message appears if you do not have enough disk space. If you have enough space, the Ready to Install window appears (as shown in the following figure).
Figure 3-6 Ready to Install Window
-
Click Install Now to continue.
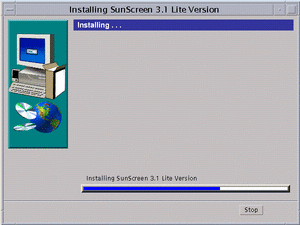
The Installing window appears with a status bar showing the progress of the installation (as shown in the following figure).
Figure 3-7 Installing Window
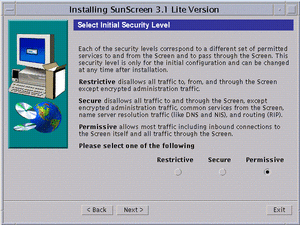
When it finishes, the Select Initial Security Level window appears (as shown in the following figure).
-
Select the appropriate level of security.
This window offers three levels of security with Permissive as your default initial security level. You can change this security level later as needed. See "Deciding on Your Initial Security Level" if you need more information.
Figure 3-8 Select Initial Security Level Window
-
Click Next to continue.
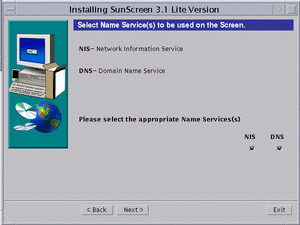
The Select Name Service(s) to be used on the Screen window appears (as shown in the following figure). The default entry specifies both NIS and DNS. You can deselect either one or if you do not want to use a name service, you can deselect both.
Figure 3-9 Select Name Service(s) to be used on the Screen Window
-
Click Next to continue.
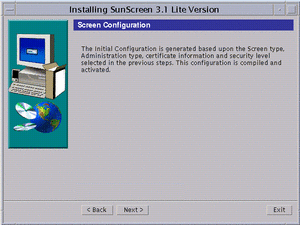
The Screen Configuration window appears with the message: Configuring Screen (as shown in the following figure). A message appears once the Screen successfully configures.
Figure 3-10 Screen Configuration Window
-
Click Next to continue.
The Reboot System window appears (as shown in the following figure).
Figure 3-11 Reboot System Window
-
Click System Reboot to finish the installation.
The installation wizard disappears.
Note -You must reboot the machine at this time in order to complete the installation process. If you wish to delay rebooting your machine, click Next instead of Reboot System. An Installation Summary window appears from which you can exit the installation.
- © 2010, Oracle Corporation and/or its affiliates
