| C H A P T E R 8 |
|
Using The Remote Console Application |
This chapter describes how to use the remote console application.
It includes the following sections:
The remote console application, which is started using the WebGUI, allows you to control your server's operating system remotely, using the screen, mouse and keyboard, and to redirect local CD and diskette (floppy) drives as if they were connected directly to the server.
You do not need to install software on the host system (server). The ILOM ships with the remote console application installed.
A compatible web browser and JRE 1.5 are required to operate the remote console application. See TABLE 8-1.
You do not need to install any OS-specific drivers or helper applications on client systems to run the remote console application.
|
Note - To download the Java 1.5 runtime environment, go to http://java.com. |
The remote console application uses the following TCP ports:
|
Note - If the ILOM is configured to use HTTP, it uses TCP port 80. |
When you redirect the local client CD drive or diskette drive to a remote host server, the following rules apply:
Information in TABLE 8-3 describes different case scenarios in which the remote console application and CD drive and diskette drive redirection operate.
Use this procedure to start the remote console application from the WebGUI.
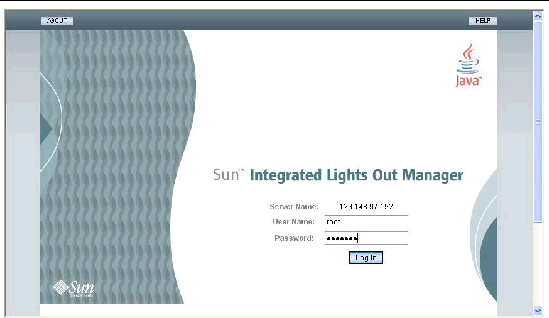
1. Type the IP address of the ILOM into the browser locator box and press ENTER.
The ILOM login page appears, as shown in FIGURE 8-2.

2. Type the user name and password.
The default user name is root and the default password is changeme.
During this procedure, you might see security warnings. When you are prompted, select Accept, Allow, or whatever else will tell your security software to enable the connection.
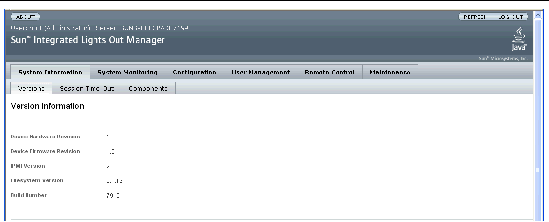
The ILOM screen displays the System Information => Versions Information page.
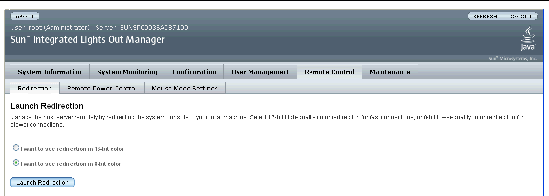
3. Select the Remote Control tab.
The Remote Control options appear.
4. If necessary, set the mouse mode.
If you are not changing the mouse mode, skip to Step 5.

|
Caution - Do not change the mouse mode unless it is necessary, as it causes the ILOM to reset itself. |
a. Select Remote Control => Mouse Mode Settings.
The Mouse Mode Settings page appears.
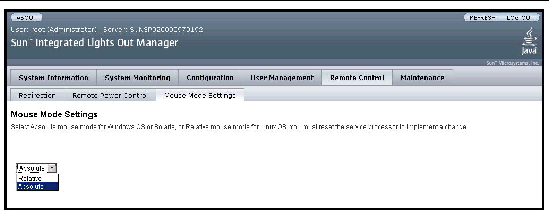
b. Check to see if the mouse mode is set correctly, and if it is, proceed to Step 5.
c. If the mouse mode is set incorrectly, select either Absolute or Relative mouse mode from the drop-down list.
A confirmation dialog box appears.
d. Click the OK button in the dialog box.
The ILOM is reset. This process takes about two or three minutes, during which time the ILOM is unavailable.
e. After the ILOM resets itself, repeat Step 1 through Step 3, then proceed to Step 5.
The new mouse mode is now in effect. The mouse mode setting is stored on the ILOM. Therefore, subsequent connections to the WebGUI will use the new mode.
|
Note - If you use Relative mouse mode, you might have difficulty getting a redirected mouse out of the remote console window. To regain control of the cursor, type ALT+m |
5. Select 8-bit or 16-bit color.
During this procedure, you might see security warnings. When you are prompted, select Accept, Allow, Yes, or whatever else will tell your security software to enable the connection.
The JavaRConsole message appears.
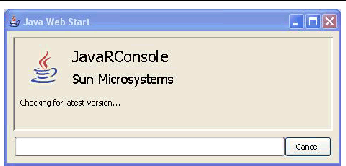
7. When you see the login dialog box, type the username and password.
The defaults username is root and the default password is changeme.
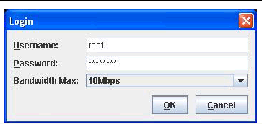
8. Select a bandwidth (optional).
Choose bandwidth that matches your actual bandwidth.
|
Note - Setting the bandwidth higher than what is actually available can degrade performance. Sometimes you can improve performance by setting the bandwidth lower. |
9. Click the OK button to launch the remote console application.
When the login is successful, the Remote Console screen appears.
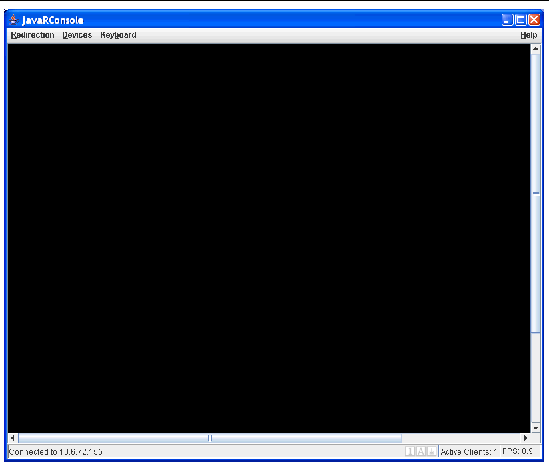
The remote console application starts with the video and keyboard enabled.
10. Choose Devices => Mouse to enable mouse redirection (Optional).
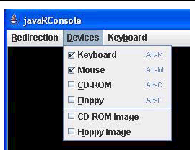
You should now be able to use the remote console application to start your server's operating system.
Video and keyboard are enabled by default. In most cases, all you need to do is enable the mouse redirection.
For detailed instructions on how to enable and disable I/O and storage devices (CD-ROM and Diskette drives), see Section 8.3, Redirecting Keyboard, Video, Mouse, or Storage Devices.
The remote console application supports the redirection of the following types of devices:
Use the following procedure to redirect a server keyboard and mouse device to your local workstation or laptop.
|
Note - For the mouse to work correctly, you might have to change the mouse mode as well. This is described in Step 4 of the procedure Section 8.2, Starting the Remote Console Application. |
1. Start the remote console application as described in Section 8.2, Starting the Remote Console Application.
The Remote Console screen appears.
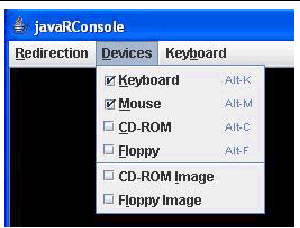
2. Choose Devices => Mouse to enable mouse redirection.
3. If keyboard redirection is disabled, select Devices => Keyboard to enable it.
4. Use the Keyboard menu to control keyboard attributes and to send special characters that might not be available on the keyboard in remote console mode.
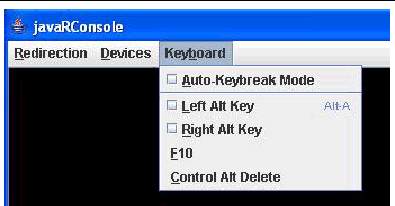
a. Choose Left Alt Key (or Right Alt Key).
d. Deselect Left Alt Key (or Right Alt Key).
Use the following procedure to enable a storage device attached to your local workstation or laptop to serve as a storage device for a server. You can use this option to install software from a local CD/DVD drive to multiple remote servers.
|
Note - You can also use this procedure to redirect a CD image file or a diskette image file stored on your hard drive. |
1. Start the remote console application as described in Section 8.2, Starting the Remote Console Application.
The Remote Console screen appears.
2. Choose Devices => CD-ROM or Devices => Floppy.
This enables the corresponding local storage device to connect to the remote server as though it were a storage device attached directly to that remote server.
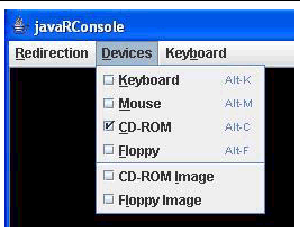
3. To start a CD image file or a diskette image file from your hard drive, select CD-ROM Image or Floppy Image.
|
Note - You cannot select two CD-ROM devices or two diskette devices. For example, you cannot select CD-ROM and CD-ROM image. |
4. Use the browser to navigate to the corresponding image file, then click the OK button.
5. To disconnect a device from the server, deselect the corresponding menu item.
This section explains how to control the power to a Sun server.
1. Log in to the WebGUI as described in Section 4.2, Logging In and Out of the WebGUI.
2. Select Remote Control => Remote Power Control.
The Server Power Control page appears.
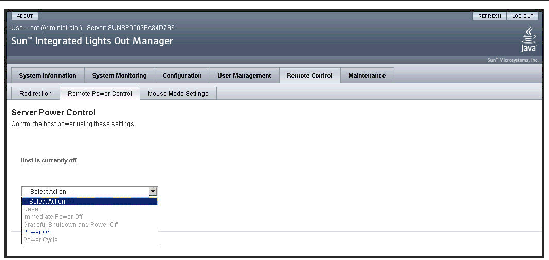
3. To change the power status of the server, select an action from the drop-down list.
4. Click the OK button in the confirmation dialog to implement your selection.
Copyright © 2006, Sun Microsystems, Inc. All Rights Reserved.