 To Configure OpenSolaris for Multiple Monitors
-
Connect your second monitor to the free graphics card DVI connector at the back of the workstation.
Note –These instructions assume your workstation uses an NVIDIA graphics card with multiple output ports. If you use some other kind of graphics card, be sure to obtain the latest device driver for it. For more on device drivers, see http://dlc.sun.com/osol/docs/content/dev/getstart/devdriver.html.
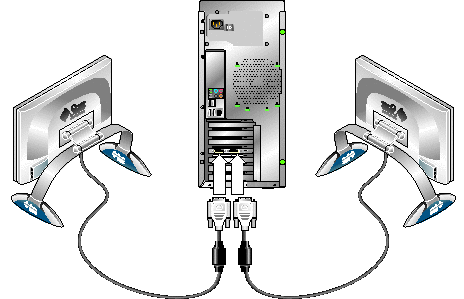
-
If you are not using the preinstalled OpenSolaris image and installed OpenSolaris from a distribution CD or iso image, you may need to obtain the latest graphics card device driver. Do the following:
-
Power on and log in to the workstation.
-
Insert the latest Tools and Drivers DVD for your workstation into the DVD drive.
-
Open a terminal windows and use the cd command to change the directory to the following location:
cd /mount_point/TD_name/drivers/sx86
Where mount_point is the mount point for the DVD, and TD_name is the name of the Tools and Drivers DVD.
-
Run the install.sh script.
-
After the install.sh script has finished successfully, remove the Tools and Drivers DVD.
-
Log out and reboot the workstation.
-
Log in to the workstation.
-
-
From the OpenSolaris desktop, select System > Preferences > NVIDIA X Server Settings.
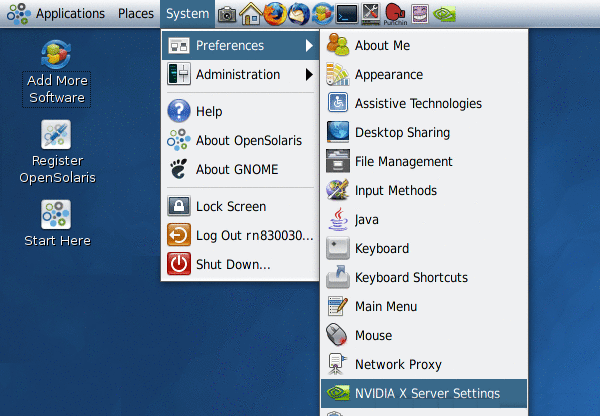
The NVIDIA X Screen Configuration menu appears.
-
Click on the X Server Display Configuration in the setting list in the left pane.
The currently connected display should be shown.
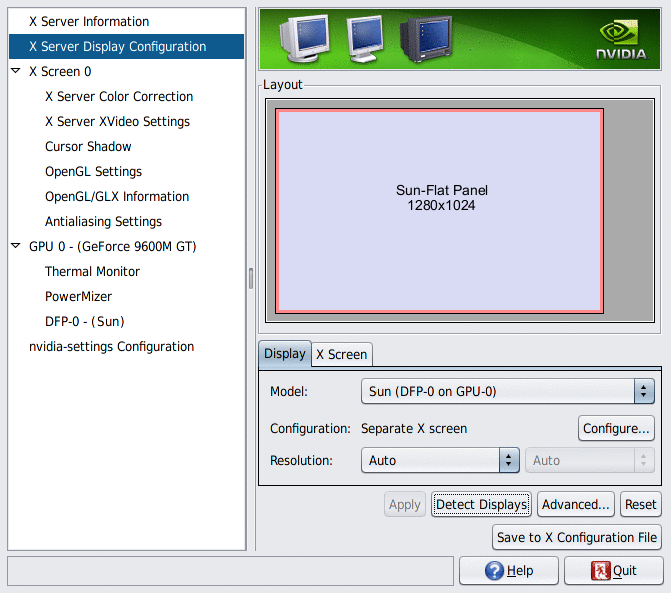
-
Click the Detect Displays button.
The second display should be detected (shown as “disabled”).
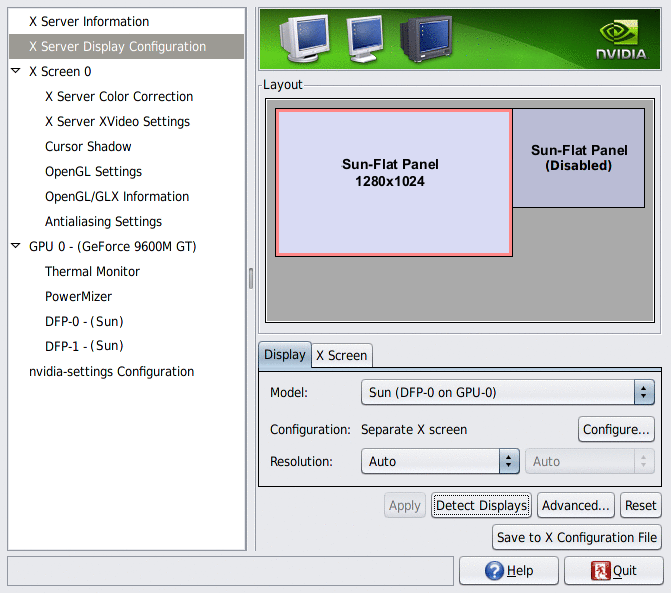
-
Click on the second display to select it (a selected display will have a red border around it).
-
Click the Configure... button.
-
Select "Separate X Screen" at the dialog, and click OK.
-
Click on the "Save to X Configuration File" button, select your Desktop as destination folder, and xorg.conf as the file name.
-
Open a terminal window and enter the command:
pfexec cp Desktop/xorg.conf /etc/X11
-
Quit the NVIDIA X Server Settings tool and log out of the workstation.
-
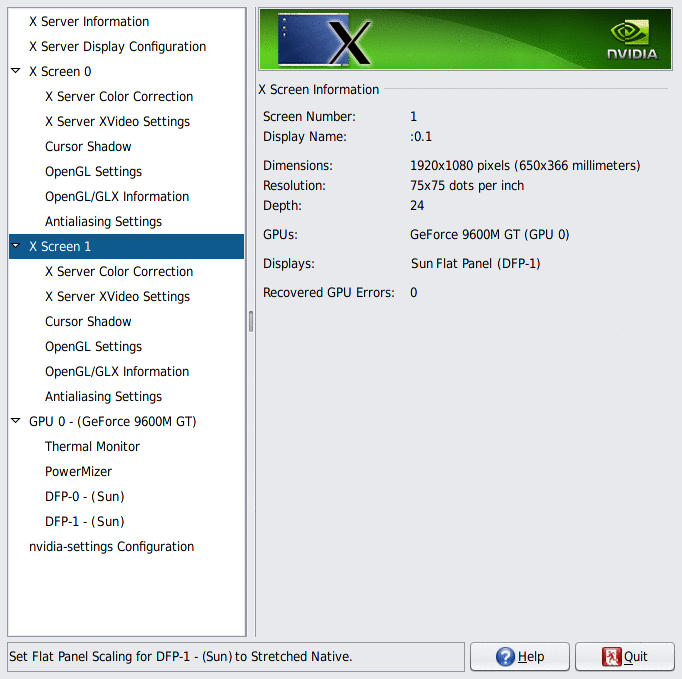
Log back in to the workstation and relaunch the NVIDIA X Server Settings tool.
There should be a second X screen shown in the settings list (X Screen 1).
-
Check and adjust the second display as needed using the X Screen 1 and adapter (Graphics Processor Unit) settings listed in the left pane.
- © 2010, Oracle Corporation and/or its affiliates
