 To Install Sun Management Center
Before You Begin
(On Solaris 10 and above) Ensure that the packages SUNWtcatu and SUNWtcatr are installed in the global zone before running the Sun Management Center server layer.
-
Set up the installation environment.
-
If you are installing the product remotely, grant access to the X server by typing the command xhost + machine in a terminal window where machine is the name of the machine where you want to install the product.
-
Log into the machine. If you are installing the product remotely, type the command rlogin machine and type the password.
-
Log in as root by typing su - root and the root password.
Note –Do not miss the hyphen (-) after the su command
-
If you prefer a specific UNIX shell, type the command to use the shell, for example, csh.
-
If you are installing the product remotely, ensure that the DISPLAY environment variable is set to the machine's display, for example, setenv DISPLAY local-machine:0.0.
-
Ensure that the group entry in the /etc/nsswitch.conf has files as the first token.
group: files nis
-
Change to the image directory. Ensure that the image directory is NFS-shared.
For example:
# cd /net/machine/image/disk1/sbin
where machine is the machine where you created the installation image, and image is the root directory containing the installation images.
-
-
Run the installation.
-
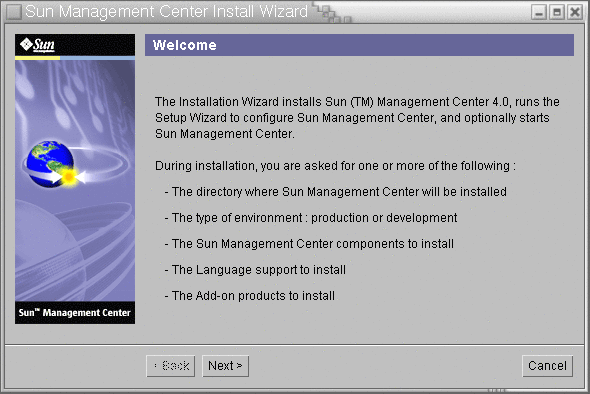
Follow the screen prompts.
-
To accept the default /opt installation directory, click Next, or click Browse to choose another directory.
-
Select the components you want to install.
-
Review the Server Layer Binary Code License and use the scroll bar to scroll down to the end of the text.
-
To agree to the terms of the license, click I Agree.
-
If you want to install the product in additional languages, select the additional languages and click Next. The progress bar appears.
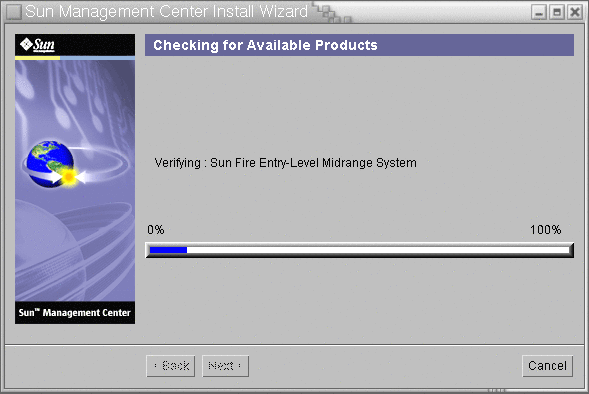
Figure 1–2 Checking for Available Products Progress Bar

-
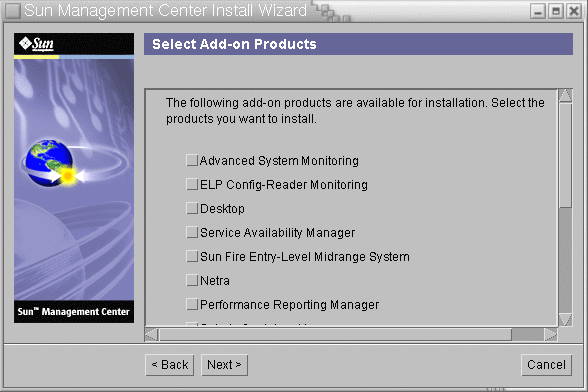
Select the add-on products.
The Select Add-on Products screen appears. Your list of add-on products might vary from this screen.
Figure 1–3 Add-on Products

-
If you selected add-on products that have optional components, select the optional components required and click Next.
-
Review the add-on products binary license and use the scroll bar to scroll down to the end of the text.
Some add-ons require binary license.
-
To agree to the terms of the license, click I Agree.
The Checking Disk Space progress bar appears. If there is not enough disk space, you are asked to provide an alternate file system.
Tip –In a terminal window on the machine where you are installing Sun Management Center, type df -ak to list the amount of used and free space for each file system on the machine.
-
Confirm installation selections and click Next.
Note –The installation process can take from a few minutes to half an hour or more, depending on the products selected.
If installation failed, a summary screen is displayed.
Review the installation log in /var/opt/SUNWsymon/install to find out why the installation failed, and correct the problem.
-
-
Choose whether to run the setup wizard.
 Caution –
 If you have used es-guiinst to install only add-on products, click Close to exit the installation and setup process. You must set up the add-on products as described by To Set Up an Add-on Product Using es-setup. Otherwise, you will overwrite your security keys and will then have to set up all of the agents on all of your machines for the agents to work properly.
- © 2010, Oracle Corporation and/or its affiliates

