Configuring a Communications Express Instance
In this section you learn the following:
-
How to use the Communications Express Configuration wizard to create a Communications Express instance.
-
How to start the Communications Express instance.
 To Configure a Communications Express Instance
This procedures runs the Communications Express configuration wizard to create and configure a Communications Express instance. For a summary of the input values, see Communications Express Configuration Wizard Details.
Steps
-
Change directory to the Communications Express directory:
cd /opt/SUNWuwc/sbin
-
Run the command that starts the configuration wizard:
./config-uwc
The configuration wizard’s Welcome page is displayed.
-
Click Next.
The Select the Directory to Store Configuration and Data Files page is displayed.
-
Click Next to accept the default value of /var/opt/SUNWuwc.
The Create New Directory? dialog box is displayed.
-
Click Create Directory.
Tip –If you previously installed and uninstalled Java ES, a different dialog box appears, stating that /var/opt/SUNWmsgsr is not empty. Click Accept Anyway to overwrite the existing directory.
The Select Components to Install page is displayed.
-
Click Next to accept the default values (Mail Component and Calendar Component are both selected).
The Network Connection page is displayed.
-
Confirm the following default values:
-
In the Hostname text field, confirm that the default value is the unqualified form of your evaluation_host. For example, if you are installing on a system named evaluation.example.com, your default Hostname is evaluation.
-
In the DNS Domain Name text field, confirm that the default value is your evaluation_domain.
Click Next. The Select a Web Container page is displayed.
-
-
Click Next to accept the default values (Web Server is selected).
Click Next. The Web Server Configuration Details page is displayed.
-
Confirm the following default values:
-
In the Server Root Directory text field, confirm that the default value is /opt/SUNWwbsvr.
-
In the Server Instance Identifier text field, confirm that the default value is evaluation_host.
-
In the Virtual Server Identifier text field, confirm that the default value is https-evaluation_host.
-
In the HTTP Port text field, confirm that the default value is 80.
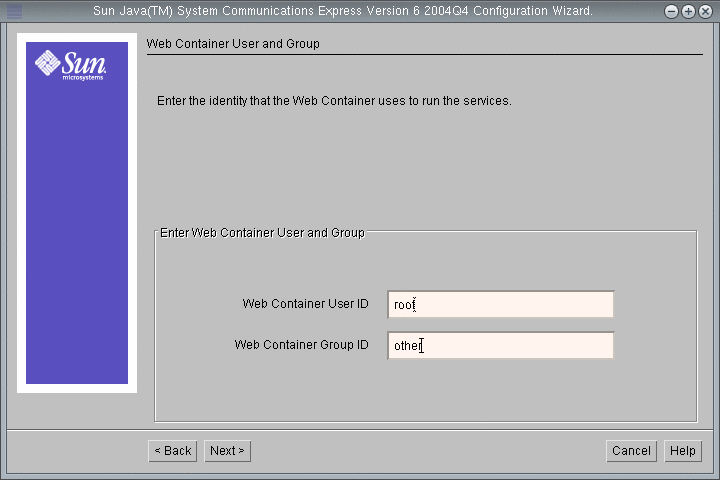
Click Next. The Web Container User and Group page is displayed.
Figure 6–20 Web Container User and Group Page
-
-
Do the following:
-
In the Web Container User ID text field, type root.
-
In the Web Container Group ID text field, type other.
Click Next. The URI Path page is displayed.
-
-
Click Next to accept the default value (/uwc).
Tip –Accepting the default value assigns the following URL to your Communications Express instance: http://evaluation_host:80/uwc.
The Do You Want Hosted Domain Support? page is displayed.
-
Click Next to accept the default value (hosted domain support is not selected).
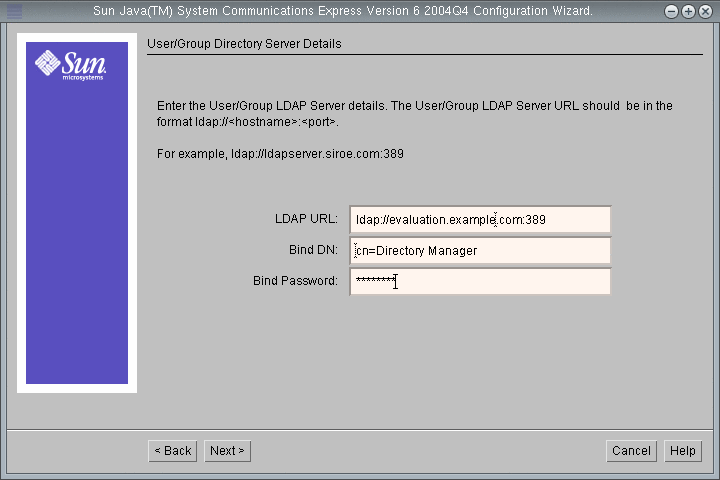
The User/Group Directory Server Details page is displayed.
Figure 6–21 User/Group Directory Server Details Page
-
Do the following:
-
In the LDAP URL text field, confirm that the default value is ldap://evaluation_host:389.
-
In the Bind DN text field, confirm that the default value is cn=Directory Manager. There must be a space between Directory and Manager.
-
In the Administrator Password text field, type password.
Tip –The values on this page specify your default Directory Server instance.
Click Next. The DC Tree Suffix page is displayed.
-
-
Confirm that the default value is o=examplecorp.
Tip –o=examplecorp is the base suffix you established for the evaluation solution when you installed Directory Server.
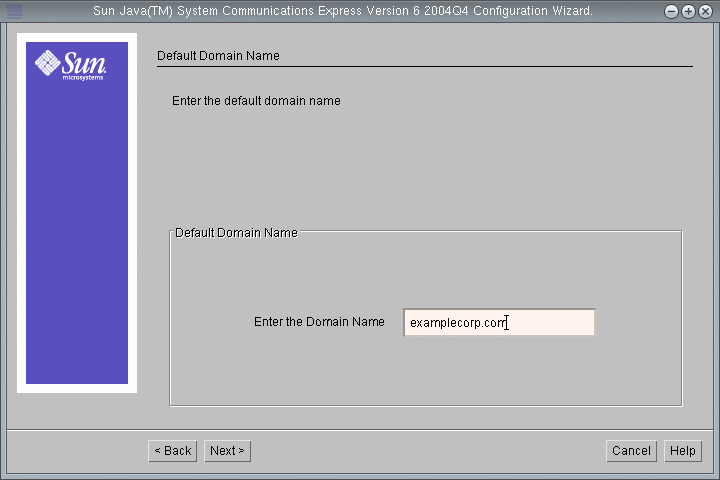
Click Next. The Default Domain Name page is displayed.
Figure 6–22 Default Domain Name Page
-
In the Enter the Domain Name text field, type examplecorp.com.
Tip –Examplecorp.com is the name of the mail domain you created when you configured your Messaging Server instance.
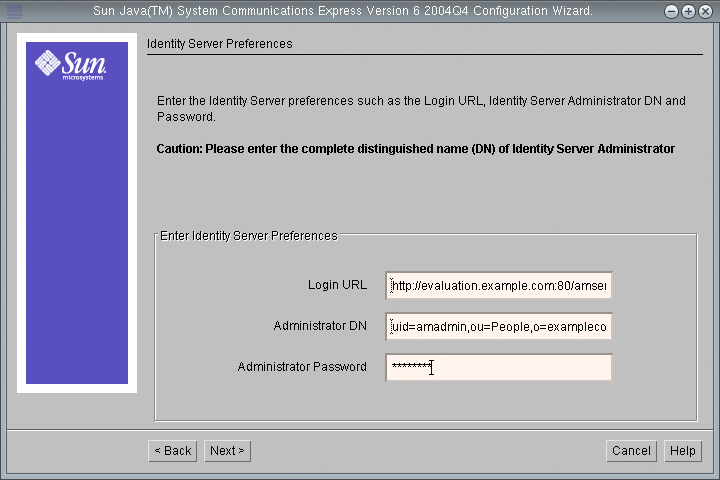
Click Next. The Identity Server Preferences page is displayed.
Figure 6–23 Identity Server Preferences Page
-
Do the following to supply the information needed to identify and connect to your Access Manager instance:
-
In the Login URL text field, confirm that the default value is http://evaluation_host:80/amserver/UI/login.
-
In the Administrator DN text field, type uid=amAdmin,ou=People,o=examplecorp.
-
In the Administrator Password text field, type password.
Tip –The values on this page specify the Access Manager administrator account.
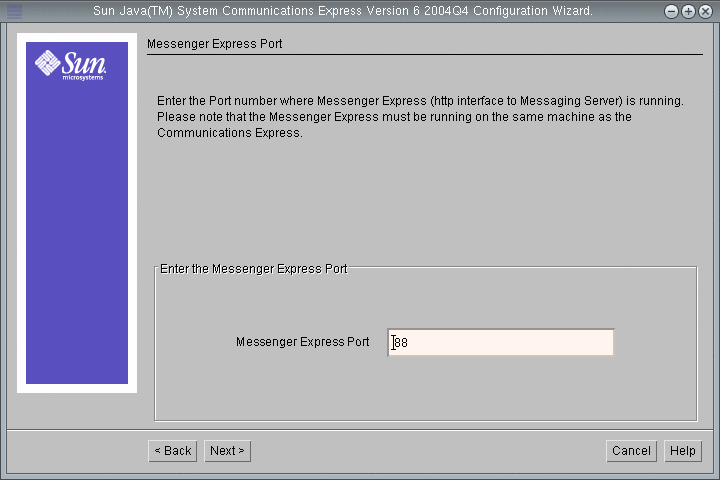
Click Next. The Messenger Express Port page is displayed.
Figure 6–24 Messenger Express Port Page
-
-
Do the following:
-
In the Messenger Express Port text field, type 88.
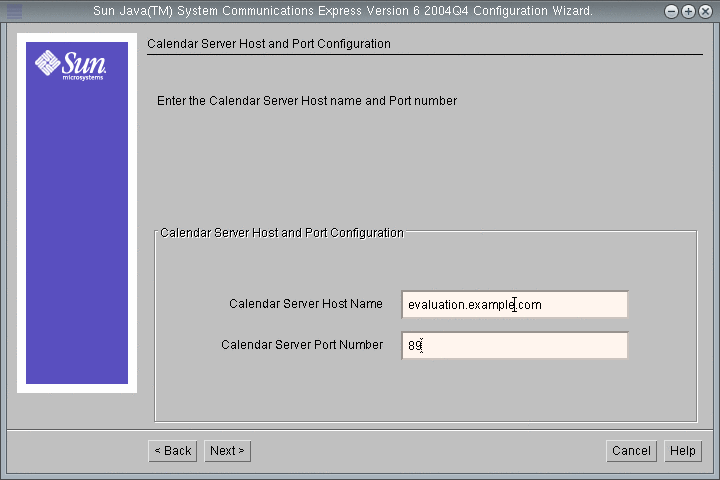
Click Next. The Calendar Server Host and Port Configuration page is displayed.
Figure 6–25 Calendar Server Host and Port Configuration Page
-
-
Type the following values:
-
In the Calendar Server Host Name text field, confirm that the default value is the name of your evaluation_host.
-
In the Calendar Server Port Number text field, type 89.
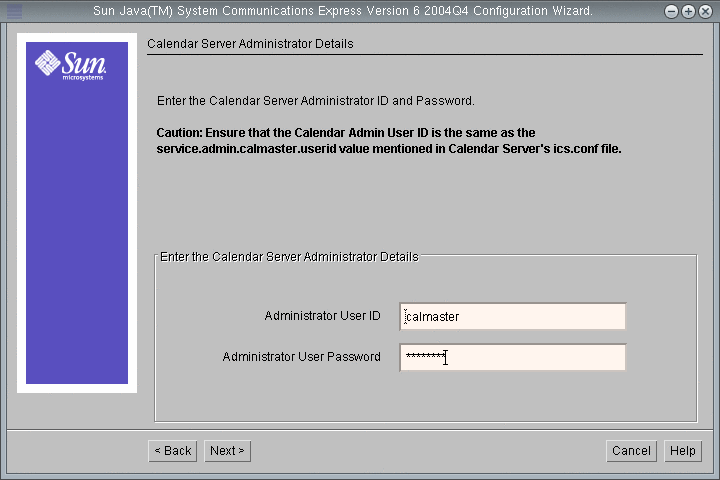
Click Next. The Calendar Server Administration Details page is displayed.
Figure 6–26 Calendar Administration Details Page
-
-
Do the following:
-
In the Administrator User ID text field, confirm that the default value is calmaster.
-
In the Administrator User Password text field, type password.
Click Next. The PAB Directory Server Details page is displayed.
-
-
Confirm the following values:
-
In the Login URL text field, confirm that the default value is ldap://evaluation_host:389.
-
In the Administrator DN text field, confirm that the default value is cn=Directory Manager. There must be a space between Directory and Manager.
-
In the Administrator Password text field, confirm the default value is password.
Tip –The values on the PAB Directory Server Details page specify your default Directory Server instance.
Click Next. The Ready to Configure page is displayed.
-
-
Review the information. Click Configure Now.
The Starting Task Sequence page displays messages about the configuration process. When the configuration process is complete, the Sequence Completed page is displayed.
-
Click Next.
The Web Server Restart dialog box is displayed.
-
Click OK.
The Configuration Summary page is displayed.
-
Review the configuration summary, and then click Next.
The Post Configuration Instructions page is displayed.
Tip –This document contains the specific post configuration instructions for the evaluation solution.
-
Click Close.
-
Change directory to the Web Server directory:
cd /opt/SUNWwbsvr/https-<evaluation_host\>
-
Run the command that restarts the Web Server:
./stop; ./start
The Web Server displays a sequence of startup messages. The startup process might take a few moments. When startup is complete, the following message is displayed:
startup: server started successfully
You have created and started a Communications Express instance.
Tip –You use Communications Express after you configure the evaluation solution for single sign-on. For more information, see Using Communications Express with Access Manager Single Sign-on
- © 2010, Oracle Corporation and/or its affiliates
