 To Select Components for Installation
Steps
-
Select the components that are used in the evaluation solution. Do the following:
-
Select Sun Java System Messaging Server 6 2005Q1
-
Select Sun Java System Calendar Server 6 2005Q1
-
Select Sun Java System Instant Messaging 7 2005Q1
-
Select Sun Java System Portal Server 6 2005Q1
-
Select Sun Java System Communications Express 6 2005Q1
-
Sun Java System Directory Preparation Tool is automatically selected
-
Select Sun Java System Web Server 6.1 SP4 2005Q1
-
Sun Java System Access Manager 6 2005Q1 is automatically selected
-
Sun Java System Directory Server 5 2005Q1 is automatically selected
-
Sun Java System Administration Server 5 2005Q1 is automatically selected
These selections are shown in Figure 5–1. Click Next. The installer validates your selections and checks for compatibility between the components you select and the software that is already installed on the system. You see a page that describes the result of the compatibility checks.
-
-
Evaluate the installer’s response to your selections.
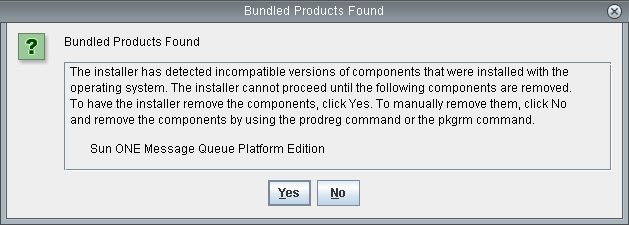
The installer checks for three types of compatibility. Depending on your system, you see none, one, two, or three of the following pages that report incompatibilities.
-
The installer might determine that the components you selected are not compatible with components already on the system.
You see the Product Dependency Checks dialog box shown in Figure 5–2.
Figure 5–2 Product Dependency Checks Dialog Box

You must resolve the incompatibility described in the dialog box before you can continue. In some cases, you must exit the installer, upgrade or remove the incompatible software, and then restart the installer from the beginning.
-
The installer might determine that the JavaTM 2 Software Development Kit, Standard Edition (J2SETM SDK) that is already installed on the system is not compatible with the components that you selected for installation.
You see the J2SE Software Development Kit Upgrade Required page.
Click OK to accept the default value (Install a Second J2SE SDK for Sun Java(TM) Enterprise System Components).
-
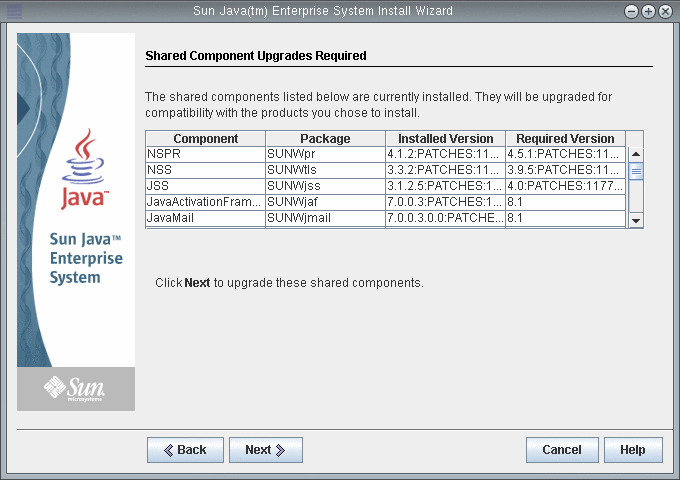
The installer might determine that the shared components already installed on the system are not compatible with the components that you selected for installation.
You see the Shared Components Upgrades Required page shown in Figure 5–3.
Figure 5–3 Shared Components Upgrades Required Page

Click Next to upgrade the shared components.
Note –Shared components provide local services and technology support for Java ES components. When you install Java ES, the installer automatically installs the shared components that are required by the Java ES components you selected.
-
The installer might determine that your system is fully compatible with the components you selected. The Installation Directories page is displayed.
-
-
Click Next to accept the default installation directories.
The Verify System Requirements page is displayed.
-
Wait while the Verify System Requirements page checks your system against the following system requirements:
-
Disk space
-
Memory
-
Operating system patches
-
Operating system resources
-
-
Evaluate the result of the system requirements checks.
-
Ignore a low memory warning. The evaluation solution requires less memory than a production solution.
-
If you receive a patch warning you must close the installer, install the patch, and then restart the installer from the beginning.
When the system check is satisfactory, click Next. The Configuration Type Panel page is displayed.
-
- © 2010, Oracle Corporation and/or its affiliates
