 To Configure the Portal Calendar Channel for the SSO Adapter
Service
To enable proxy authentication for the sample portal Calendar channel, you configure the SSO Adapter Service. You perform this configuration in the Identity Server console.
Steps
-
In your web browser, open the following URL:
http://evaluation_host/amconsole/index.html
The Access Manager login page is displayed.
-
Type your user name (amadmin) and password (password).
Click Log In. The Access Manager console window is displayed.
-
Click the Service Configuration tab.
The Access Manager Services are displayed.
-
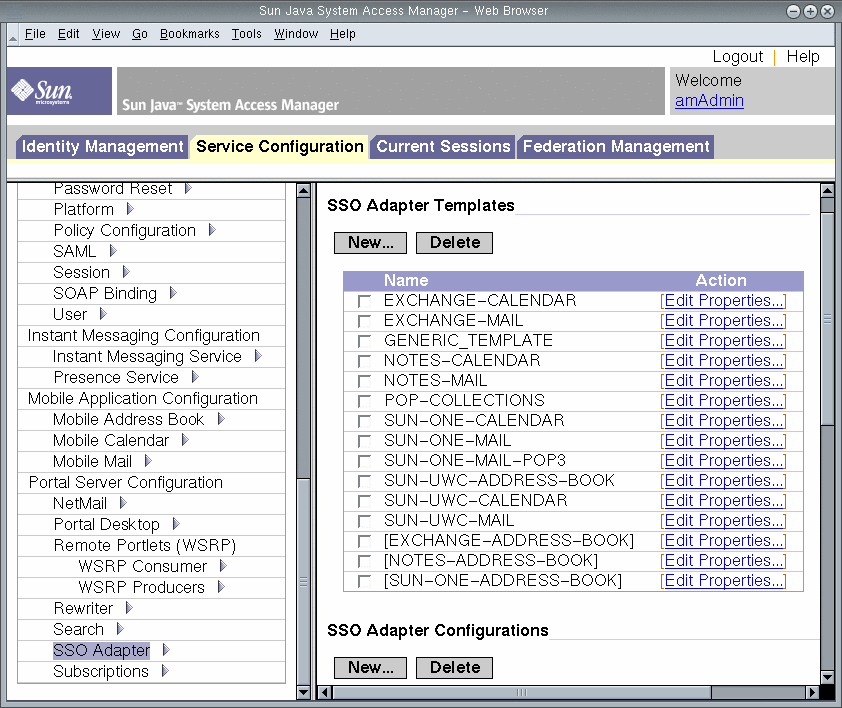
Scroll down in the left pane. Under Portal Server Configuration, locate SSO Adapter, and then click the arrow symbol that follows the name SSO Adapter.
The right pane displays the SSO Adapter Service properties. You see a display similar to Figure 8–2.
Figure 8–2 SSO Adapter Properties

-
Edit the SUN-ONE-CALENDAR configuration properties. Do the following:
-
Locate the host property. Select it, and then click Change Type.
The right pane displays the Edit Property Types display.
-
Change the value of several properties from Merge to Default. Do the following:
-
Use the text fields to edit the values of the following properties:
-
Locate the enableProxyAuth property. Change the value to true.
-
Locate the proxyAdminUid property. Change the value to calmaster.
-
Locate the proxyAdminPassword property. Change the value to password.
-
Locate the host property. Change the value to evaluation_host.
-
Locate the port property. Change the value to 89.
-
Locate the clientPort property. Change the value to 89.
Click Save to apply your changes.
-
-
In the left pane, click the arrow symbol that follows the name SSO Adapter.
The right pane displays the SSO Adapter Service properties. You see a display similar to Figure 8–2 .
-
Edit the SUN-UWC-CALENDAR configuration properties. Do the following:
-
Locate the host property. Select it, and then click Change Type.
The right pane displays the Edit Property Types display.
-
Change the value of several properties from merge to default:
-
Use the text fields to edit the values of the following properties:
-
Locate the enableProxyAuth property. Change the value to true.
-
Locate the proxyAdminUid property. Change the value to calmaster.
-
Locate the proxyAdminPassword property. Change the value to password.
-
Locate the serverSSOEnabled property. Change the value to true.
-
Locate the host property. Change the value to evaluation_host.
-
Locate the port property. Change the value to 89.
-
Locate the clientHost property. Change the value to evaluation_host.
-
Locate the clientPort property. Change the value to 80.
-
-
Click Save to apply your changes.
You have configured the portal calendar channel for proxy authentication. You continue working in the Access Manager console.
- © 2010, Oracle Corporation and/or its affiliates
