To Configure Your System for Upgrading
-
On the Welcome screen, click Next >.
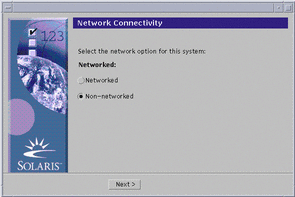
Solaris Web Start attempts to gather information about your system. The Network Connectivity dialog box is then displayed:
-
-
If no, select Non-networked and click Next >.
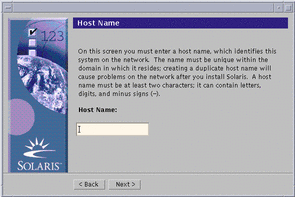
The Host Name dialog box is displayed:
-
If yes, select Networked and click Next >.
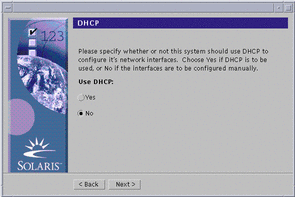
The DHCP dialog box is displayed:
-
-
Did you select Networked in Step 2?
-
If no, go to Step 6.
-
If yes, go to the next step.
-
-
Do you want to use DHCP for the network interface configuration?
-
If no, select No, click Next >, and go to Step 6.
-
If yes, select Yes and click Next >.
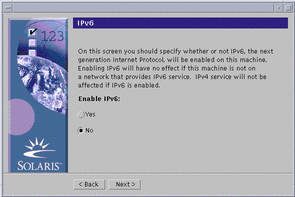
The IPv6 dialog box is displayed:
-
-
On the Host Name dialog box, type the host name you want and click Next >.
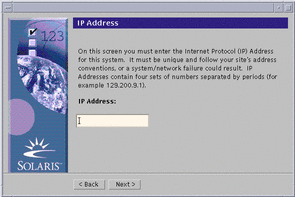
If you selected Networked on the Network Connectivity dialog box shown in Step 2, the IP Address dialog box is displayed:
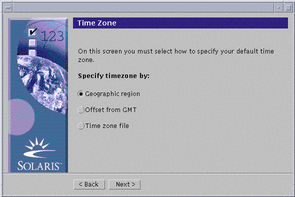
If you selected Non-networked on the Network Connectivity dialog box shown in Step 2, the Time Zone dialog box is displayed:
-
Is your system networked (that is, did you select Networked on the Network Connectivity dialog box)?
-
If no, go to Step 14.
-
If yes, did you specify that you want DHCP used for the network interface configuration (that is, did you select Yes on the DHCP dialog box)?
-
If yes, go to Step 10.
-
If no, on the IP Address dialog box, type the IP address of your networked system and click Next >.
-
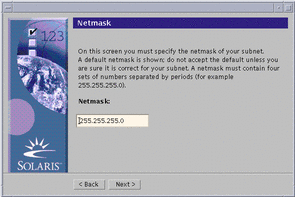
The Netmask dialog box is displayed:
-
-
Type the netmask you want (or leave the default netmask) and click Next >.
The IPv6 dialog box is displayed:

-
-
If no, select No and click Next >.
-
If yes, select Yes and click Next >.
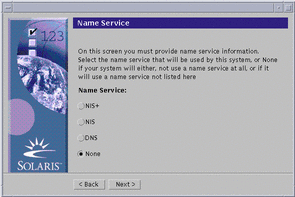
The Name Service dialog box is displayed:
-
-
Select the name service the system will use, or None if you aren't using a name service, and click Next >.
If you selected NIS+, NIS, or DNS, the Domain Name dialog box is displayed:
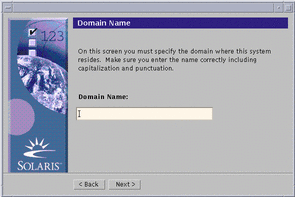
If you selected None, the Time Zone dialog box is displayed:

-
Did you select None in the preceding step?
-
If yes, go to Step 14.
-
If no, type the name of the domain in which the system is located and click Next >.
If you selected NIS+ or NIS, the Name Server dialog box is displayed:
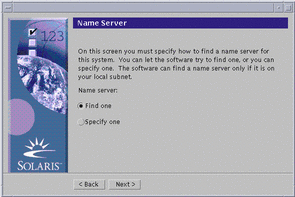
If you selected DNS, the DNS Server Address dialog box is displayed:
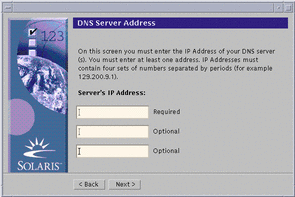
-
-
Are you using NIS+/NIS or DNS?
-
If NIS+ or NIS, select "Find one" or "Specify one" and click Next >.
-
If you selected "Find one," the Time Zone dialog box is displayed.
-
If you selected "Specify one," the Name Server Information dialog box is displayed:
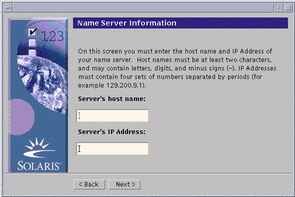
-
-
If DNS, type the IP address of the DNS server or servers you want and click Next >.
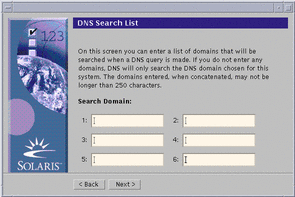
The DNS Search List dialog box is displayed:
-
-
Are you using NIS+/NIS or DNS?
-
If NIS+ or NIS, on the Name Server Information dialog box, type the host name and IP address of your name server and click Next >.
-
If DNS, type the name of the domain or domains you want searched when a DNS query is made, if any, and click Next >.
The Time Zone dialog box is displayed:

-
-
On the Time Zone dialog box, select how you want to set your default time zone and click Next >.
The Geographic Region, Offset From GMT, or Time Zone File dialog box is displayed, depending on the method you chose.
-
Use this decision table to determine what to do next:
If you chose
Then

Select the region you want in the left window and the time zone in the right, and click Next >.

Drag the slider toward the left (for west of Greenwich, England) or right (for east of Greenwich, England), and click Next >.

Specify the name of any file in /usr/share/lib/zoneinfo, or click Select to choose a file in this directory, and click Next >.
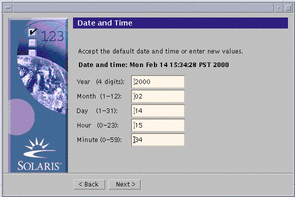
The Date and Time dialog box is displayed:
-
If necessary, correct the date and time, and click Next >.
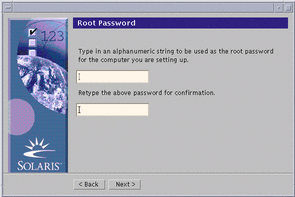
The Root Password dialog box is displayed:
-
Type the alphanumeric string you want to use for the superuser password in both fields, and click Next >.
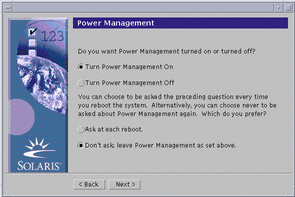
The Power Management dialog box is displayed:
-
Choose whether you want Power Management turned on or off and whether you want to be asked to turn it on or off every time you reboot, and click Next.
Note -Power Management software automatically saves the state of a system and turns it off after it is idle for 30 minutes. When you install the Solaris software on a system that complies with Version 2 of the U.S. Environmental Protection Agency's Energy Star guidelines--a sun4u SPARC system, for example--the Power Management software is installed by default, and you are prompted after subsequently rebooting to enable or disable the Power Management software.
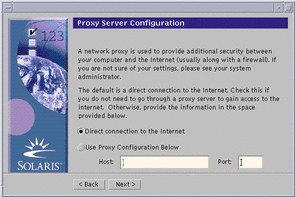
The Proxy Server Configuration dialog box is displayed:
-
Does the system go through a proxy server to access the Internet?
-
If no, select Direct connection to the Internet and click Next >.
-
If yes, select Use Proxy Configuration Below, specify the host name and port of the proxy server for the system, and click Next >.
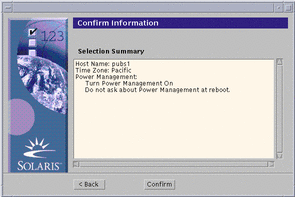
The Confirm Information dialog box is displayed:
-
-
Is the information on the Confirm Information dialog box correct?
-
If no, click < Back until you display the dialog box you need to correct the information.
-
If yes, click Confirm.
The message:
Please wait while the system is configured with your settings...
is displayed in the Confirm Information dialog box. The Extracting dialog box is displayed momentarily. Then the Solaris Web Start Installation Kiosk and Welcome to Solaris dialog box are displayed:
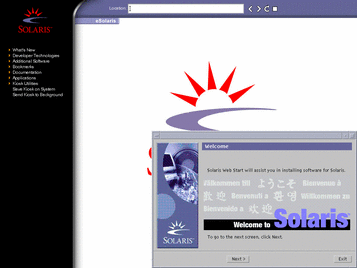
Note -In some cases, the Kiosk might obscure a dialog box. To display an obscured dialog box, on the Kiosk menu, click Send Kiosk to Background.
-
- © 2010, Oracle Corporation and/or its affiliates
