Add Prepared Statement
Add a Prepared Statement object to your OTD.
 To Add Prepared Statements
-
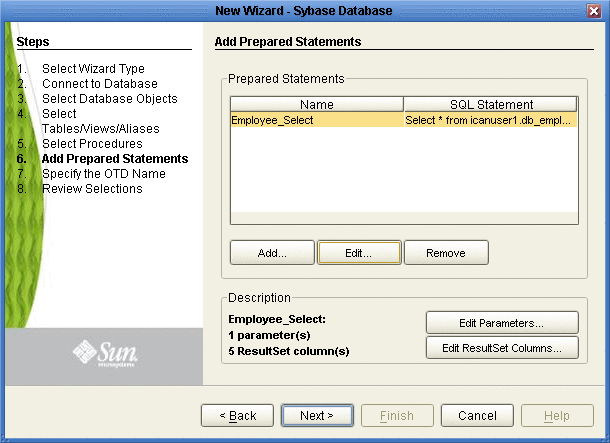
On the Add Prepared Statements window, click Add.
Figure 1–51 Prepared Statement

-
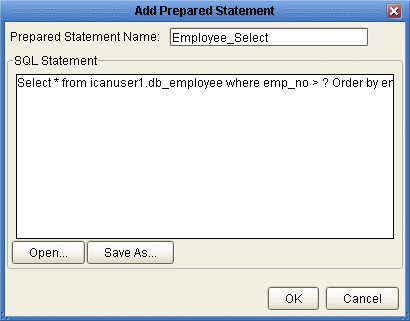
Enter the name of a Prepared Statement or create a SQL statement by clicking in the SQL Statement window. When finished creating the statement, click Save As giving the statement a name. This name will appear as a node in the OTD. Click OK. See the following figure.
Figure 1–52 Prepared SQL Statement

-
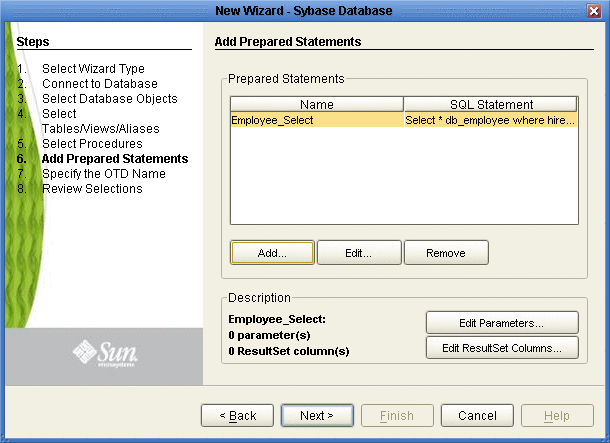
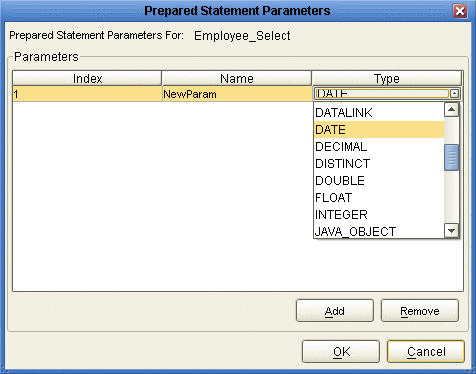
On the Add Prepared Statement window, the name you assigned to the Prepared Statement appears. To edit the parameters, click Edit Parameters. You can change the datatype by clicking in the Type field and selecting a different type from the list.
-
Click Add if you want to add additional parameters to the Statement or highlight a row and click Remove to remove it. Click OK. See the following figure.
Figure 1–53 Edit the Prepared Statement Parameters

-
To edit Resultset Columns, click Edit Resultset Columns. The ResultSet Columns window appears. See the following figure.
Figure 1–54 ResultSet Columns

-
Click Add to add a new ResultSet column. Both the Name and Type are editable.
-
Click OK to return to the Add Prepared Statements window.
Troubleshooting
When using a Prepared Statement, the ResultsAvailable() method always returns true. Although this method is available, you should not use it with a while loop since it creates an infinate loop at runtime, exhausting all CPU activity.You can process a resultset by looping through the next() method.
If the Prepared Statement is wrong, then the ResultSet Columns count is zero.
- © 2010, Oracle Corporation and/or its affiliates
