 To Resolve Dependency and Compatibility Issues
The installer performs a dependency check of the selected product components and their associated shared components. If there is a problem, the installer might display one or more messages informing you of the problem and directing you to take action.
-
Resolve product component dependency issues.
On Solaris OS, the installer can only upgrade Application Server, Message Queue, Java DB, or HADB. For instructions on upgrading Java ES components, refer to Sun Java Enterprise System 5 Update 1 Upgrade Guide for UNIX.
-
Click Next.
-
Repeat steps 1 and 2 until you are allowed to proceed.
-
On Solaris OS, resolve J2SE SDK incompatibility.
On Solaris OS, if an incompatible system-wide version of the J2SE SDK is detected, the J2SE Software Development Kit Upgrade Required page is displayed. You are presented with choices about what to do: (1) automatically upgrade the SDK version, or (2) manually upgrade the SDK version. Read the page and decide whether to upgrade automatically or manually. The default value is Automatically.
If a higher version of the JDK is encountered, with one or more JDK packages missing (for example, the 64–bit JVM), the installer treats this version as incompatible. In the case, choosing either option (1) or (2) results in the JDK being downgraded to the version of the JDK required by Java ES.
-
Resolve shared component incompatibilities.
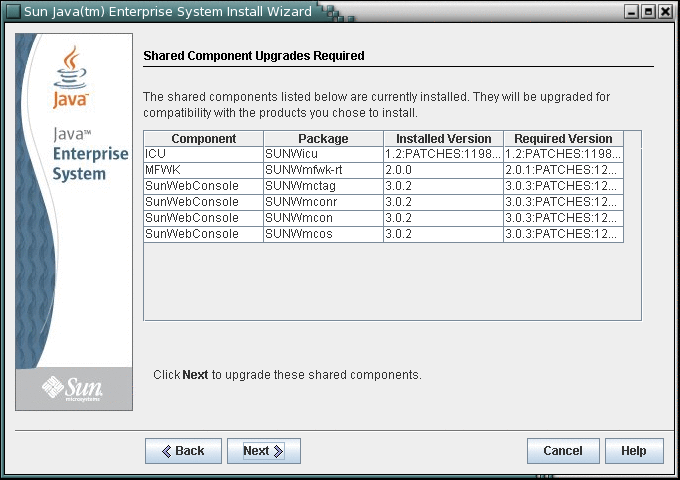
After the product component issues have been resolved, the installer performs a compatibility check of any shared components already installed. If incompatible versions of shared components are detected, the Shared Components Upgrade Required page is displayed.

 Caution –
 Do not upgrade shared components without checking the dependencies that exist on the host for non-Java ES applications. First verify that these existing applications are compatible with the required Java ES versions of the shared components.
-
Click Cancel to prevent the installer from upgrading.
If you select Cancel, you must remove the incompatible shared components manually or the installer will not be able to continue past this point in the installation.
-
Click Next to have the installer upgrade the incompatible shared components during this installation session.
The Installation Directories page is displayed. The following example screen shows the default locations for installation directories.
-
- © 2010, Oracle Corporation and/or its affiliates
