| Exit Print View | |
Sun Datacenter InfiniBand Switch 72 User’s Guide |

|
Documentation, Support, and Training
Understanding Switch Specifications
Understanding InfiniBand Cabling
Understanding the Installation
Install the Switch in the Rack
Verifying the InfiniBand Fabric
Administrative Command Overview
Monitoring the InfiniBand Fabric
Controlling the InfiniBand Fabric
Understanding Service Procedures
Inspect the Power Supply Hardware
Inspect the Power Supply Connectors
Note - For residual power discharge, the power supply slot must remain vacant for at least one minute before installing a power supply.
Identify the prerequisite and subsequent service tasks you must perform in conjunction with this procedure.
Inspect the replacement power supply.
Verify that the slot where the power supply installs is clean and free of debris.
Verify that the slot connector pins are straight and not missing.
Verify that the slot connector receptacles are free from obstructions.
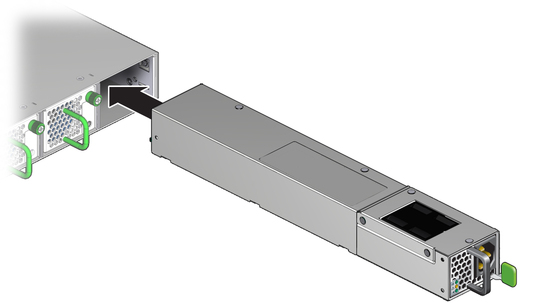
Orient the power supply with the status LEDs on the left and the release tab on the right.
Slide the power supply into the open slot, pushing at the handle.

When the power supply seats, push firmly so that the release tab clicks to secure the power supply into the chassis.

Power on the power supply.