Create a Boot Environment
In this example, the source boot environment is named c0t4d0s0. The root (/) file system is copied to the new boot environment. Also, a new swap slice is created rather than sharing the source boot environment's swap slice.
-
Display the character interface:
# /usr/sbin/lu
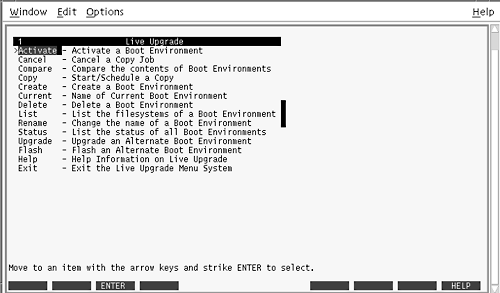
Figure 35–3 Solaris Live Upgrade Main Menu

-
From the main menu, select Create.
Name of Current Boot Environment:    c0t4d0s0
Name of New Boot Environment:   c0t15d0s0
-
Press F3.
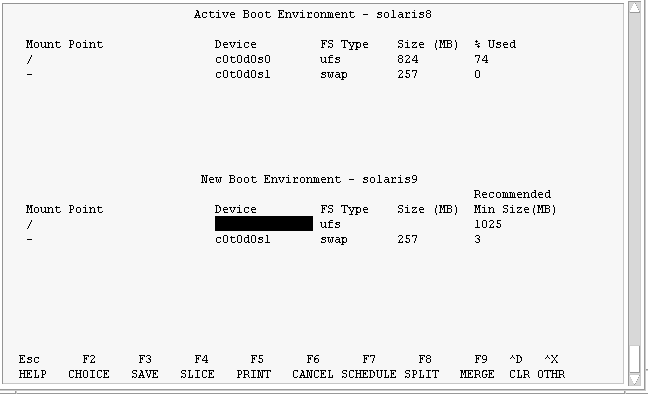
Figure 35–4 Solaris Live Upgrade Configuration Menu

-
From the Configuration menu, press F2 to display the Choices menu.
-
Choose slice 0 from disk c0t15d0 for root (/).
-
From the configuration menu, create a new slice for swap on c0t15d0 by selecting a swap slice to be split.
-
Press F2 to display the Choices menu.
-
Select slice 1 from disk c0t15d0 for the new swap slice.
-
Press F3 to create the new boot environment.
- © 2010, Oracle Corporation and/or its affiliates
