| Skip Navigation Links | |
| Exit Print View | |

|
Sun Blade X6275 M2 Server Module Product Documentation |
About This Documentation (PDF and HTML)
Hardware Installation and Product Notes
Overview of the Sun Blade X6275 M2 Server Module
Installing and Powering On the Server Module
Overview of the Sun Blade X6275 M2 Server Module Product Notes
System Software Release Features
Hardware, Firmware, and BIOS Issues
Installing the Oracle Solaris Operating System
Installing Red Hat Enterprise Linux
Installing the SLES Operating System
Introduction to Oracle VM Installation
Creating a PXE Installation Image for Oracle VM
Introduction to Windows Installation
Getting Started With Windows Server 2008 Installation
Installing the Windows Server 2008 R2 Operating System
Updating Critical Drivers and Installing Supplemental Software
Incorporating Device Drivers into a WIM Image for WDS
Administration, Diagnostics, and Service
Overview of the ILOM Supplement
Dual-Node Identification In CMM ILOM
Clearing Server and CMM Faults
Managing Power Usage and Monitoring Power Consumption
How to View Power Management Properties Using the Web Interface
How to View Power Management Properties Using the CLI
Configuring the Server Power Restore Policy
How to Set the Server Power Restore Policy Using the ILOM Web Interface
How to Set the Server Power Restore Policy Using the ILOM CLI
Switching the Default Serial Port Output Between SP and Host Console
How to Switch Default Serial Port Output Using the ILOM Web Interface
How to Switch Default Serial Port Output Using the ILOM CLI
Determining Current Firmware Versions
How to Verify the BIOS and ILOM Firmware Versions Using the Web Interface
How to Verify the BIOS and ILOM Firmware Versions Using the CLI
How to Download Firmware Updates
Using ILOM to Update System BIOS and ILOM Firmware
How to Update the System BIOS and ILOM Firmware Using the ILOM CLI
Alternate Methods for Updating the System BIOS and ILOM Firmware
Resetting the Service Processor After an Update
Clearing CMOS Settings After an Update (Optional)
How to Access the Preboot Menu
Using the edit Command and Configuring the Preboot Menu For Remote Access
How to Use the edit Command and to Configure the Preboot Menu for Remote Access
Resetting the Root Password to the Factory Default
How to Reset the Root Password to the Factory Default
Restoring ILOM Access to the Serial Console
How to Use the Preboot Menu to Restore Access to the Serial Console
Recovering the SP Firmware Image
How to Recover the SP Firmware Image
Indicators, Sensors, and Traps
NEM and Blade Presence Sensors
Introduction to Diagnostic Tools
U-Boot Diagnostic Startup Tests
Accessing the Pc-Check Diagnostics Utility on the Tools and Drivers CD/DVD
Server Module and Components Overview
Preparation Procedures for Service and Operation
Component Removal and Installation Procedures
Before You Begin
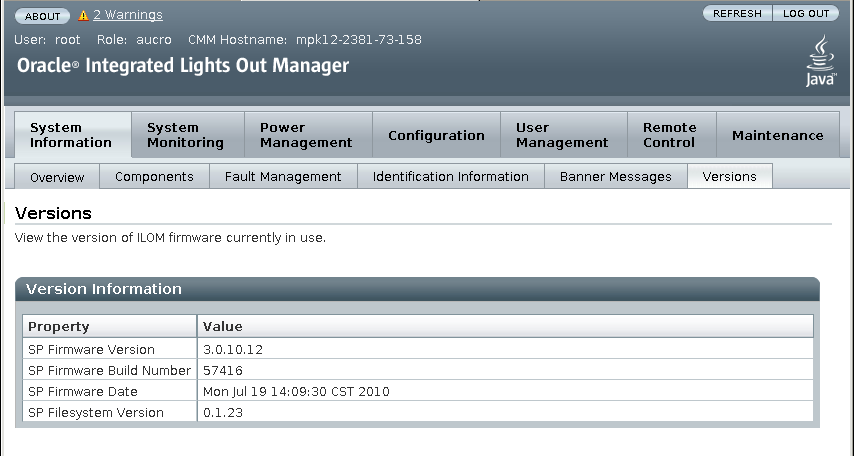
Identify the version of ILOM that is currently running on your system. See Determining Current Firmware Versions.
Download the firmware image for your server from the product web site. See How to Download Firmware Updates.
Copy the firmware image to the system on which the web browser is running (it cannot be the same system being upgraded).
Obtain an ILOM user name and password that has Admin (a) role account privileges. You must have Admin (a) privileges to update the firmware on the system.
Note - The firmware update process might take about 15 minutes to complete. During this time, do not perform other ILOM tasks. When the firmware update is complete, the system reboots.
Note - Due to increased memory use during web interface operations, you might find that using the web interface, which is the easiest procedure, does not work satisfactorily. In such a case, you need to use the ILOM CLI method or the Oracle Enterprise Manager Ops Center to update the firmware.
https://129.146.53.150
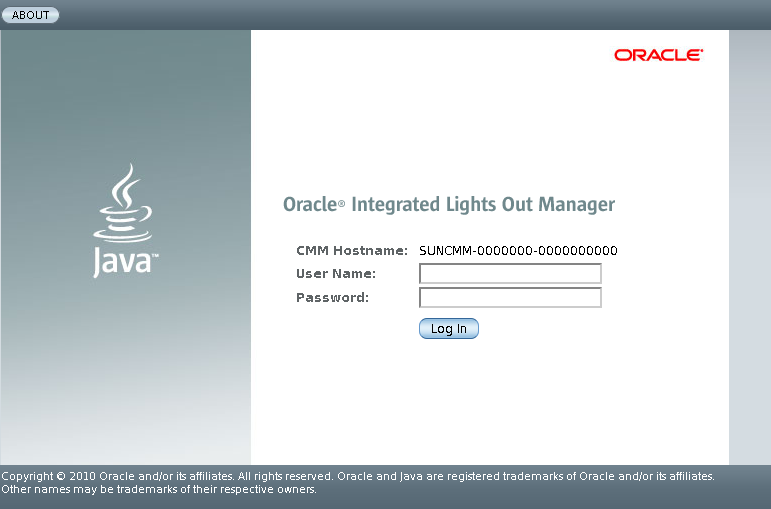
The ILOM login screen appears.

If you login using the root account, the default password is changeme. If you choose to use another user account, make sure it has admin privileges.
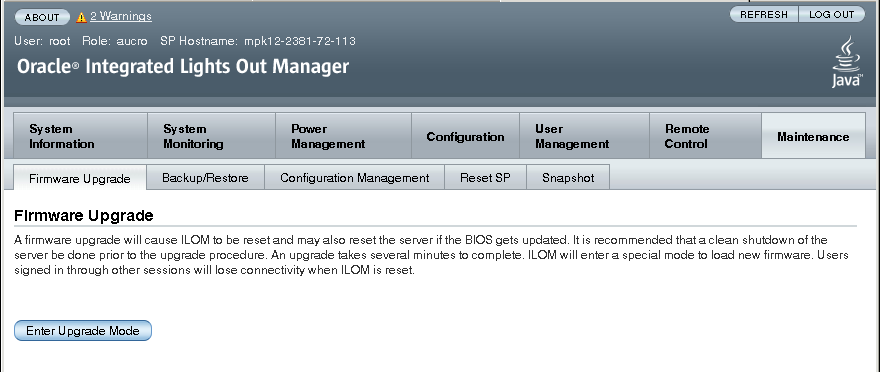
The ILOM web interface appears.
The Firmware Upgrade page appears.

An Upgrade Verification dialog appears, indicating that other users who are logged in will lose their session when the update process is completed.
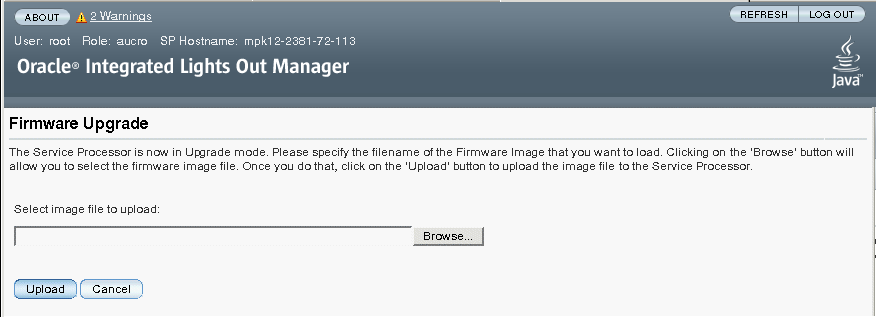
You are prompted to select an image file to upload.

Wait for the file to upload and validate.
The Firmware Verification page appears.
Enable this option if you want to save your existing configuration in ILOM and restore that existing configuration after the update process is completed.
Enable this option if you want to postpone the BIOS upgrade until the next time the system is powered off.
When you click Start Upgrade the upload process starts and a prompt to continue the process appears.
Note - If you did not preserve the ILOM configuration before the firmware update, you need to perform the initial ILOM setup procedures to reconnect to ILOM.
The Update Status page appears, providing details about the update progress. When the update indicates 100%, the firmware upload is complete. When the upload is completed, the system automatically reboots.
Note - The ILOM web interface might not refresh properly after the update is completed. If the ILOM web interface is missing information or displays an error message, you might be viewing a cached version of the page from the version previous to the update. Clear your browser cache and refresh your browser before continuing.
Refer to the Sun Blade X6275 M2 Server Module Product Notes for firmware release information.
Note - If you are downgrading to an earlier firmware version, CPLD will not be downgraded (even if the firmware includes an earlier version of CPLD) and therefore the blade will not need to be reseated in the chassis.

Note - Both server nodes be should be running the same firmware version.
Next Steps