JavaScript is required to for searching.
Skip Navigation Links
Exit Print View
Sun Server X2-8 (formerly Sun Fire X4800 M2) Installation Guide for Oracle VM     Sun Server X2-8 (formerly Sun Fire X4800 M2) Documentation Library
search filter icon
search icon

Document Information

Using This Documentation

Sun Server X2-8 Name Change

Product Downloads

Documentation and Feedback

About This Documentation

Change History

Introduction to Oracle VM Installation

Preparing for OS Installation

Connecting to the System Console

How to Erase Your Boot Hard Disk

How to Create a Virtual Disk

How to Set the Boot Drive

Installing Oracle VM

System Requirements

How to Obtain Oracle VM Software

How to Install Oracle VM Server

How to Install Oracle VM Manager

Creating and Managing VM Resources

How to Create a Virtual Disk

Before attempting to install the operating system, you must create a virtual disk on your server to make available space accessible for the image download. The download erases the contents of the disk.

Virtual disks for downloading the operating system can be created from the LSI firmware. The LSI firmware can be reached only during boot-up of the server. Before the OS is launched and when the LSI banner is shown, you can press the Control-H key combination to access the LSI interface.


Note - Virtual disks can also be created from the MegaRAID software (which is installed through the supplemental drivers on the Tools and Drivers DVD), but should not be used for installing the operating system.


  1. Log in to the server using the IP address of the service processor (SP) module.
  2. In the Web interface window, click the Remote Control tab to launch Oracle ILOM remote control.
  3. Click the KVMS tab > Mouse Mode > Relative, and then click Save.

    Note - The Relative option enables the mouse to move from window to window while you are in Remote Console. At the end of this procedure, you are asked to change this mouse setting to Absolute.


  4. Click the Redirection tab.

    The Redirection screen appears.

  5. Click Launch Remote Console.

    The Oracle ILOM 3.0 remote console window appears.

  6. Click the Devices menu, and then select Mouse to enable the mouse.
  7. Reboot your system.
  8. Wait for the LSI banner. When the devices appear in the banner page, press the Control-H key combination.

    The Adapter Selection screen appears.

  9. Click Start.

    The MegaRaid BIOS Config Utility Virtual Configuration screen opens.
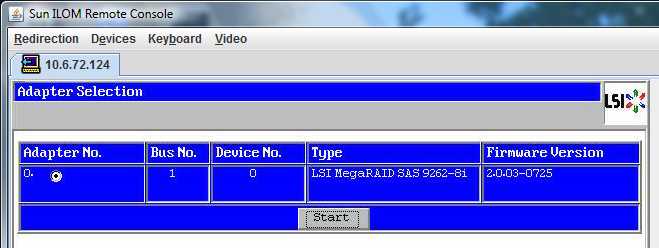

    image:Screenshot of the Adapter Selection window.
  10. Click Configuration Wizard.

    The Configuration Wizard screen opens.
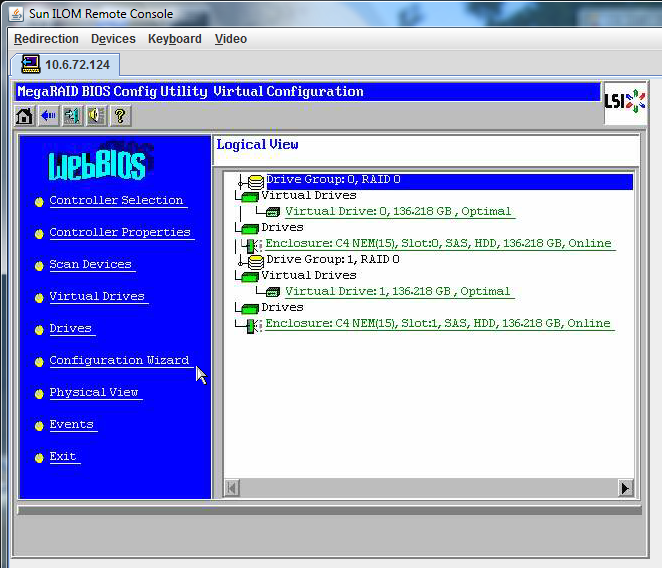

    image:Screenshot of the MegaRAID BIOS Config Utility Virtual Configuration window.
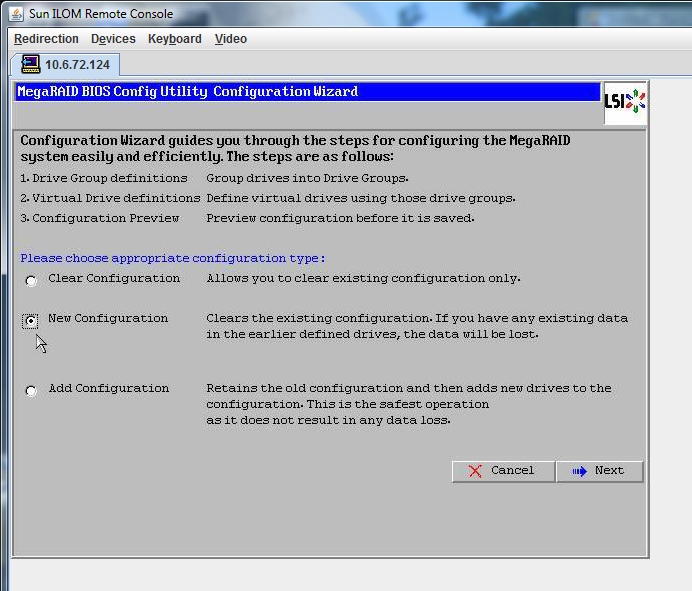
  11. Click New Configuration, then click Next.
    image:Screenshot of the MegaRAID BIOS Config Utility Virtual Configuration window.
  12. Select Manual Configuration.

    Automatic Configuration creates a single virtual drive that includes all the hard drives on your system. More than one drive is configured as a striped set (RAID 0) and appears as a single virtual drive of combined storage space.


    Note - This configuration might not be optimal, because it can enable multiple points of failure. For example, if one drive fails, then the operating system can not boot. Then, you must remove all drives except one. Alternatively, you can use Manual Configuration to create a virtual drive using only one hard drive.
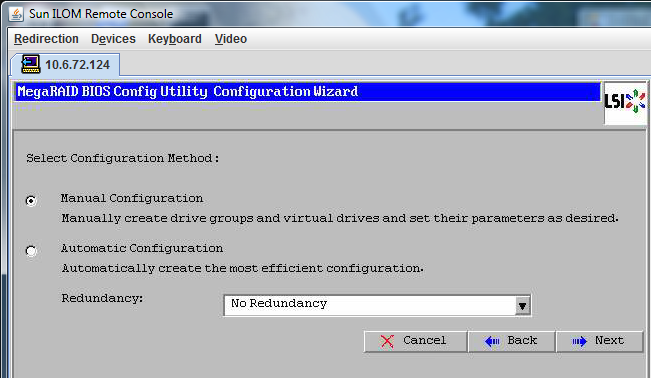
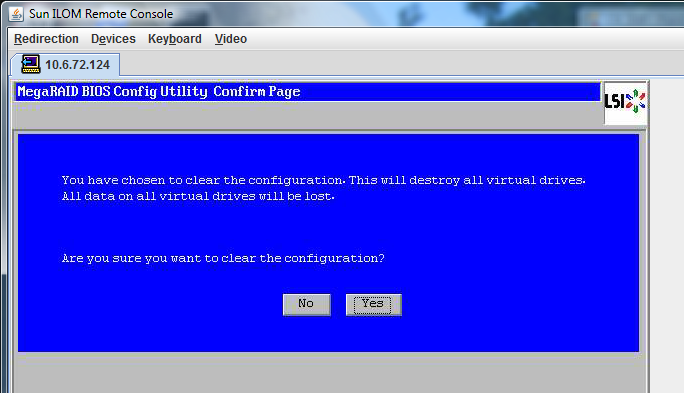

    image:Screenshot of the MegaRAID BIOS Config Utility Virtual Configuration window, Manual Configuration or Automatic Configuration.
  13. If a confirmation window appears, click Yes.
    image:Screenshot of the MegaRAID BIOS Config Utility asking to clear configuration.

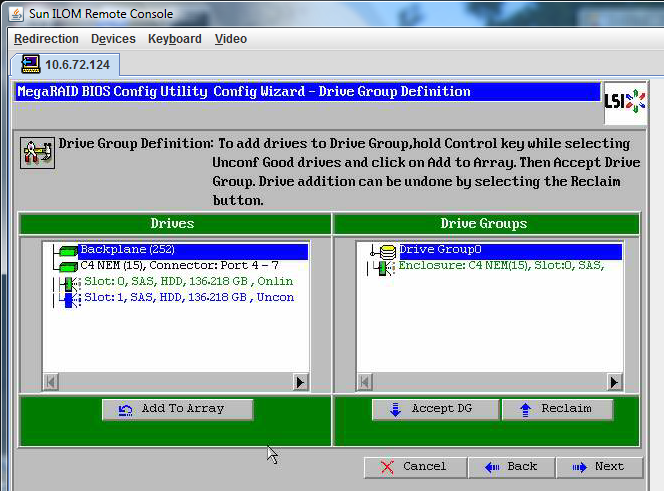
    The MegaRAID BIOS Config Utility Config Wizard – Drive Group Definition screen appears.
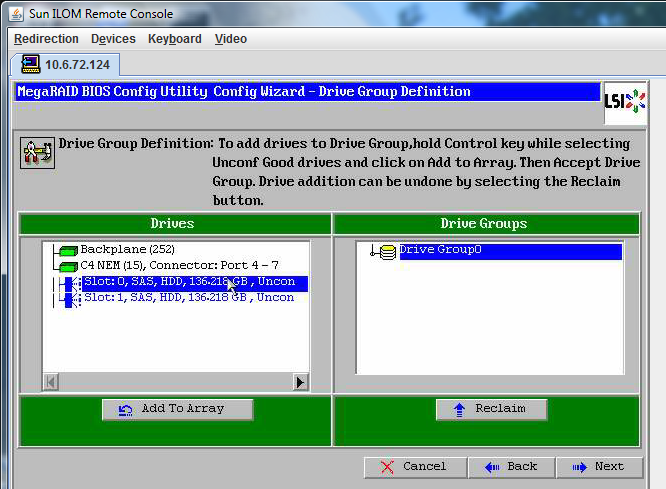
  14. Verify that the drives in the system and the drive groups appear. Select the drive you want and click Add To Array.
    image:Screenshot of the MegaRAID BIOS Config Utility Config Wizard — Drive Group Definition window.
  15. Click Accept DG to create the drive group.

    You can now view Drive Group 0.


    image:Screenshot of the MegaRAID BIOS Config Utility Config Wizard — Drive Group Definition window. Click Yes to accept.
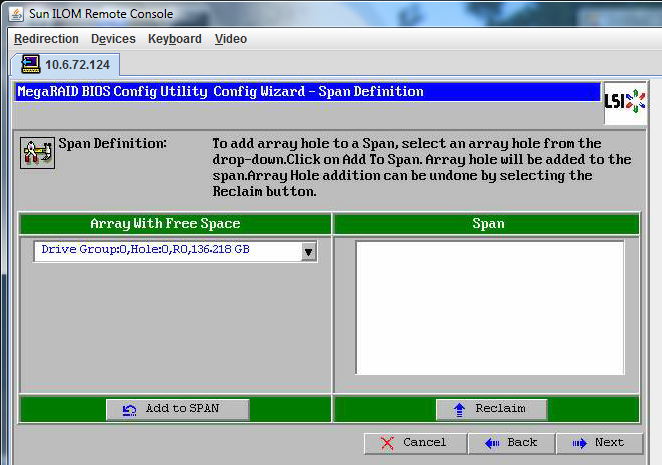
  16. Click Next.

    The drive group appears in the Span Definition window.


    Note - You can undo the drive group selection by clicking the Reclaim button.
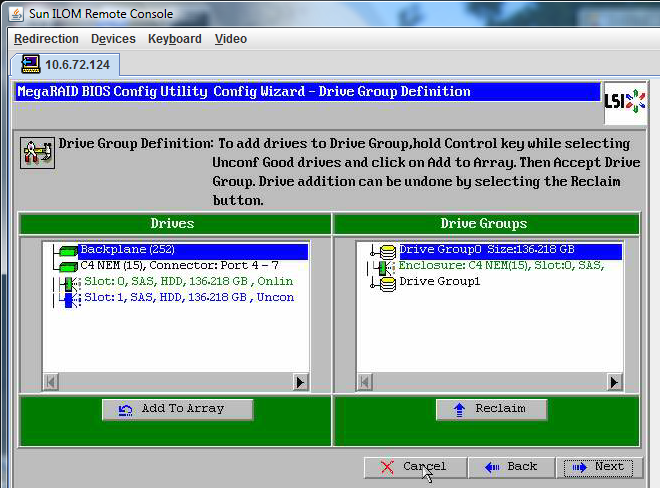


    image:Screenshot of the MegaRAID BIOS Config Utility Config Wizard — View Drive Group.
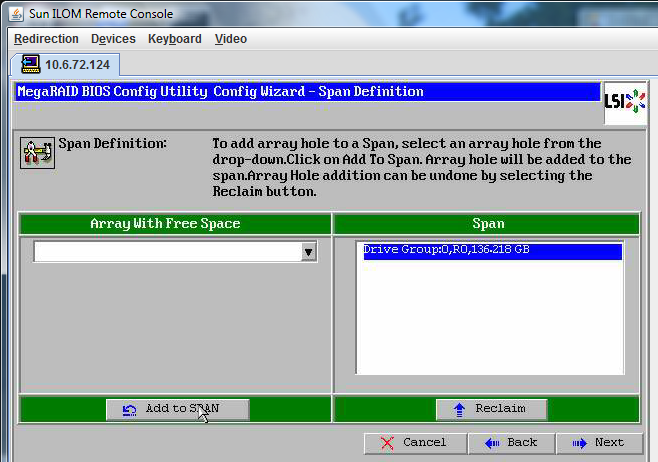
  17. Click Add to SPAN.
    image:Screenshot of the MegaRAID BIOS Config Utility Config Wizard — Click Add to SPAN.
  18. Verify that the drive group appears in the span. Click Next.
    image:Screenshot of the MegaRAID BIOS Config Utility Config Wizard — Click Next.

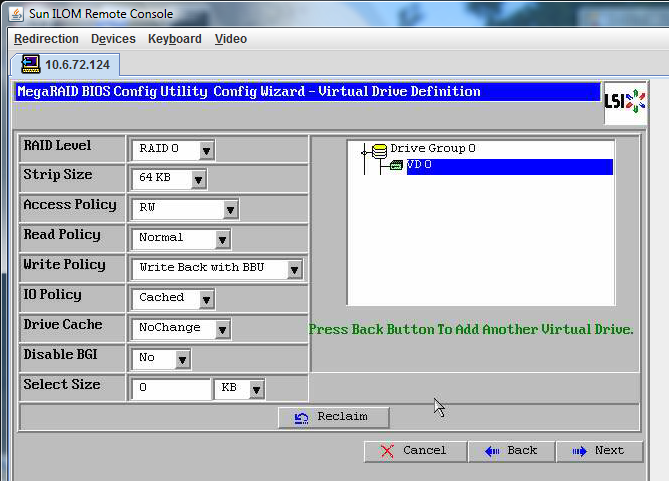
    The Virtual Drive Definition screen appears.

  19. Set the RAID level and configurations you want for your virtual drive, and click Accept.

    For more information about configuring RAID, refer to your server's disk management documentation.
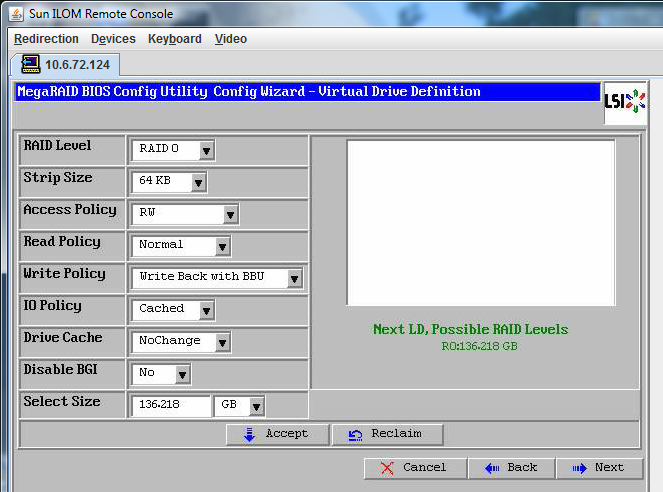

    image:Screenshot of the MegaRAID BIOS Config Utility Config Wizard — Click Accept.

    The system prompts you to confirm Write Back with BBU mode.
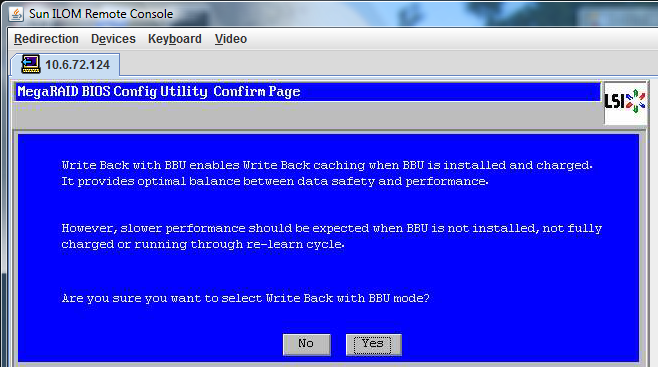

    image:Screenshot of the MegaRAID BIOS Config Utility Config Wizard — Click Yes to confirm.
  20. Click Yes.

    The Config Wizard window appears.


    image:Screenshot of the MegaRAID BIOS Config Utility Config Wizard — Click Next.
  21. Click Next.

    The Preview screen appears.

  22. Verify that the virtual drive includes Drive Group 0.

    This Preview screen example shows a single virtual drive using the Manual Configuration option:
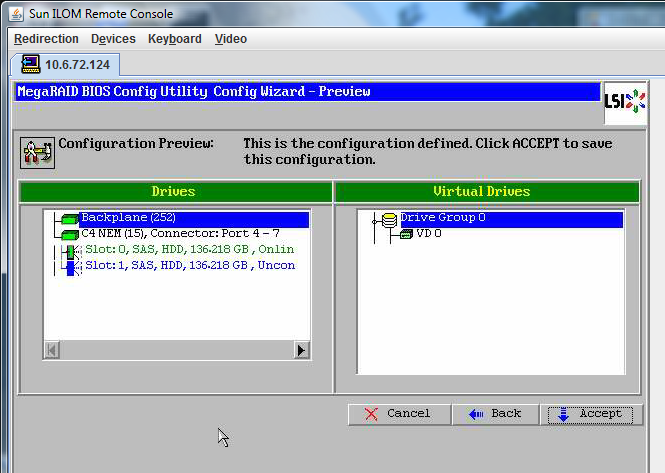

    image:Screenshot of the MegaRAID BIOS Config Utility Config Wizard — Click Add to SPAN.
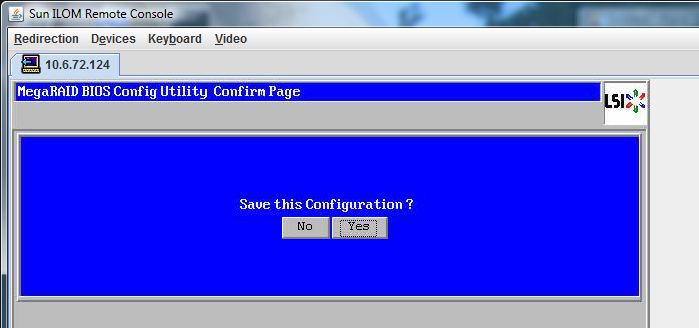
  23. Click Yes to save the Configuration.
    image:Screenshot of the MegaRAID BIOS Confirmation Page asking to save configuration.

    The All data on Virtual Drivers will be lost. Want to Initialize? prompt appears.
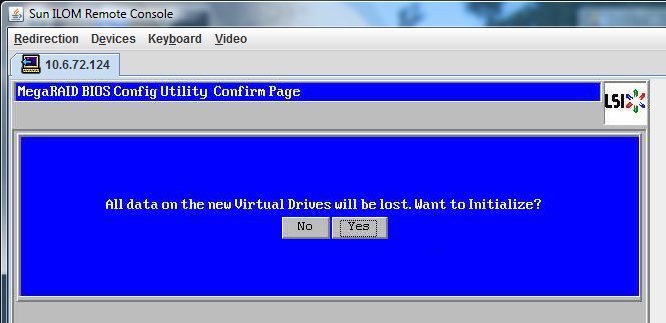
  24. Click Yes to the prompt: All data on Virtual Drivers will be lost. Want to Initialize?
    image:Screenshot of the MegaRAID BIOS Confirmation Page asking to initialize drives.
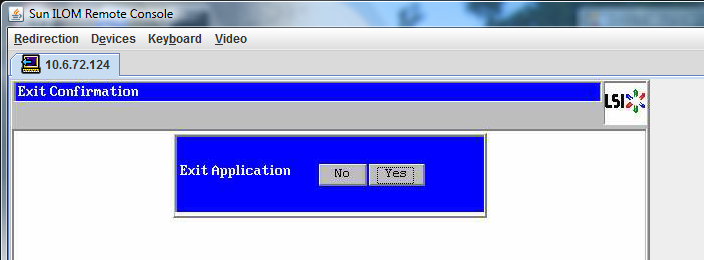
  25. Click Yes to exit.
    image:Screenshot of the MegaRAID BIOS Confirmation Page asking to confirm exit.

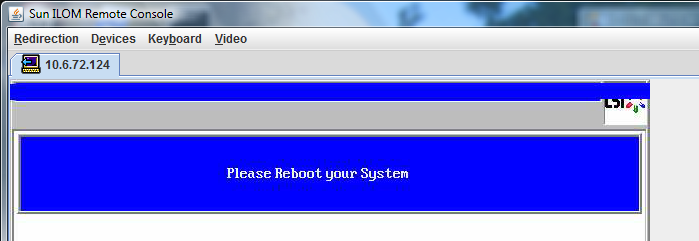
    The Please Reboot Your System prompt appears.

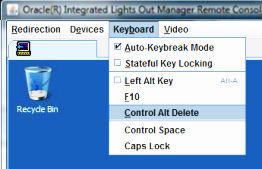
  26. Press the Alt-B key combination to view the keyboard pull-down menu.

    Caution

    Caution - You must do this step; otherwise, the next step using Control Alt Delete reboots your local machine.


    image:Screenshot of the MegaRAID BIOS Confirmation Page asking to reboot system.
  27. Use the arrow keys to select Control Alt Delete in the menu to reboot the remote system. Press Enter.
    image:Screenshot of the MegaRAID BIOS Confirmation Page Keyboard Control Alt Delelte menu item.
  28. Go back and set the mouse mode to Absolute:
    1. In the Remote Control screen, click the KVMS tab.
    2. Under Mouse Mode, select Absolute.
    3. Click Save.

Next Steps

How to Set the Boot Drive.