| Skip Navigation Links | |
| Exit Print View | |

|
Sun Blade X3-2B Product Documentation |
Sun Blade X3-2B Model Name Change
Getting the Latest Firmware and Software
Hardware Installation and Product Notes
About the Sun Blade X3-2B Installation Guide for the Oracle Solaris OS
About Oracle Solaris OS Installation
Oracle Solaris Installation Task Table
Supported OS Versions and Latest Information
Supported Oracle Solaris Operating System Versions
Latest Information in Product Notes
Single-Server Installation Methods
Obtaining Oracle Solaris Documentation
Setting Up the Installation Session
Load BIOS Optimal Default Settings
Installing the Oracle Solaris OS
Install Supported Versions of the Oracle Solaris OS
Identify Logical and Physical Network Interface Names
Getting Server Firmware and Software
Firmware and Software Access Options
Available Software Release Packages
Accessing Firmware and Software
Download Firmware and Software Using My Oracle Support
Use this procedure to set up for a remote installation.
Note - Using the CD-ROM or CD-ROM image option to install the OS significantly increases the time necessary to perform the installation as the content of the CD-ROM is accessed over the network. The installation duration depends on the network connectivity and traffic. This installation method also has a greater risk of issues due to transient network errors.
Before You Begin
The following requirements must be met:
You should have already performed the server installation as described in the Sun Blade X3-2B (formerly Sun Blade X6270 M3) Installation Guide
The JavaRConsole system must be running on Oracle Solaris, Linux, or Windows.
The JavaRConsole system must be connected to a network that has access to the Sun server Ethernet management port.
Java Runtime Environment (JRE) 1.5 must be installed.
If the JavaRConsole system is running Solaris, volume management must be disabled for JavaRConsole to access the CD/DVD-ROM drive.
If the JavaRConsole system is running Windows, disable Internet Explorer Enhanced Security.
The server service processor (SP has been set up according to the instructions in the Oracle ILOM documentation for your server.
You need the SP IP address to access Oracle ILOM. For information about determining the SP IP address, see Sun Blade X3-2B (formerly Sun Blade X6270 M3) Installation Guide.
To ensure that the server has the latest updates, server web access is required.
Note - Some of the screen shots shown in this procedure might differ from the screens you see.
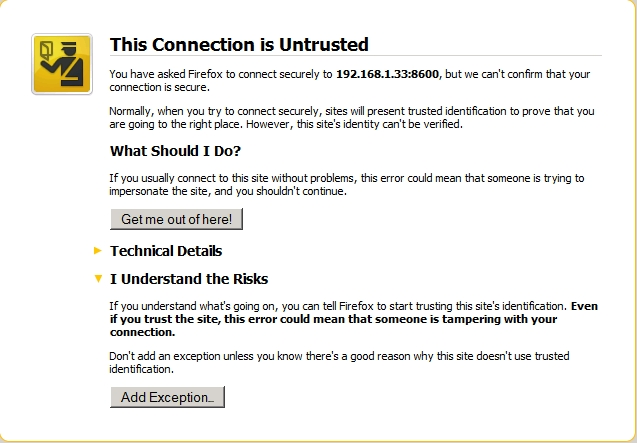
The Security Alert dialog box appears.

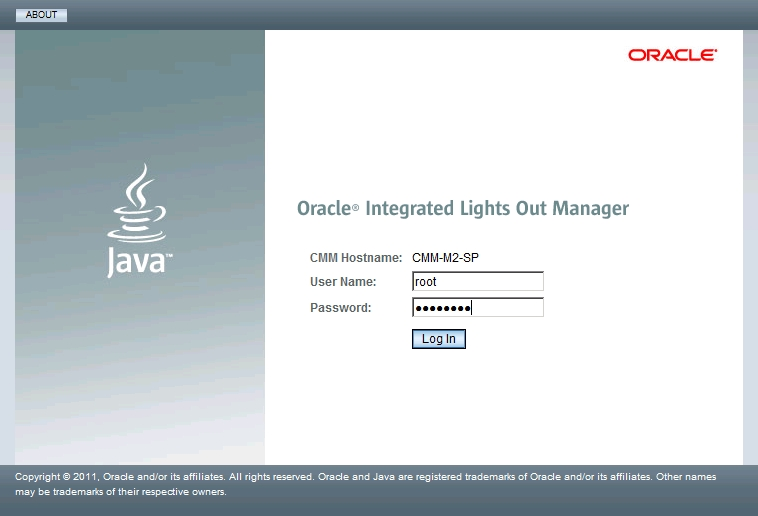
The Oracle ILOM login screen appears.

The default user name is root, and default password is changeme.
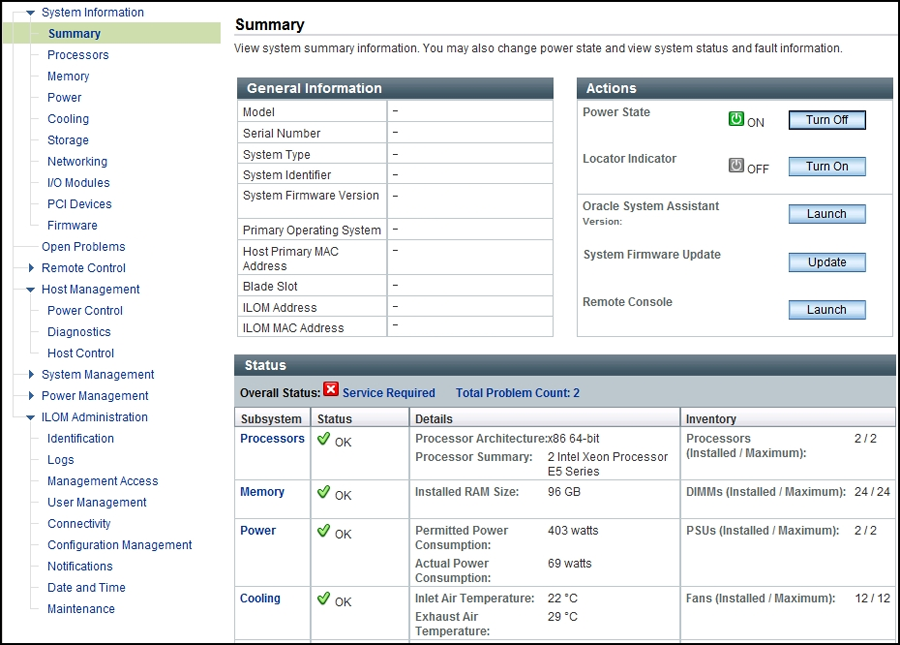
The Oracle ILOM System Summary screen appears.

A dialog box for the jnlpgenerator.jnlp file appears.

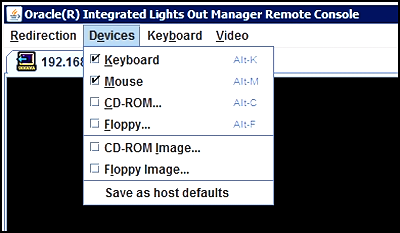
The JavaRConsole screen appears.

CD-ROM Remote. Select CD-ROM to redirect the server to the operating system software CD/DVD contents from the CD/DVD-ROM drive attached to the JavaRConsole system.
CD-ROM Image. Select CD-ROM Image to redirect the server to the operating system software .iso image file located on the JavaRConsole system.
Next Steps