To Configure Network Adapter Teaming
-
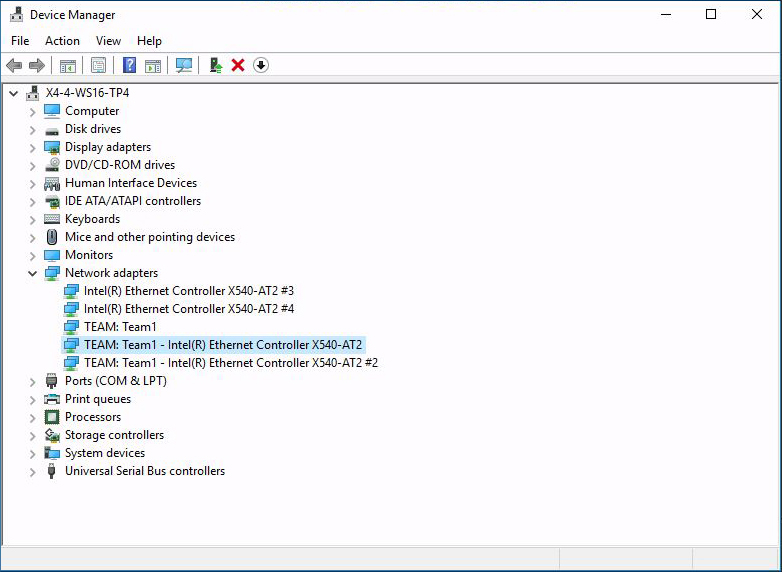
Open the Windows Device Manager.
- Right-click the Windows Start icon and then select run.
-
Type devmgmt.msc in the text box and then click
OK.
The Device Manager screen appears.
-
Expand the Network adapters group.
A list of network adapters appears.
-
Right click one of the Intel network adapters and click Properties.
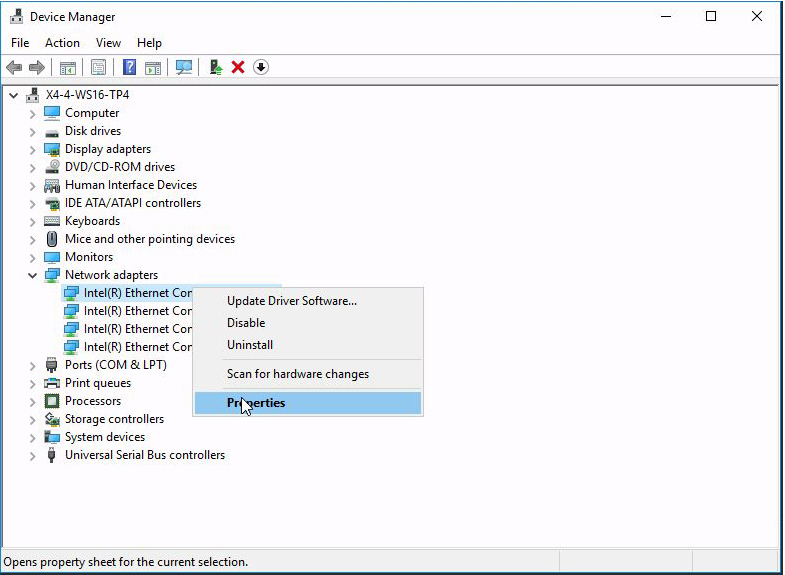
The adapter properties screen appears.
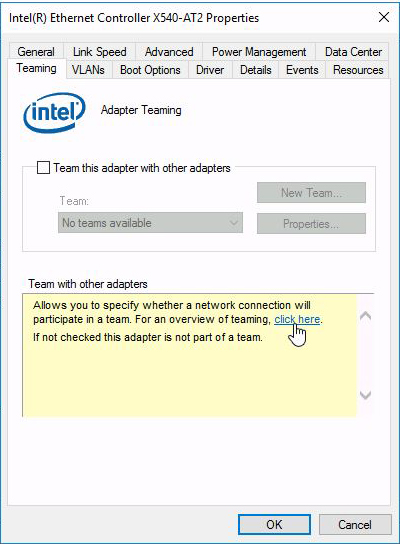
Note - Many of these dialogs include links that you can click to display online documentation. -
Select Team this adapter with other adapters, and select New Team or an
existing team, and then select OK.
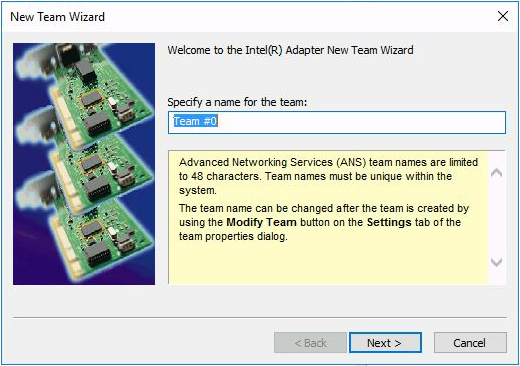
A team wizard appears.
-
Follow the wizard screens to configure the team.
The selections include naming the team, selecting the adapters, selecting the team type, and selecting a team profile.
-
When you have completed the selections, select Finish.
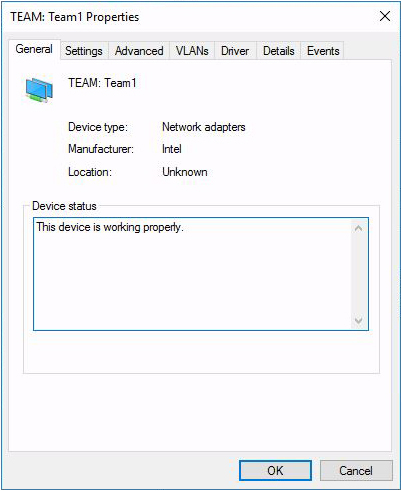
The team properties view appears.
-
Click OK.
The team you added appears in the Device Manager.
