5 Deploying the JDE App Pack into the Management Server
This chapter contains the following topics:
-
Section 5.1, "Prerequisites to Deploying the JDE AppPack into the Management Server"
-
Section 5.2, "Deploy the JDE AppPack into the Management Server"
5.1 Prerequisites to Deploying the JDE AppPack into the Management Server
You can install the JDE AppPack to the Enterprise Manager Management Server after you have installed:
-
JD Edwards EnterpriseOne Server Manager 9.2
Refer to Section 1.7, "Server Manager for JD Edwards EnterpriseOne Overview" in this guide.
-
Oracle Database for Cloud Control Repository
An Oracle database must be installed for exclusive use by Cloud Control. Refer to Chapter 2, "Install the Database and Enterprise Manager" in this guide.
-
Oracle Enterprise Manager Cloud Control
Refer to Section 1.2.1, "Oracle Enterprise Manager Cloud Control" and Chapter 2, "Install the Database and Enterprise Manager" in this guide.
Additionally you must have already set up a Software Library as described in the chapter of this guide entitled: Chapter 3, "Set Up the Software Library within Cloud Control".
Further, you must have already imported the JDE AppPack as described in the chapter of this guide entitled: Chapter 4, "Import the JD Edwards Application Pack OPAR".
The JDE AppPack is deployed using Cloud Control. As a prerequisite, you must have an existing Cloud Control and Oracle database installation. The JDE AppPack must be deployed into each existing Cloud Control Management Server.
5.2 Deploy the JDE AppPack into the Management Server
Follow the steps in this section to deploy the JDE AppPack into the Management Server (also called OMS).
Description of the illustration ''deploy_oms_plugins.png''
-
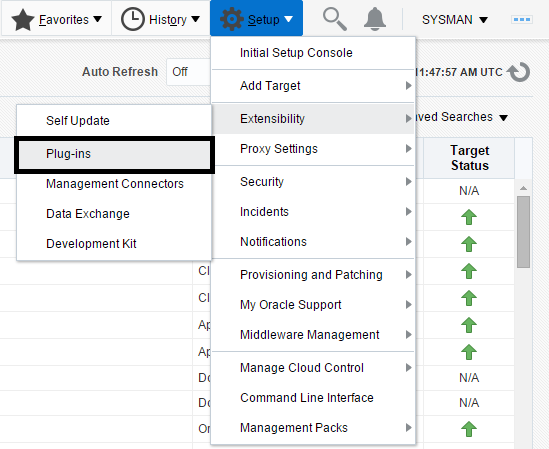
In Oracle Enterprise Manager Cloud Control, navigate to Setup, Extensibility, Plugins.
Description of the illustration ''deploys_oms_icon.png''
-
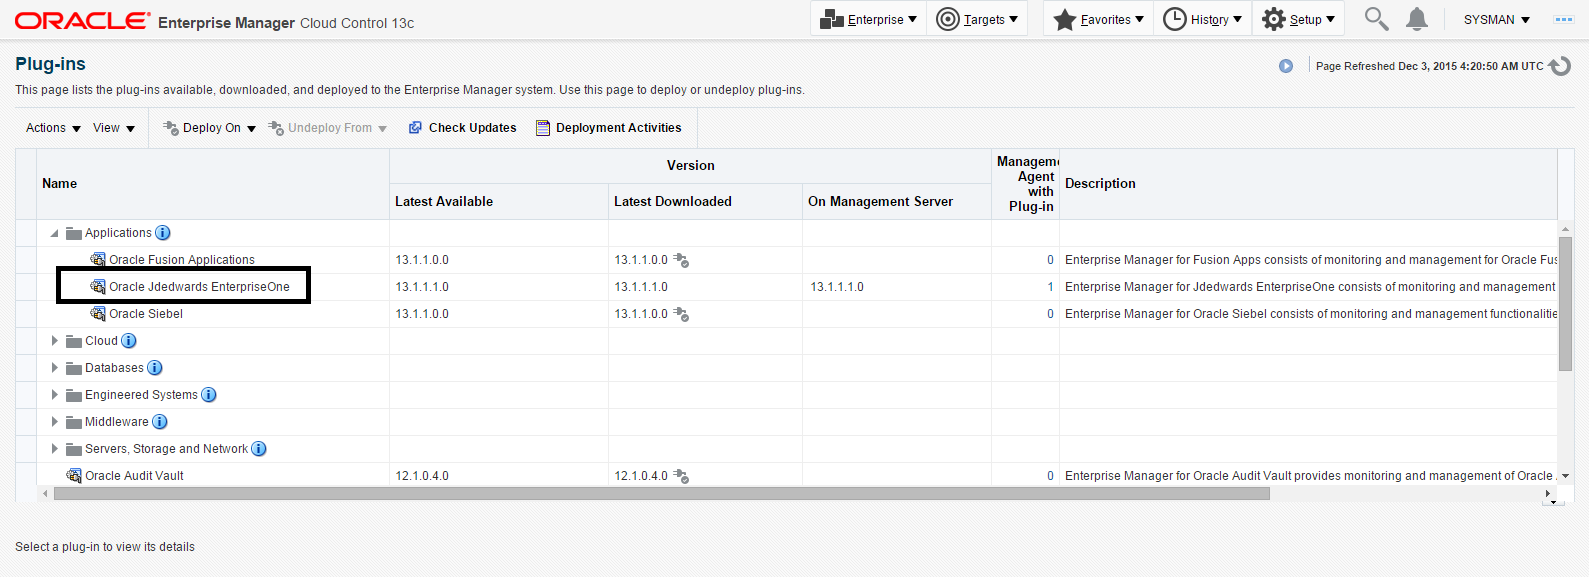
On the list of plugs, locate this item in the Name column:
Oracle JD Edwards EnterpriseOne
Cloud Control displays an icon in the Downloaded column if an item has not been deployed. If the icon exists, its hover text displays this message:

Description of the illustration ''hover_text.png''
You can only deploy a plugin if the above icon is displayed.
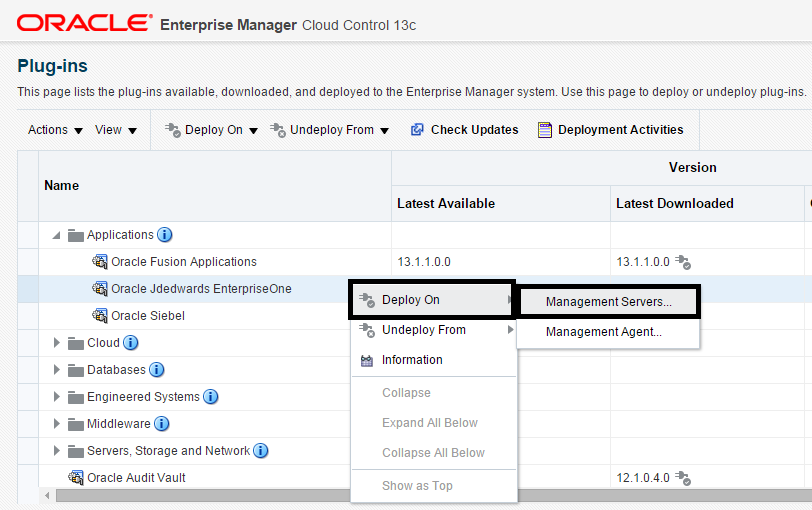
Description of the illustration ''deploy_oms_man_server.png''
-
With the undeployed plugin highlighted, right click and select Deploy On, Management Servers...
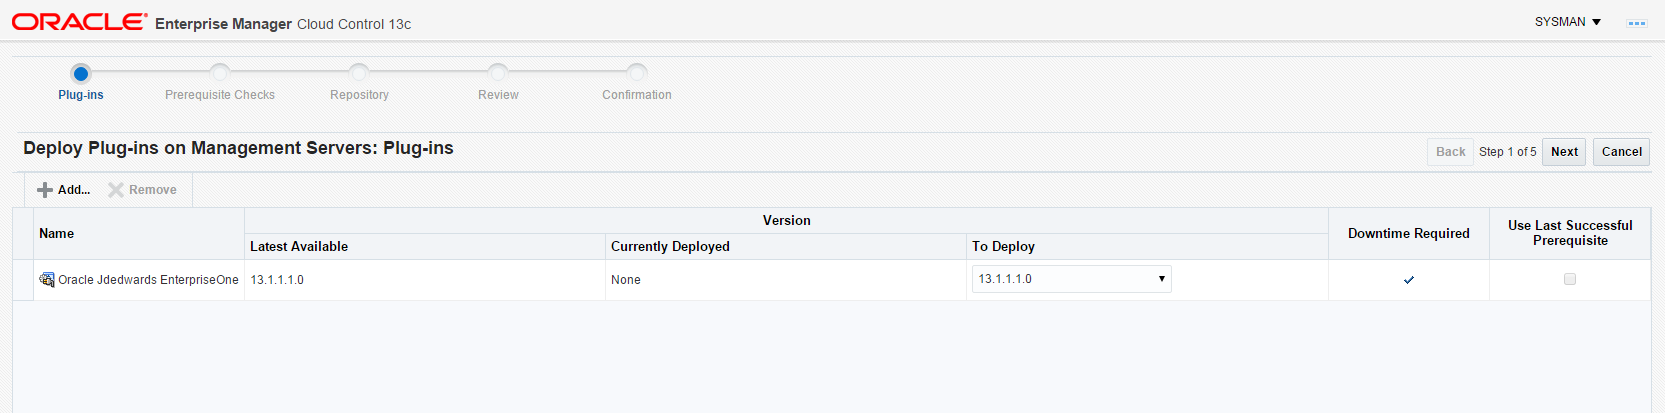
Description of the illustration ''deploy1.png''
-
On the Deploy Plug-ins on Management Servers, Plug-ins form, complete the details.
-
Click the Next button.
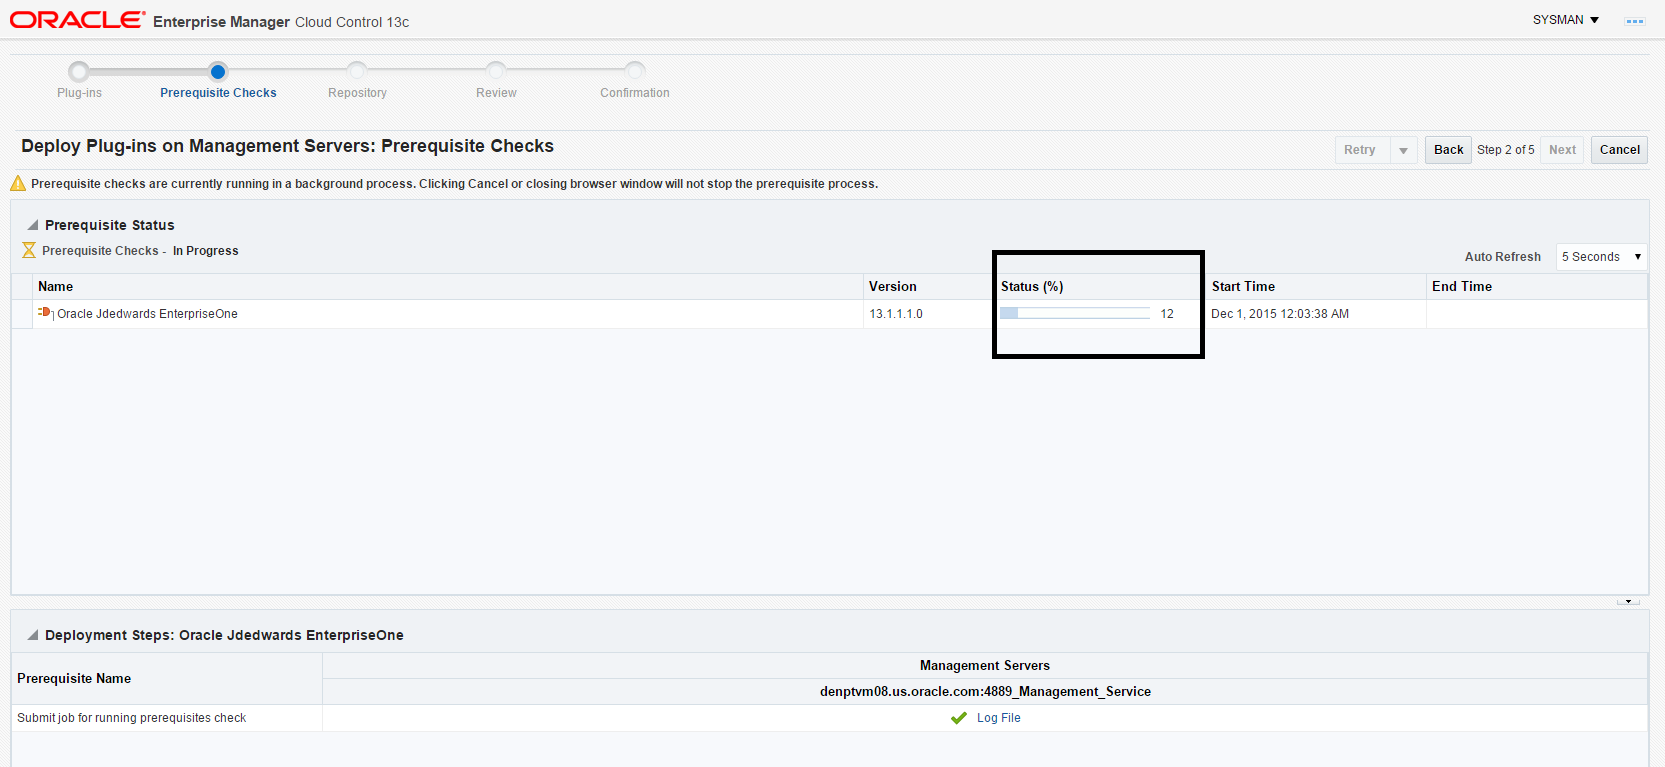
Description of the illustration ''deploy_oms_checks.png''
A progress panel is displayed indicating that the prerequisite checks are running.
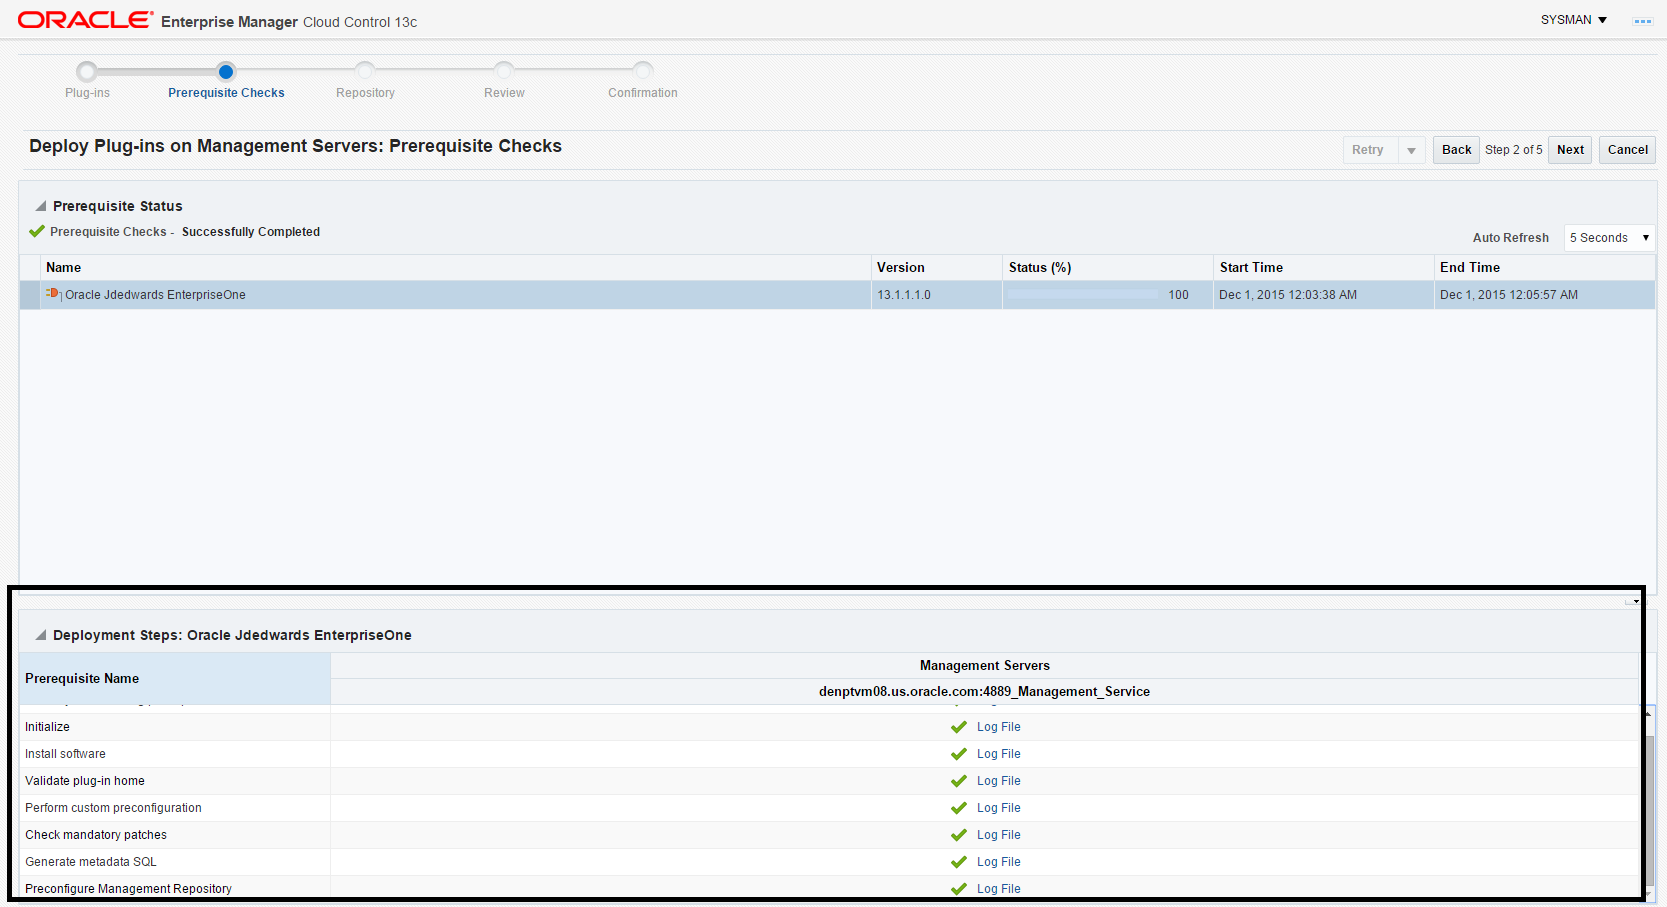
Description of the illustration ''deploy_oms_checks_done.png''
-
On Deploy Plug-in on Management Servers, Pre-requisite Checks form, verify that the checks completed successfully and click the Next button.
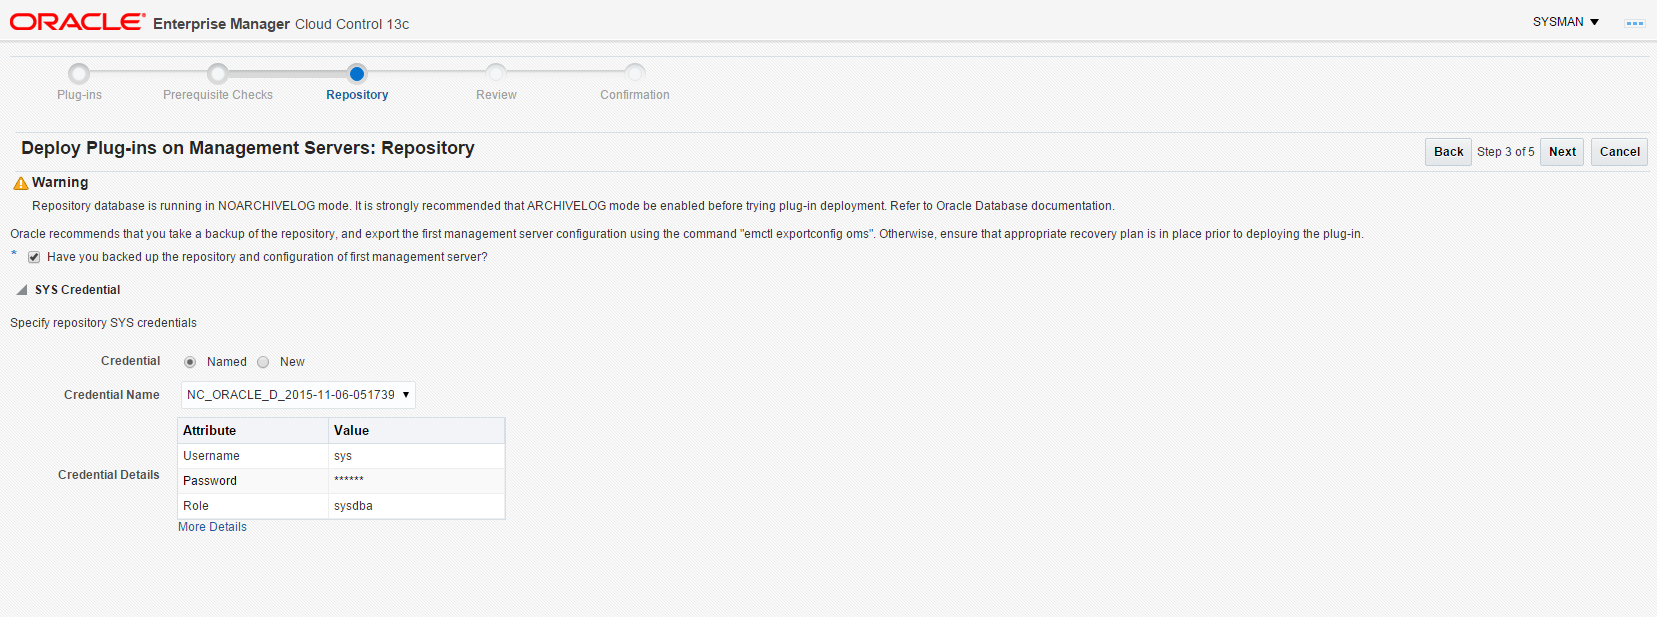
Description of the illustration ''deploy_oms_repostry.png''
On Deploy Plug-in on Management Servers, Repository form, complete the required fields and click the Next button.
-
The system displays the Deploy Plug-ins on Management Servers: Review form.
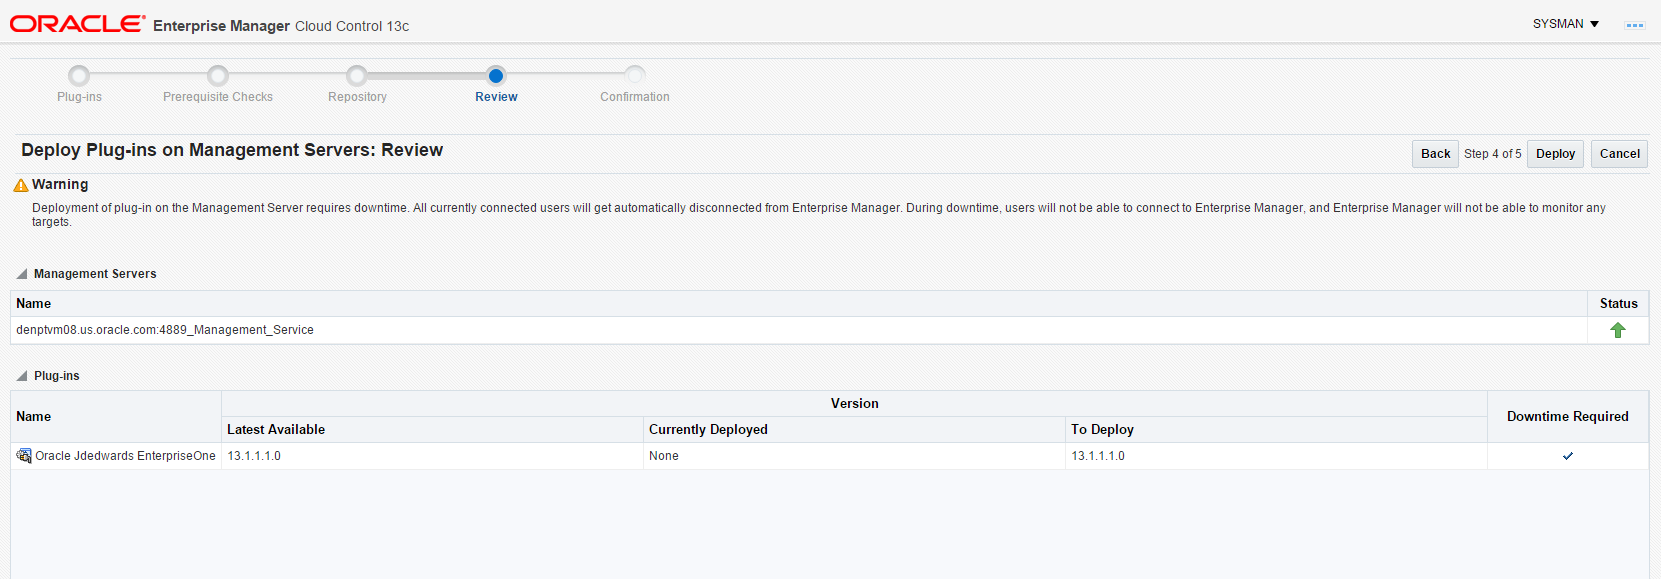
Description of the illustration ''deploy_oms_review.png''
On Deploy Plug-in on Management Servers: Review form, the panel warns that deployment of the plug-in on the Management Server will require downtime. All currently connected users will get disconnected from the Enterprise Manager. During the downtime period, users will not be able to connect to Enterprise Manager and Enterprise Manager will not monitor any targets.
Note:
Oracle recommends that you backup the repository or ensure appropriate recovery plans are in place prior to deploying the plug-in. -
Click the Deploy button.
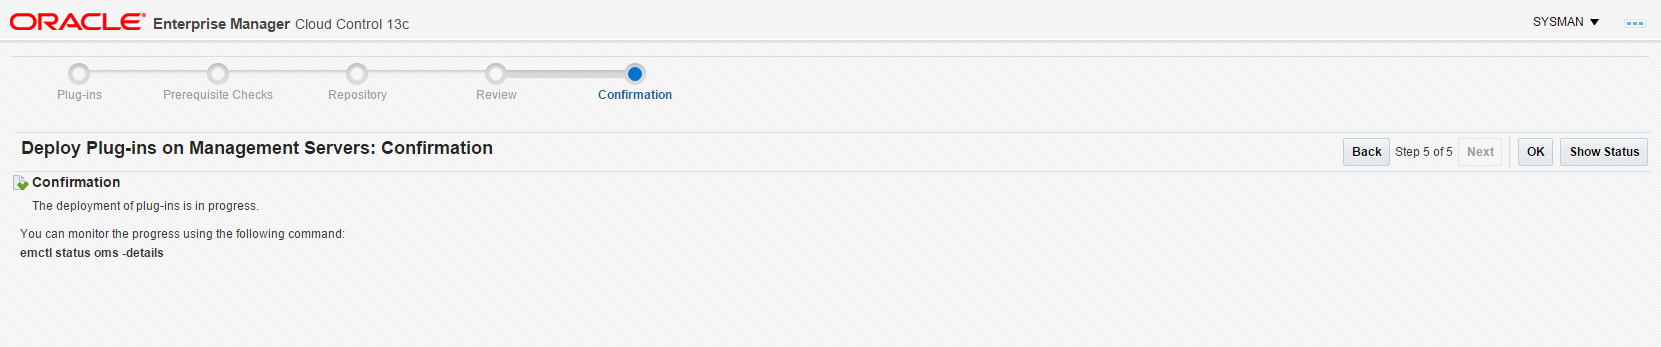
Description of the illustration ''deploy_oms_show_status.png''
-
On Deploy Plug-in on Management Servers: Confirmation form, click the Show Status button. This Confirmation screen indicates that the deployment is started.
The EM interface shows the starting progress of the deployment.
However, since OMS is shut down during the deployment process, after a certain time during deployment, you cannot use the EM user interface to verify if the deployment is complete and that the OMS is back up.
To determine simple status and whether OMS is up or down, use this line command:
./emctl status omsTo view the deployment details, you can append the
-detailsflag using this line command:./emctl status oms -detailsNote:
Any time you issue the check status command with the-detailsflag, you are prompted to provide the SYS user password for the EM database as shown in the sample below.
Description of the illustration ''prompt_sys_password.png''
As the deployment progresses and you check status, a series of steps are performed. The step that indicates the deployment is complete is called Starting OMS, as shown in the sample below.
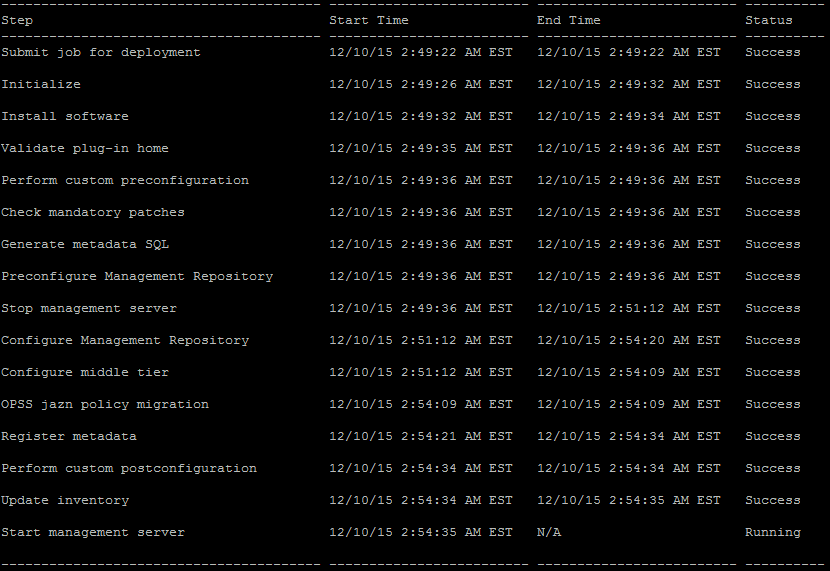
Description of the illustration ''deploy_oms_status_done.png''
At this point OMS is being started. This means that deployment is complete and that the EM console should be available very soon, depending on how long the actual startup takes to complete.