| Oracle® Fusion Middleware Patching Guide 11g Release 1 (11.1.1.5.0) Part Number E16793-12 |
|
|
PDF · Mobi · ePub |
| Oracle® Fusion Middleware Patching Guide 11g Release 1 (11.1.1.5.0) Part Number E16793-12 |
|
|
PDF · Mobi · ePub |
This appendix contains screenshots and descriptions for the Patch Set Installer screens:
Note:
There are separate Patch Set Installers for each Fusion Middleware product. The screens in this appendix are from the Oracle SOA Suite Patch Set Installer.The Specify Security Updates screenshot is from the Web Tier Patch Installer.
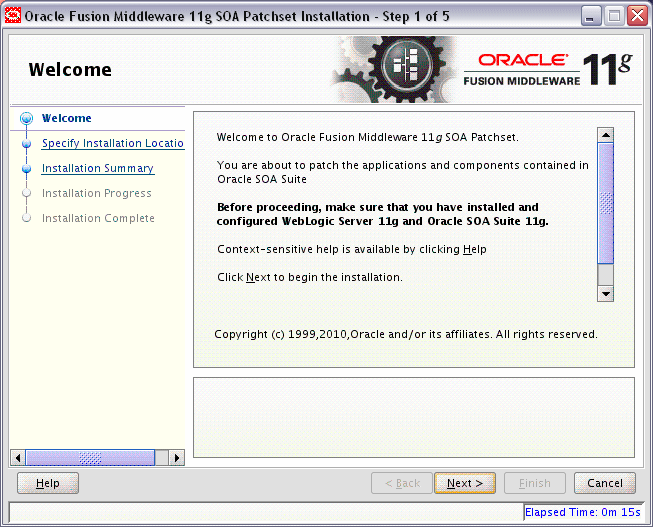
The Welcome screen is displayed each time you start the installer.
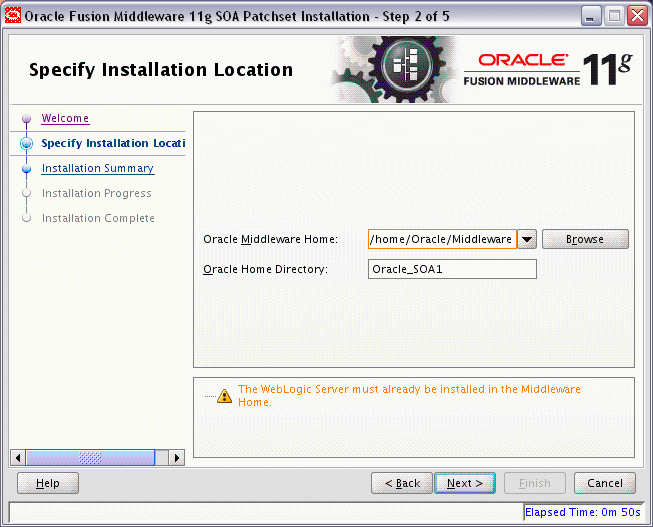
In the Oracle Middleware Home field, specify the absolute path to your existing Oracle Middleware Home directory; this is the directory that was created when you installed Oracle WebLogic Server. If you do not know the full path to your Middleware Home, you can click Browse to select an existing directory in your system.
In the Oracle Home Directory field, specify the existing product Oracle home directory inside the Oracle Middleware Home. This is the directory that will be patched with this installation.
Note:
If you are performing an installation on a Windows operating system, be sure that your directory paths are valid and do not contain double backslashes (\\).If you specify an Oracle home directory that does not contain the same product you are patching (for example, you are running the Patch Set Installer for Oracle SOA Suite but you have specified an Oracle home that contains Oracle Web Tier), you will receive a warning message but will be allowed to continue if you choose. In such cases, only the oracle_common directory and any components which the two products have in common are patched.
Note:
If you specify an Oracle home directory that has already been patched, then you will receive a warning message and the installation will not continue. Re-patching an Oracle home is not supported.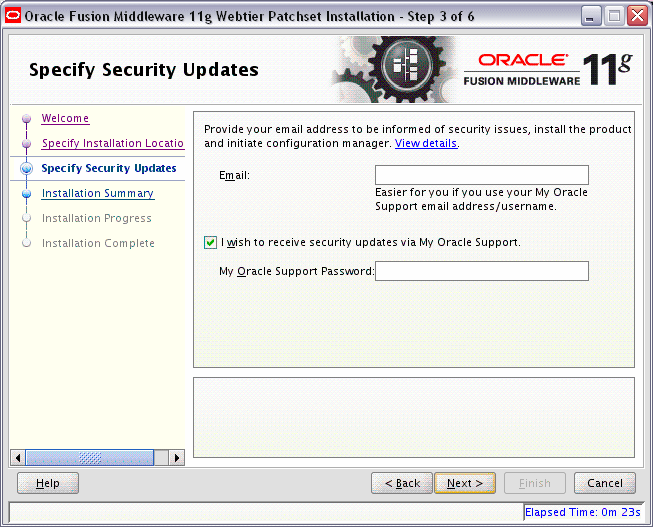
If you are running the Patch Set Installer for Oracle Web Tier, Oracle Identity Manager, or Oracle Portal, Forms, Reports and Discoverer, and you did not already register for security updates in your previous installation, you will see this screen.
Enter your E-mail address if you want to receive the latest product information and security updates. If you have a My Oracle account and wish to receive updates via this mechanism, select I wish to receive security updates via My Oracle Support, then enter your account password.
If you do not wish to register for security updates, leave all the fields on this screen blank. You will be prompted to confirm your selection with the following screen:
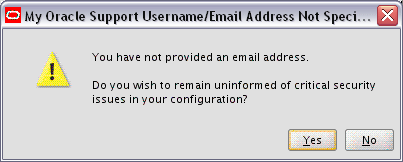
Click Yes to confirm that you do not want to register for any security updates.
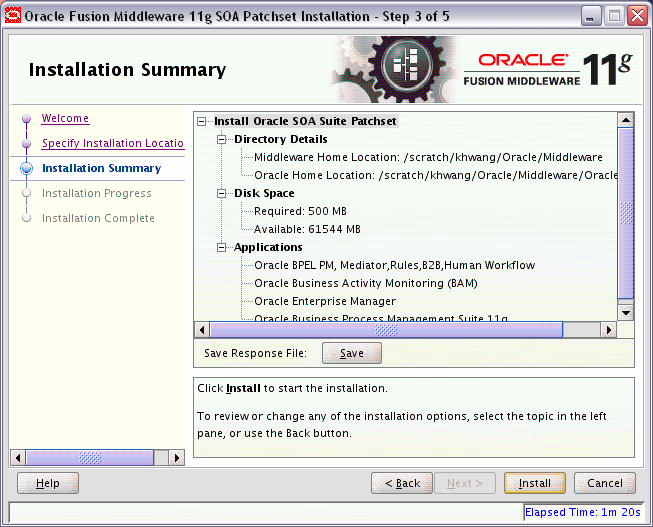
Review the information on this screen, and click Install to begin the installation. The operations summarized on this page will be performed when you click Install.
If you want to make any changes to the configuration before starting the installation, use the navigation pane and select the topic you want to edit.
If you want to save this configuration to a text file, click Save. This file can be used later if you choose to perform the same installation from the command line.
For more information about silent installation, refer to Oracle Fusion Middleware Installation Planning Guide.
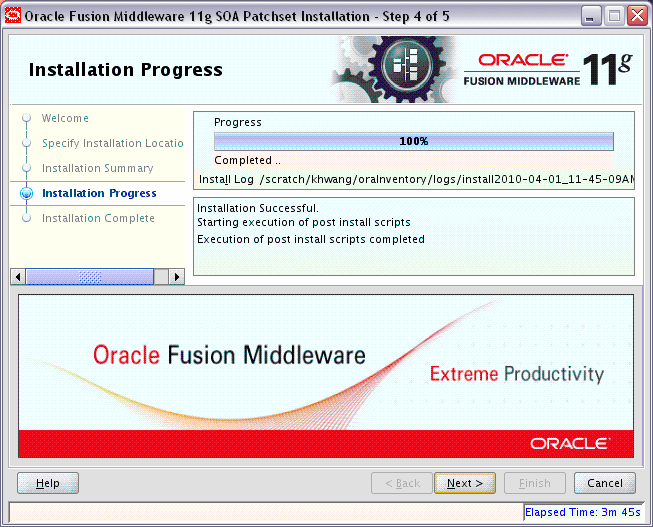
This screen shows you the progress of the installation.
If you want to quit before the installation is completed, click Cancel. Doing so will result in a partial installation; the portion of the software that was installed on your system before you click Cancel will remain on your system, and you will have to remove it manually.
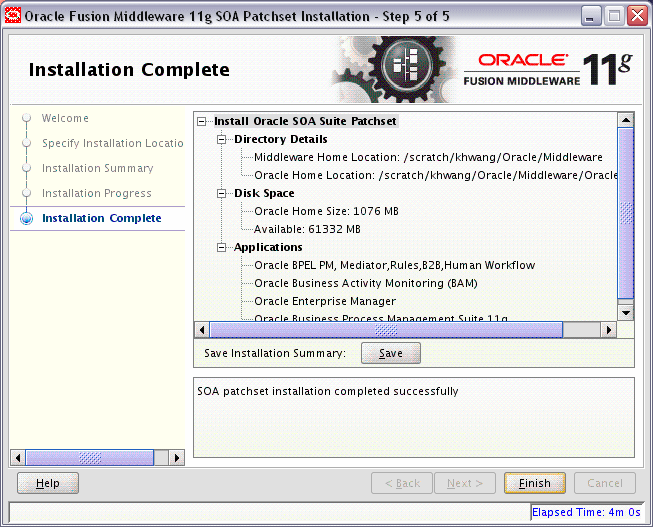
This screen summarizes the installation that was just completed.
If you want to save this summary information to a text file for future reference, click Save.