24 Work with User Defined Codes
This chapter contains these topics:
To work with UDCs, you need to know how to locate them for a field or a system. You'll also find out how to create notes for UDCs and translate them into another language.
From Master Directory (G), choose Hidden Selection 29
From General Systems (G00), choose General User Define Codes
24.1 Determining the UDCs Identifiers
Each UDC field is associated with a System Code and UDC Type. When revising UDCs, you will need to know these identifiers.
To determine the UDCs identifiers
-
Place your cursor in a field on a program screen and click the Help icon (F1).
For example, to determine the UDC identifier for the Search Type field on the Address Book Revisions screen, move your cursor to the Search Type field, and click the Help icon (F1).
Figure 24-1 User Defined Codes Window screen

Description of "Figure 24-1 User Defined Codes Window screen"
In the upper left corner of the User Defined Codes screen is the UDC identifier. In this example, the identifier is 01, ST.
-
From the Functions menu, choose Sort order switch UDC Code/UDC Description (F6) to toggle the view of the UDC table from either an alphanumeric sequence by UDC code or by the description. To sort by description allows you to locate codes more easily.
In many cases, JD Edwards World assigns logical groupings of UDCs to a particular menu.
Figure 24-2 Address Book Category Codes screen

Description of "Figure 24-2 Address Book Category Codes screen"
24.2 Working with UDC Values
The User Defined Values file is F0005. You can not delete the entire UDC table.
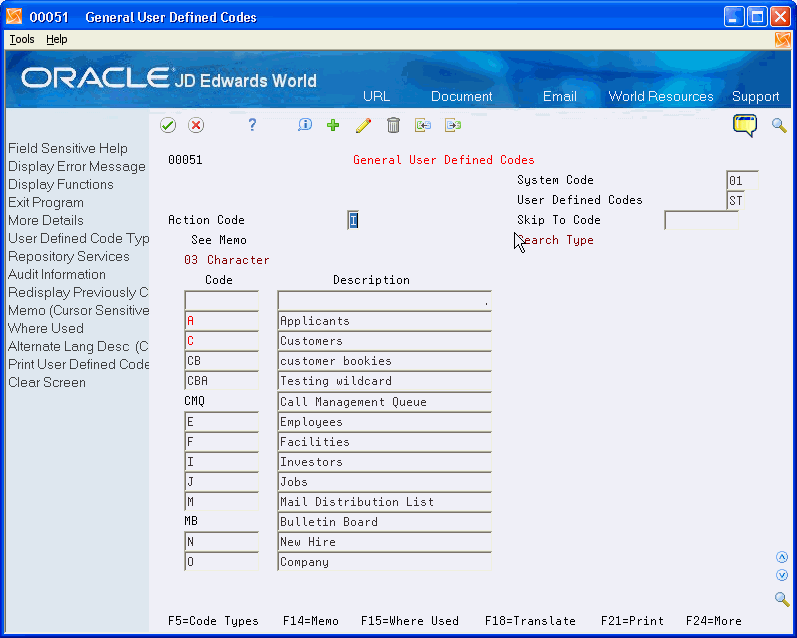
On General User Defined Codes, locate a file.
For example, for the Search Type field on Address Book, enter 01 in the System Code field and ST in the User Defined Codes field.
Figure 24-3 General User Defined Codes screen
Description of "Figure 24-3 General User Defined Codes screen"
-
On General User Defined Codes, locate a UDC table.
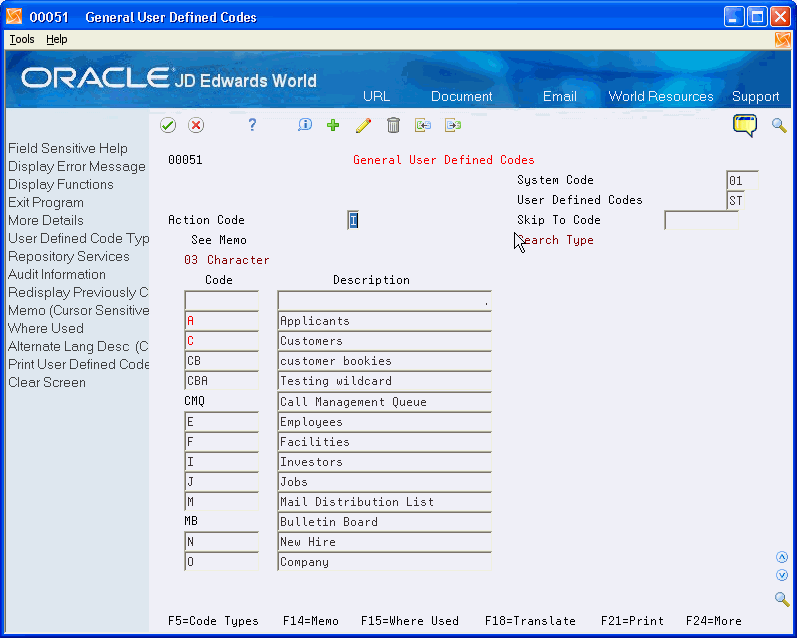
Figure 24-4 General User Defined Codes (Add) screen
Description of "Figure 24-4 General User Defined Codes (Add) screen"
-
Do one of the following:
-
Type the new value and description over the top of one of the existing values-the existing value is still there and will re-display the next time you perform an inquiry
-
Type the new value and description on a blank line
-
-
Click the Add or Change icon, either action works the same in this case.
See Also:
-
Section 59.1, "Setting Up Action Code Security" to restrict maintenance and addition of code values.
-
On General User Defined Codes locate a UDC table.
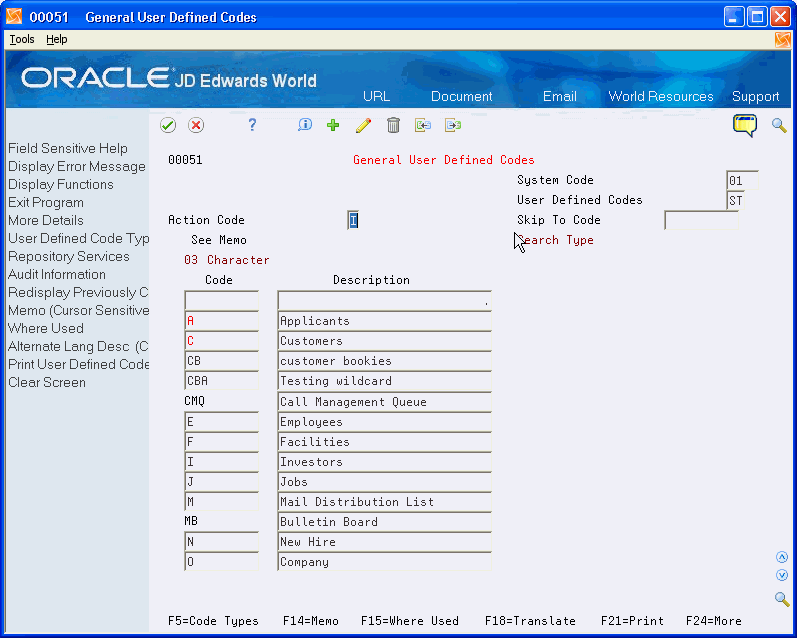
Figure 24-5 General User Defined Codes (Delete) screen
Description of "Figure 24-5 General User Defined Codes (Delete) screen"
-
Clear all of the information for the value you want to delete.
-
Click Change.
24.3 Working with UDC Types
You can review the entire list of code types for a system. You can add and delete code types, also known as User Defined Codes tables, for a system. The User Defined Codes Types file is F0004.
Do not delete the UDC Types that JD Edwards World provides. Deletions require Data Dictionary and programming changes.
The user needs to define the valid values for UDC types. You can print a list of UDCs to see which values you want to change and then revise the values to meet your needs.
-
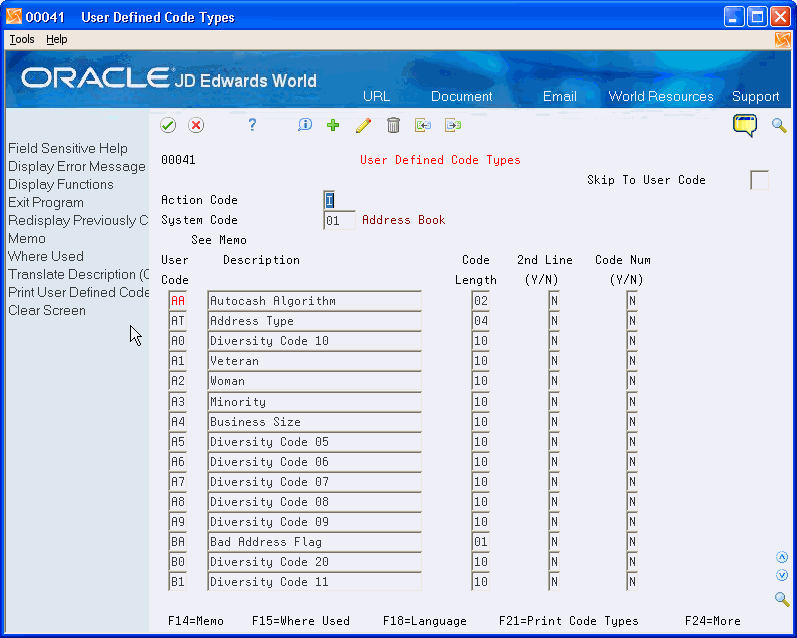
On General User Defined Codes, choose User Defined Code Types (F5).
The User Defined Code Types screen displays.
Figure 24-6 User Defined Code Types screen
Description of "Figure 24-6 User Defined Code Types screen"
-
Enter a system code.
-
On General User Defined Codes, choose User Defined Code Types (F5).
The User Defined Code Types screen displays.
-
Locate the system code that you want.
Figure 24-7 User Defined Code Types (Add) screen

Description of "Figure 24-7 User Defined Code Types (Add) screen"
-
Do one of the following:
-
Type the new information over the top of one of the existing types-the existing type is still there and will re-display the next time you perform an inquiry
-
Type the new information on a blank line
-
-
Click Add or Change, either action works the same in this case.
-
On General User Defined Codes, choose User Defined Code Types (F5).
The User Defined Code Types screen displays.
-
Locate the system code that you want.
Figure 24-8 User Defined Code Types (Delete) screen

Description of "Figure 24-8 User Defined Code Types (Delete) screen"
-
Clear all of the information of the code type that you want to delete.
-
Click Change.
24.4 Attaching Memo Notes to UDCs
Whenever Memo (F14) displays in the navigation bar or at the bottom of a screen, you can attach electronic notes to provide details about a particular field.
To maintain extensive text, use the Data Dictionary.
-
On General User Defined Codes, place the cursor on the appropriate field.
-
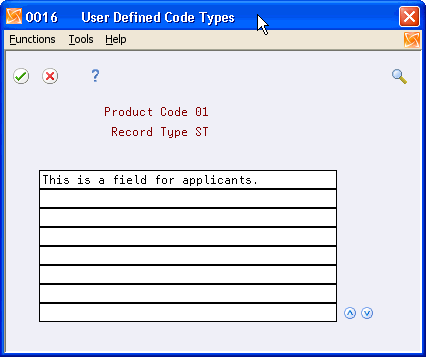
Choose Memo (F14).
The User Defined Code Detail window displays.
Figure 24-9 User Defined Code Types (Add Detail) screen
Description of "Figure 24-9 User Defined Code Types (Add Detail) screen"
-
Enter text.
After you enter a note, the words See Memo display near the upper left corner of the General User Defined Codes screen.
-
Choose Memo (F14) to display a previously entered memo.
-
From the Functions menu on the User Defined Code Detail window, do the following:
-
Choose Display User & Date of Entry & Update (F6) to see who entered or modified text.
-
Choose Delete this Entire Note (F9) to delete the text.
-
Choose Select Model Memo (F15) to select a text model.
-
24.5 Working with User Defined Code Models
A text model is text that you enter and then can access from the User Defined Code Detail, the memo notes, screen of User Defined Codes. You would enter text that you would need for multiple UDCs. You select a model and it displays on the User Defined Code note that you are creating-thus saving you from repeatedly typing the same information.
You can enter up to 32,000 characters of notes in a single screen. The small text screen holds 800 lines of text, 40 characters per line. The large window holds 400 lines of text, 80 characters per line.
This electronic note capability accommodates brief reminders or messages about the field or screen. For more detailed help text, use the Data Dictionary Repository to create detailed Glossary entries for the specific data item.
To change the size of a screen, you choose Toggle Window Size (F2) from the Functions menu. The system opens a screen that is either 40 or 80 characters wide.
To open the User Information screen that displays details about the text entry in the screen, choose Display User & Date of Entry & Update (F6) from the Functions menu. You can also open this window from the Text Model Selection screen using option 6. The system automatically records this information.
Within the screen, you can insert and delete lines. Choose Insert Line at Cursor Location (F8) from the Functions menu to move the text in the screen down one line from the cursor position. You can insert additional text on the new blank line. Choose Delete Line at Cursor Location (F9) from the Functions menu to delete all text on the same line as the cursor.
You can copy a model so that you can use its information in creating a new model.
To work with models on the User Defined Code Detail screen. See Section 24.4, "Attaching Memo Notes to UDCs" for access information.
Complete the following tasks:
-
Add a Model
-
Copy a Model
-
Delete a Model
-
Select a Model
-
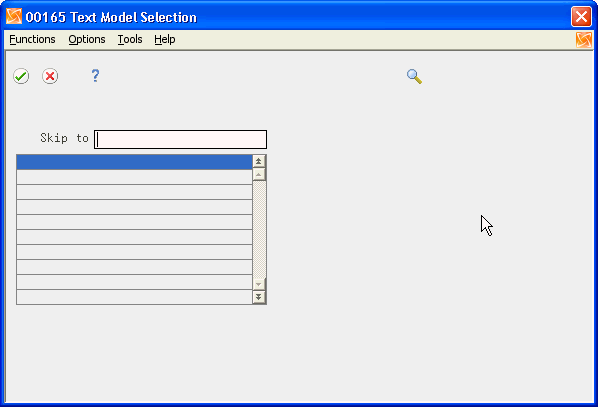
On User Defined Code Detail, choose Select Model Memo (F15) from the Functions menu.
-
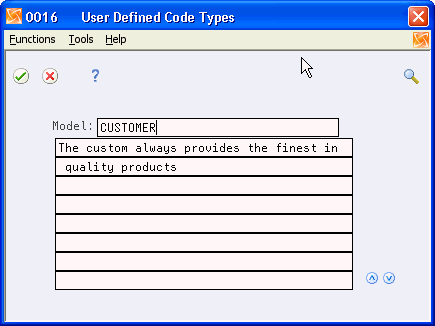
On a blank line, choose View/Change Model from the Options menu.
The User Defined Code Detail displays that you use to add the model.
Figure 24-11 User Defined Code Types (Detail Added) screen
Description of "Figure 24-11 User Defined Code Types (Detail Added) screen"
-
Type the name of the model in the Model field. This is any name you want.
-
Type the associated text for the model on the lines below the Model field.
-
Click Enter and then click Exit (F3).
-
Exit (F3) the Text Model Selection screen and then choose Select Model Memo (F15) from the Functions menu to display the new model name.
-
On User Defined Code Detail, choose Select Model Memo (F15) from the Functions menu.
The Text Model Selection window displays.
-
Select the model you want to copy and choose View/Change Model from the Options menu.
The User Defined Code Detail window displays with the model you selected.
-
Type a new name for the model in the Model field.
-
Change the associated text for the model on the lines below the Model field.
-
Click Enter and then click Exit (F3).
-
Exit (F3) the Text Model Selection screen and then choose Select Model Memo (F15) from the Functions menu to display the new model name.
-
On User Defined Code Detail, choose Select Model Memo (F15) from the Functions menu.
The Text Model Selection window displays.
-
Select the model you want to delete and choose View/Change Model from the Options menu.
The User Defined Code Detail window displays with the model you selected.
-
Choose Delete this Entire Note from the Options menu.
-
Click Enter and then click Exit (F3).
-
Exit (F3) the Text Model Selection screen and then choose Select Model Memo (F15) from the Functions menu to ensure the model no longer exists.
-
On User Defined Code Detail, choose Select Model Memo (F15) from the Functions menu
The Text Model Selection window displays.
-
Select the model you want and choose View/Change Model from the Options menu to display the information on the User Defined Code Detail screen.
-
Click Enter and then click Exit (F3).
24.6 Translating UDCs
If your business is multi-national, you might want to translate the descriptions of your UDCs. The descriptions work in conjunction with the language specified for each person who uses the JD Edwards World system. For example, when someone who is set up as a French-speaking user accesses a User Defined Code with a French translation, the description appears in French.
The UDC files for languages are F0004D and F0005D.
-
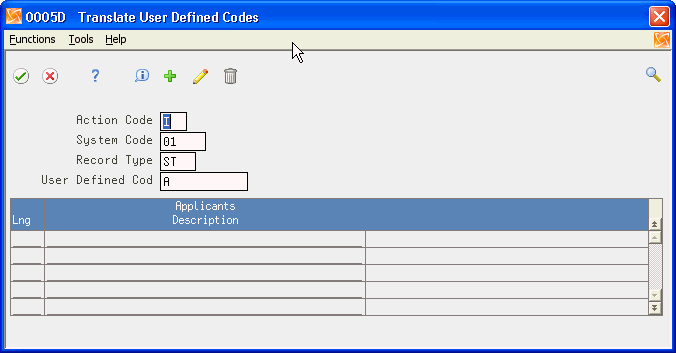
On General User Defined Codes, place the cursor on the appropriate field and choose Translate Description (F18).
The Translate User Defined Codes window displays.
Figure 24-12 Translate User Defined Codes screen
Description of "Figure 24-12 Translate User Defined Codes screen"
-
Enter the language code and the description.
24.7 Other Function Keys on the General UDCs Screen
Figure 24-13 General User Defined Codes (Other Function Keys) screen

Description of "Figure 24-13 General User Defined Codes (Other Function Keys) screen"
Repository Services (F6) accesses Data Dictionary, Menus, Vocabulary Overrides, and other Repository Service screens.
Redisplay Previously Changed UDC Table (F9) to display a UDC table that was changed.
Where Used (F15) displays all data items that use the User Defined Code types you specify in the UDCs field
Print User Defined Codes (F21) to access a version of UDCs to print..
