This example creates a server pool using the Oracle VM Servers, and the server pool file system on the file system-based storage (NFS server). You need an IP address to use as the virtual IP address to enable clustering and HA. Replace the server pool information in this example with that of your environment.
To create a server pool:
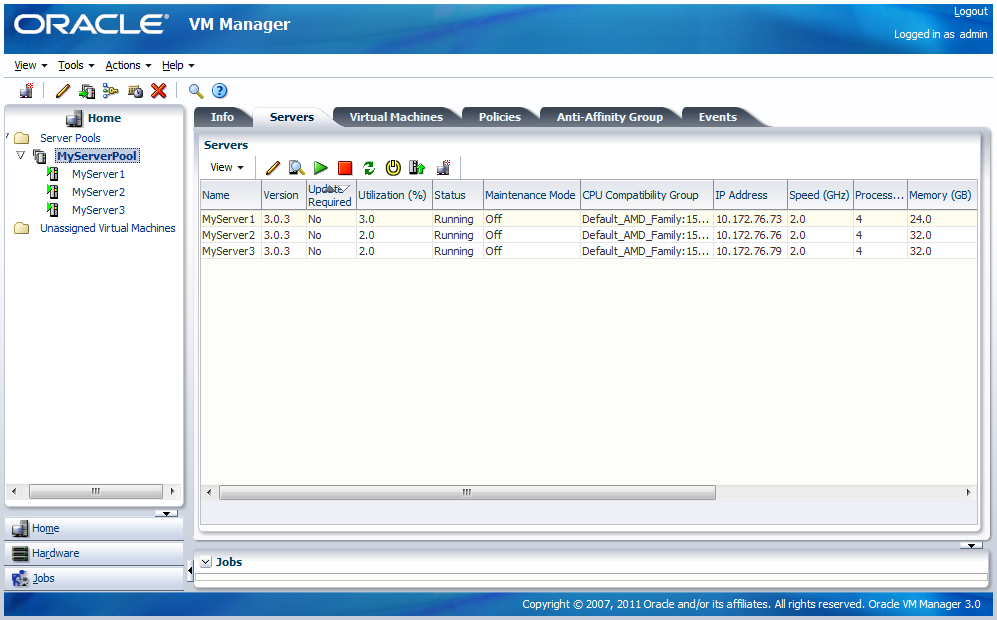
Select the Home view.
Select Create Server Pool from the Actions menu.
The Create Server Pool dialog box is displayed. Enter the server pool information:
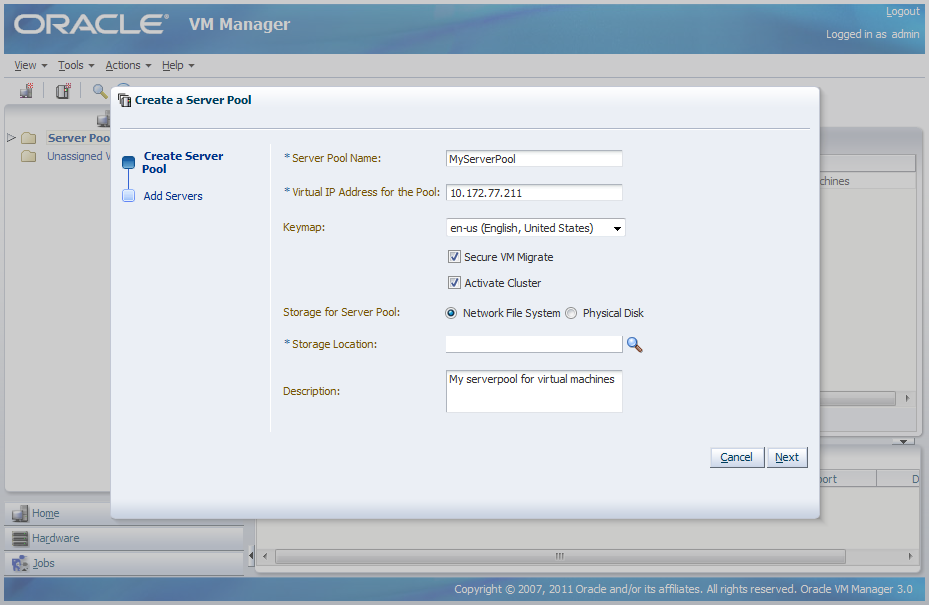
An IP address is required to use as a virtual IP address to identify the master Oracle VM Server, which controls the other Oracle VM Server in the server pool.
Select Activate Cluster to enable clustering of the Oracle VM Servers in the server pool, which is required to enable HA.
Select Network File System as the file system type to use for the server pool. The server pool file system is used to hold the server pool and cluster data, and is also used for cluster heartbeating. Use the Storage Location search icon to search for the server pool file system.
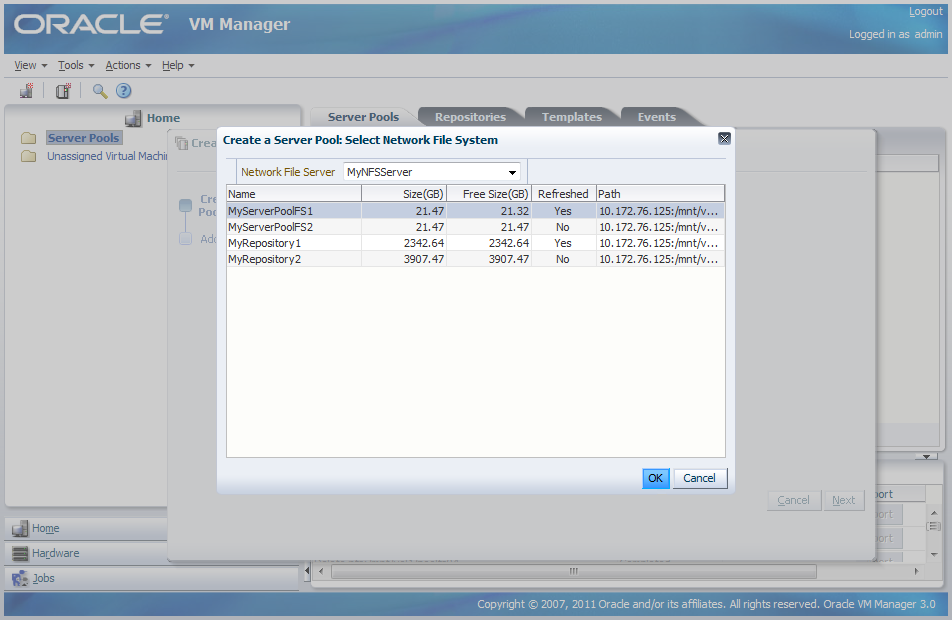
Select the file system to use for the server pool file system and click OK.
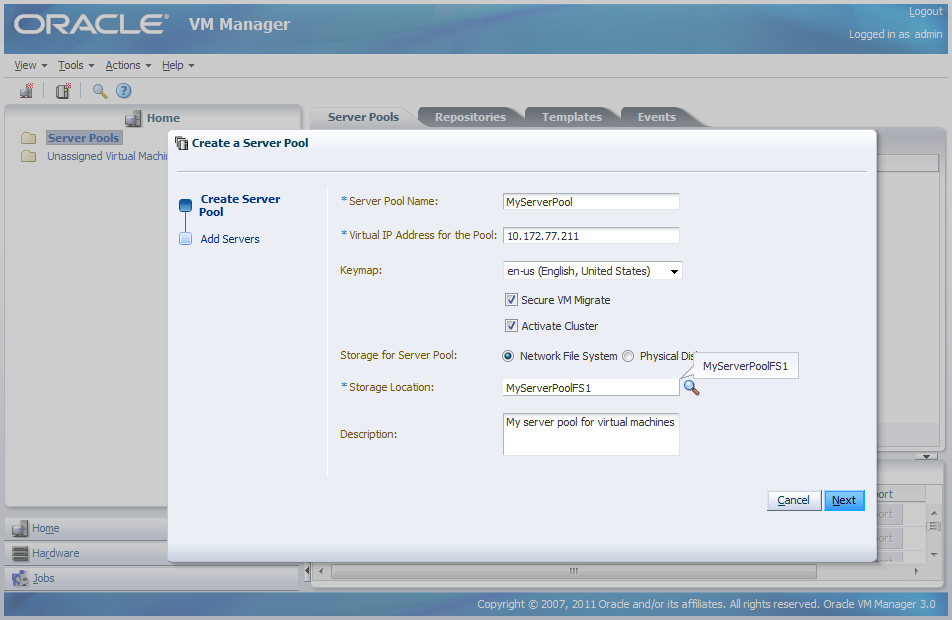
Click Next to add servers to the server pool.
Add Oracle VM Servers to the Selected Servers field and click Finish.
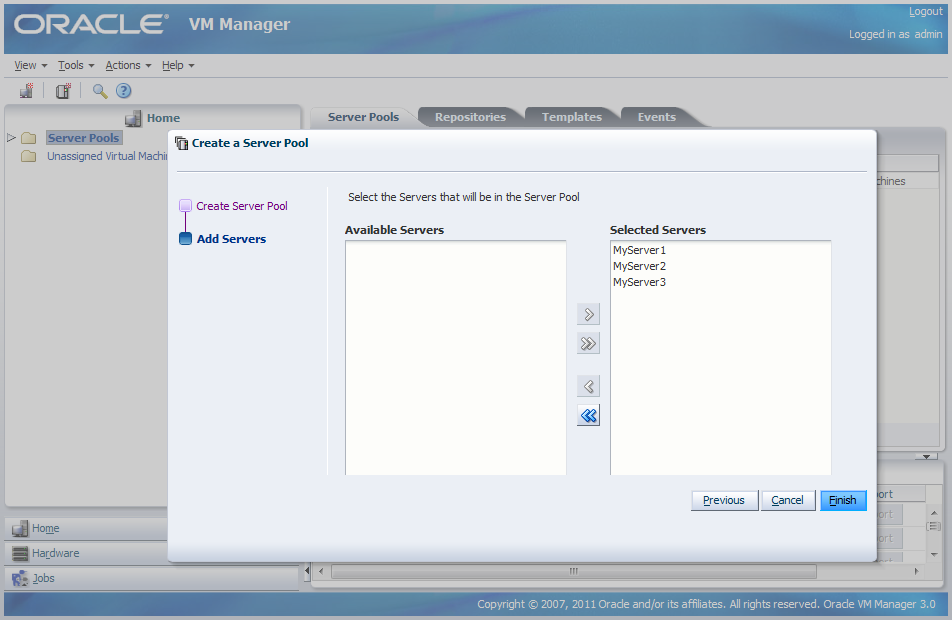
The Oracle VM Servers are added to the server pool and ready to use to create virtual machines.
For more information on creating server pools and adding Oracle VM Servers, see Creating a Server Pool and Adding an Oracle VM Server to a Server Pool .
The next step is to create a storage repository to use for virtual machine resources.