D Oracle Discoverer Desktop Deinstallation Screens
This appendix contains screenshots and descriptions for all of the Oracle Discoverer Desktop deinstallation screens:
D.1 Welcome
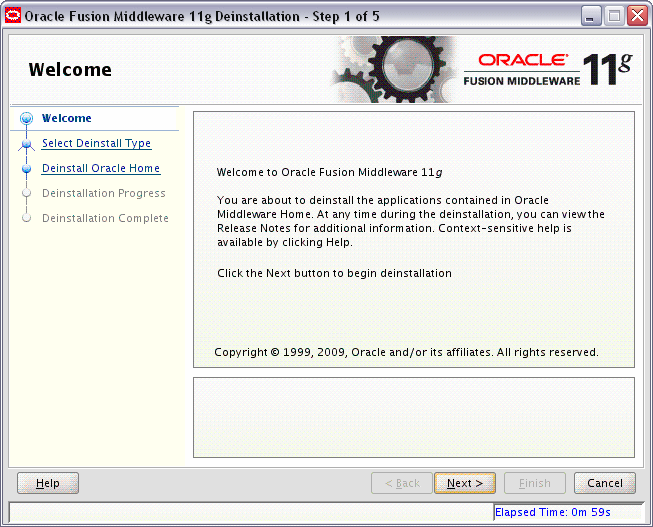
Description of the illustration deinstall_welcome.gif
The installer displays this screen when you are about to deinstall one or more Oracle Fusion Middleware software components.
When you use the installer to deinstall your Oracle Fusion Middleware software, the installer removes the software files in the selected Oracle home from disk, updates the Oracle inventory, and performs other operating-specific tasks to remove the components.
Like the Welcome screen that appears when you are about to install a product, the deinstallation Welcome screen contains a navigation pane on the left that summarizes the tasks the installer will help you complete.
Each item in the navigation pane represents a specific installer screen that will prompt you for information required to install the software.
For complete information about deinstalling your Oracle Fusion Middleware software, refer to the deinstallation information in the Installation guide for your software suite.
D.2 Deinstall Oracle Home
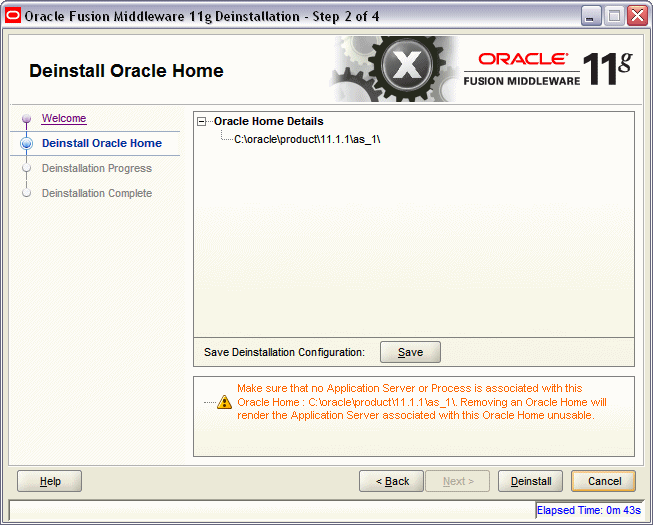
Description of the illustration odd_deinstall_oh.gif
Use this screen to verify that you have selected the Oracle home that you want to deinstall.
When you click Deinstall, then the installer will begin the process of deinstalling the Oracle home shown on this screen, and the following screen will appear:
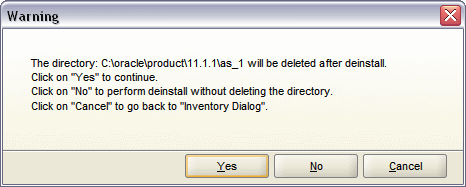
Description of the illustration odd_dnstll_oh_wrnng.gif
Click Yes to remove the software and the Oracle home directory from which the deinstaller was started. Click No to remove the software but do not remove the Oracle home directory. Click Cancel to return to the previous screen.
Note:
Before you click Deinstall, ensure that all processes associated with the selected Oracle home have been stopped.
If you want to save this configuration to a text file (called a response file), click Save. The resulting response file can be used later if you choose to perform the same deinstallation procedure from the command line.
See Appendix E, "Silent Installation and Deinstallation"for more information.
D.3 Deinstallation Progress
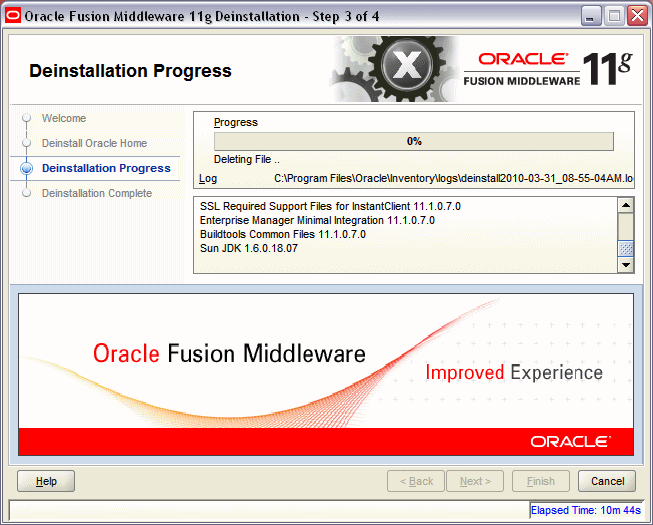
Description of the illustration odd_deinstall_progress.gif
Use this screen to monitor the progress of the deinstallation process.
Click Cancel to stop the desinstallation process.
D.4 Deinstallation Complete
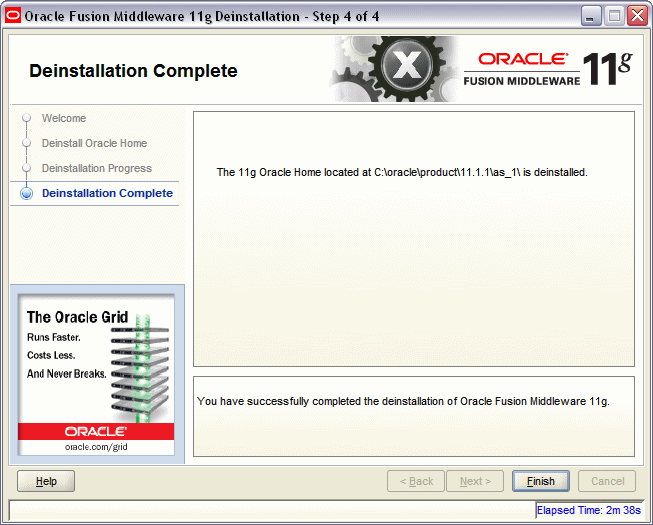
Description of the illustration odd_deinstall_complete.gif
This screen summarizes the deinstallation that was just completed. When this screen appears, it indicates that the deinstallation is complete and the selected components have been cleared from the Oracle Inventory.