 Part 1:

-
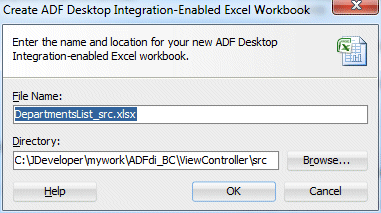
Back in JDeveloper, double click DepartmentsList_src.xlsx to open it in Excel.
-
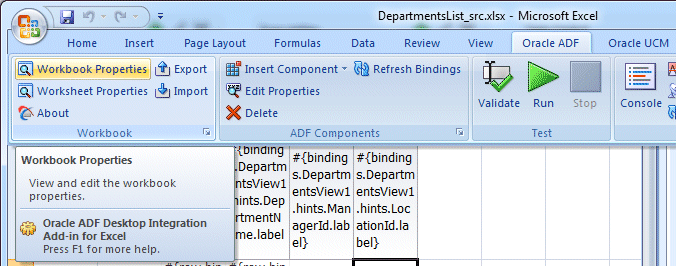
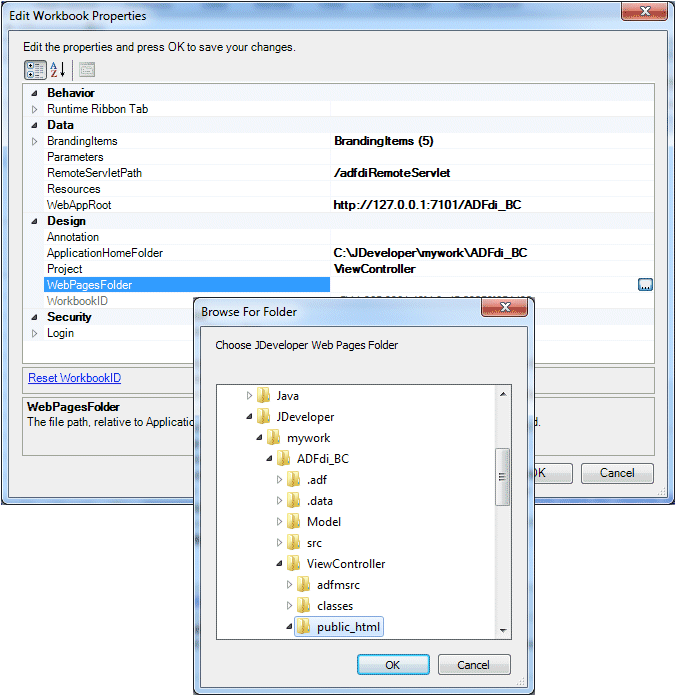
In Excel click Workbook Properties in the Oracle ADF tab to open the Edit Workbook Properties dialog.
Then click the more button in the WebPagesFolder field and navigate to the public_html folder to specify where the published workbooks will be stored. Note that if you have not set a value for the WebPagesFolder property, you will be prompted to set one when you attempt to publish the workbook.
Click OK and OK again.
-
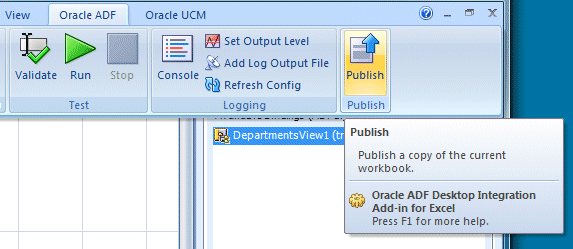
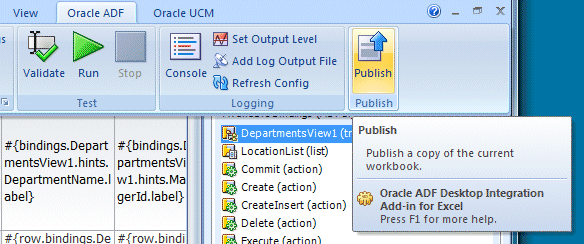
In the Oracle ADF tab of the Excel ribbon, click Publish.
-
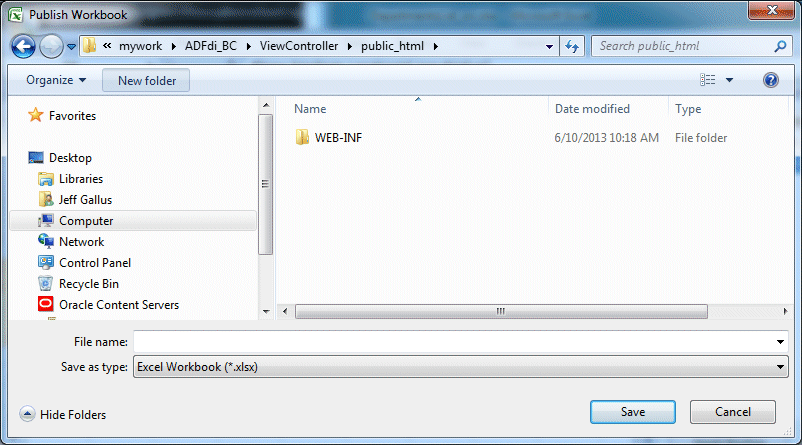
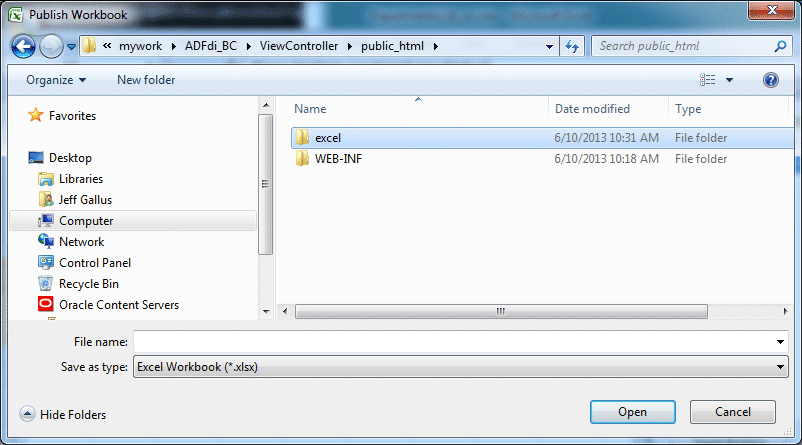
The Publish Workbook dialog displays. Navigate to the public_html folder and then click the Create New Folder icon to create a location for your published workbooks.
-
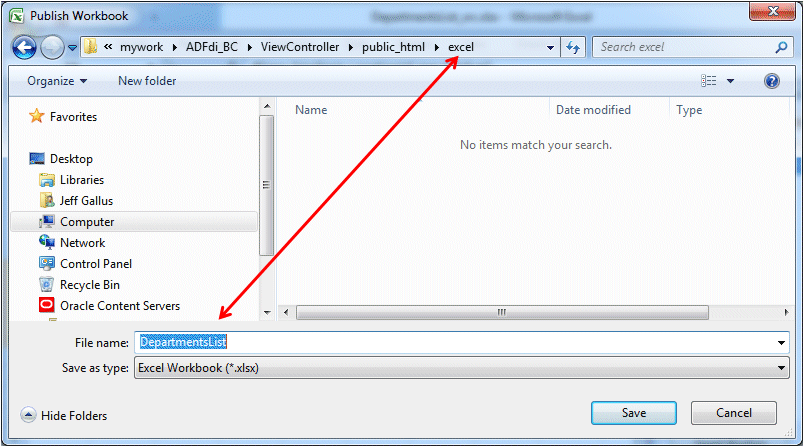
Type excel as the name of the folder, then click the Open button.
-
Type DepartmentsList as the file name and click Save.
-
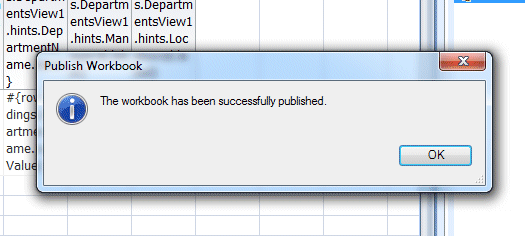
A message displays, saying the publish operation has been successful.
-
Close the DepartmentsList workbook and follow the steps below to publish the EditDept_LOV workbook.
When you created your workbook from the New Gallery in an earlier step, the wizard directed you to save it under src\excel.
Published workbooks can be stored under public_html if you want them to be accessible from web pages.
The steps for publishing the EditDept_LOV workbook are basically the same as for publishing the DepartmentsList workbook.
-
Back in JDeveloper, double-click the EditDept_LOV_src.xlsx to open it.
-
in Excel, click Workbook Properties to open the dialog.
-
Click the more button in the WebPagesFolder field and navigate to the public_html folder as before, to specify the location of the published workbooks.
Click OK and OK again.
-
In the Oracle ADF tab of the Excel ribbon, click Publish.
-
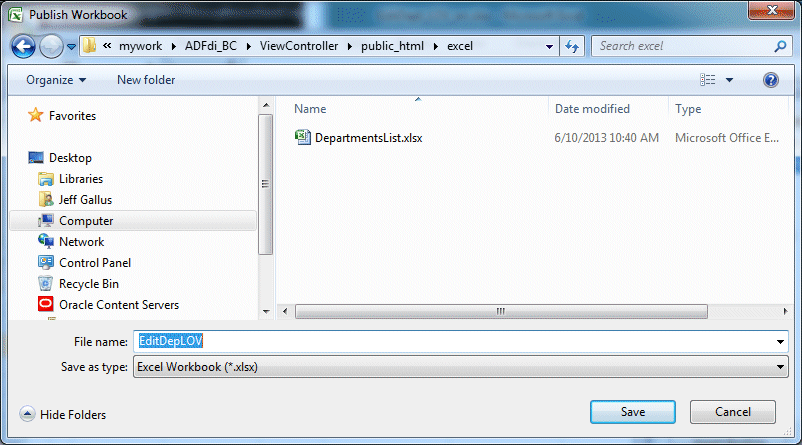
Navigate to the public_html | excel folder, type EditDept_LOV as the file name and click Save.
-
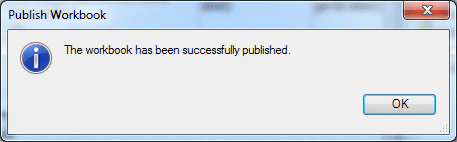
As before, a message displays, saying the publish operation has been successful.
-
Exit from Excel. Your workbooks are now published and are ready to be deployed with your application to the Oracle WebLogic Server.
- Configure your environment to support desktop integration.
- Develop a simple ADF desktop integration-enabled Excel workbook
- Develop a more refined ADF desktop integration-enabled Excel workbook
- Publish the workbooks