To access the departments and employees data, you’ll use two classes—DepartmentService and EmployeeService—to implement the REST web services. For the purposes of this tutorial, the code within each class will be abbreviated. In a real-world implementation, you would typically support the full CRUD methods for each resource.
This tutorial requires to have JDeveloper 12.1.3. installed and to have access to an Oracle database 10g and onward with access to the HR schema.
| Purpose | Duration | Application |
|---|---|---|
In this tutorial, you use Oracle JDeveloper 12c Version 12.1.3.0.0 to build a web application using RESTful services. You must download and unzip the starter application to complete the tutorial. Click here to download the starter application. |
90 minutes |  |
-
Start JDeveloper by selecting Start > All Programs > Oracle Fusion Middleware 12.1.3.0.0 > JDeveloper Studio 12.1.3.0.0
-
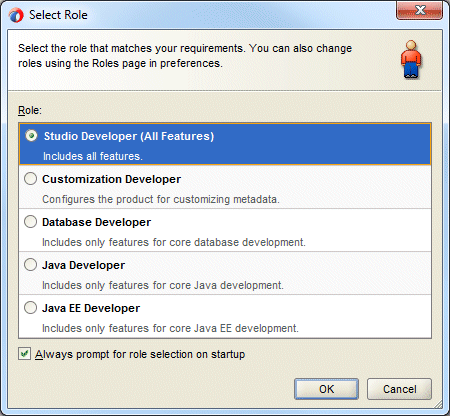
If prompted for a Role, select Studio Developer (All Features) and click OK.
Close the Tip of the Day window.
Once loaded, the JDeveloper IDE appears. The very first time you open JDeveloper, the Start Page displays. You can re-invoke the Start Page later by choosing Help > Start Page.
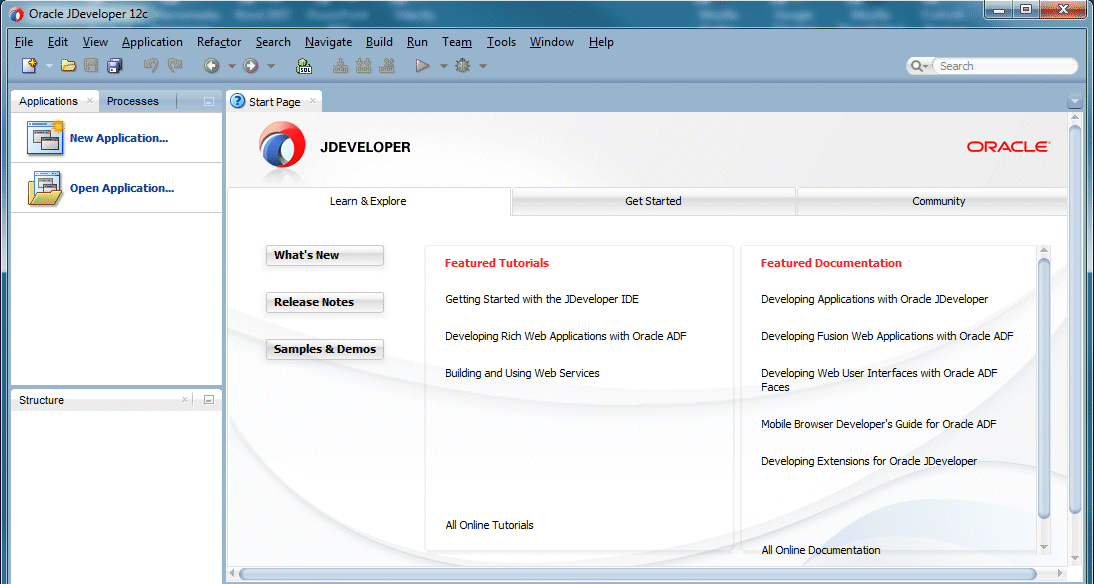
Notice the various options available to help you learn about JDeveloper. After exploring these options, click the X on the Start Page tab to close it. (the X appears when you mouse over the tab).
-
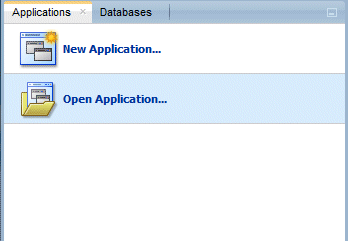
Click the Application tab to go back to the Applications window. Click the Open Application icon.
-
In the Open Application(s) window, navigate to the location where you unzipped the starter application and select the ...\EjbRestService\EjbRestService.jws file.
Then click Open.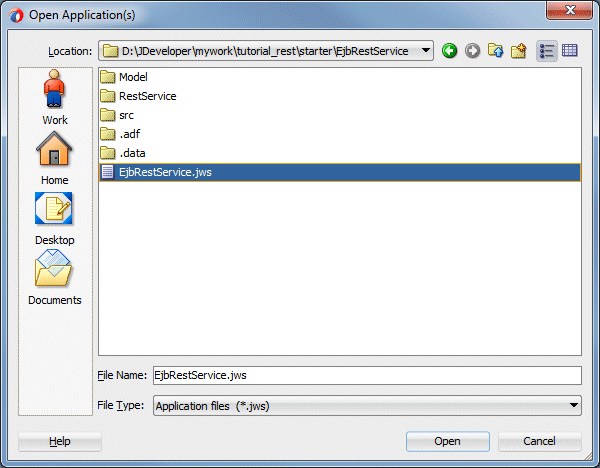
-
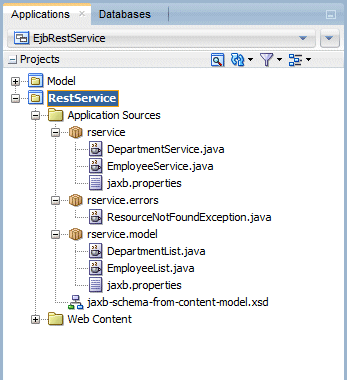
In the Application window, you should see two projects Model and RestServices.
The Model project contains the data classes and session bean.
The RestServices project contains the services classes and helper methods.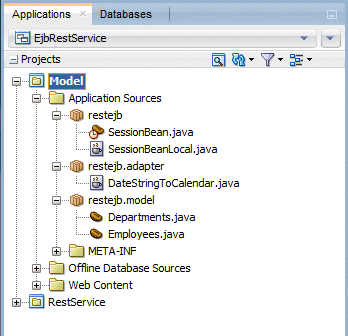
-
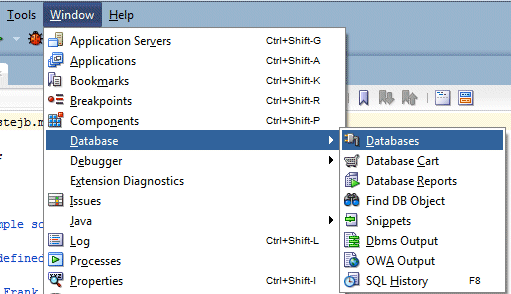
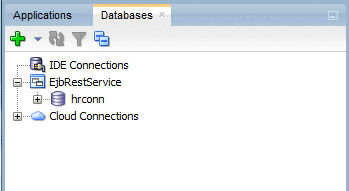
Next, set the database connection to point to you HR schema. Select Window > Database > Databases, and expand the EjbRestService node to display the hrconn node.
-
Right-click hrconn, and select Properties from the menu. Edit the database connection information to work with your database setup. Test the changes (click Test), and click OK.
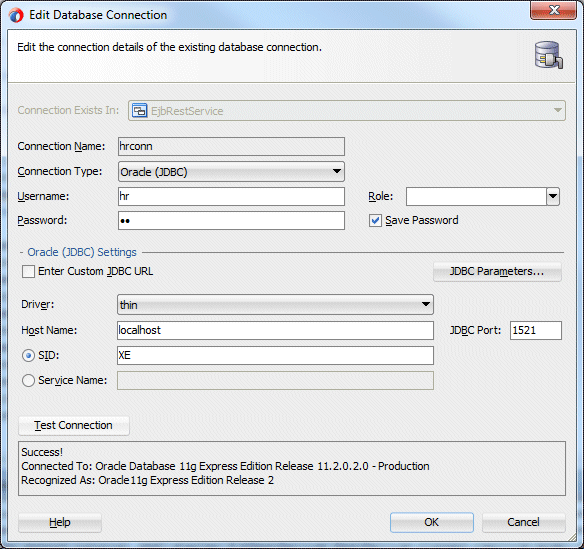
-
Next, start the Oracle WebLogic Server instance integrated with Oracle JDeveloper. To start the Oracle WebLogic Server, select Run > Start Server Instance. If this is the first time you’ve run the integrated Oracle WebLogic Server, a Create Default Domain dialog box will open. Create a password for the default Oracle WebLogic Server domain.
Note: To ensure that the integrated Oracle WebLogic Server listens for localhost and the IP address of your computer, don’t select an address from Listen Address..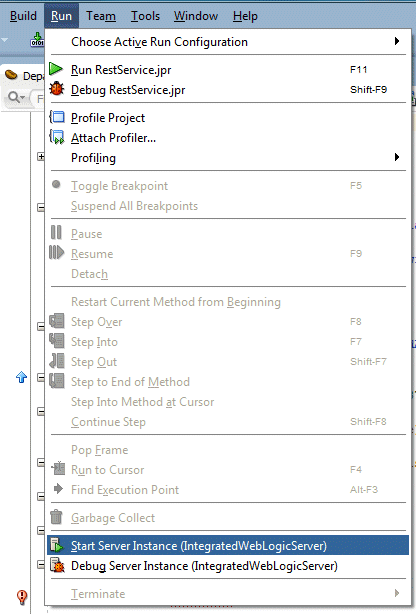

-
Wait for the integrated Oracle WebLogic Server to start before proceeding to the steps in the next section. The first time you start the server, it builds the Oracle WebLogic Server domain, which may take several minutes.
The EjbRestService workspace contains two projects:
The Model project uses Oracle TopLink and an EJB session bean to query and update the Departments and Employees tables in the HR schema.
The RestService project references the EJB session bean in the Model project from two JavaBeans—DepartmentService.java and EmployeeService.java—to read and write data. The two JavaBeans represent the resources you will now expose as REST services.
To create the department service, do the following:
-
In the Applications window, expand the RestService project node, Application Sources, rservice package.
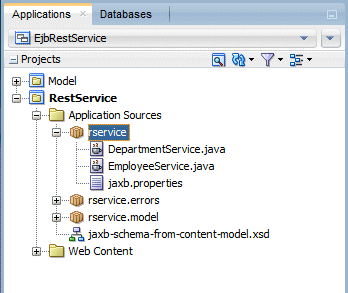
-
Right-click the DepartmentService.java file entry, and select Create RESTful Service.
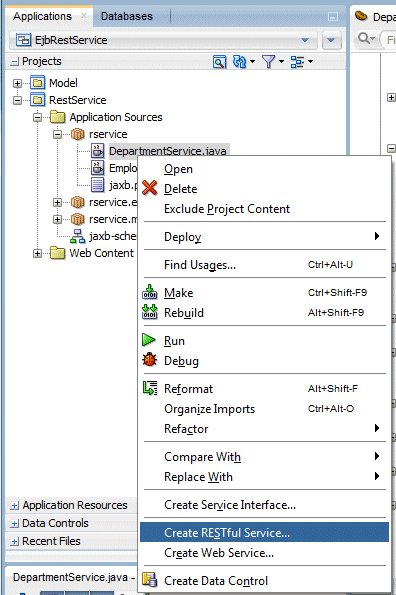
-
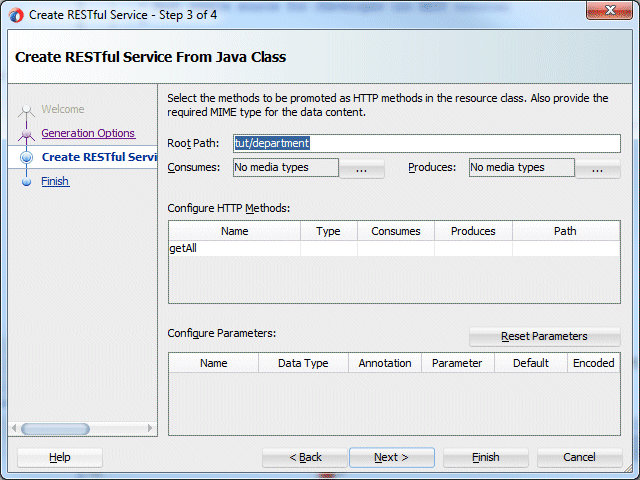
In the Create RESTful Service from Java Class dialog box, change the Root Path input field text to tut/department to define the base URI to access the department source. click Next.
-
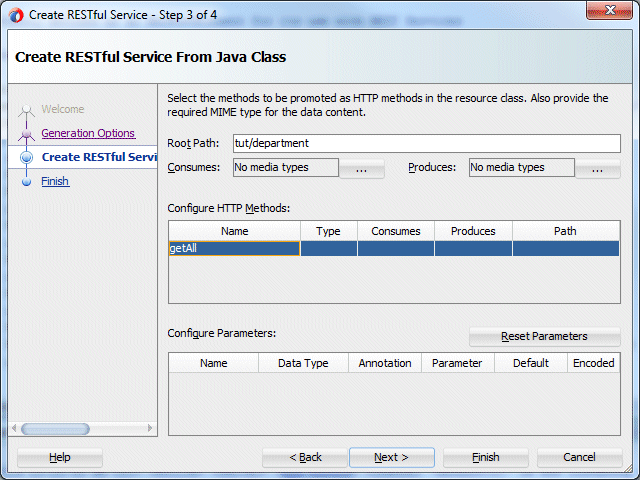
In the Configure HTTP Methods table (note that you may need to resize the dialog box to see the full label string), select the getAll entry.
The getAll() public method in DepartmentService.java accesses the EJB business service to query a list of departments from the Departments table in the HR schema and returns the result as an XML response.
-
Because read requests in REST are Get requests, select GET from the Type column for the getAll entry.
No input arguments are required, so leave the Consumes field empty.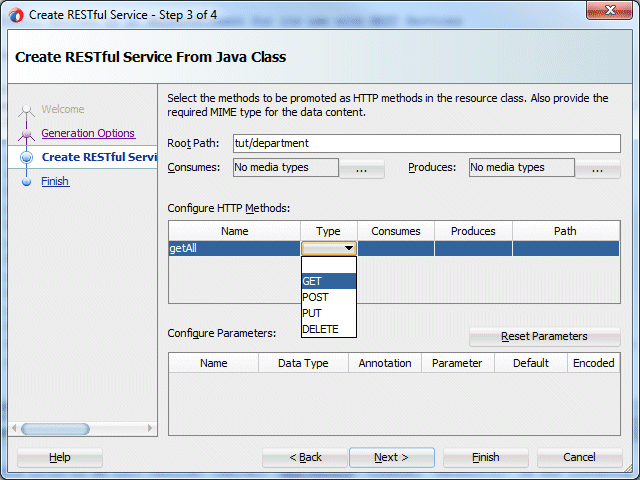
-
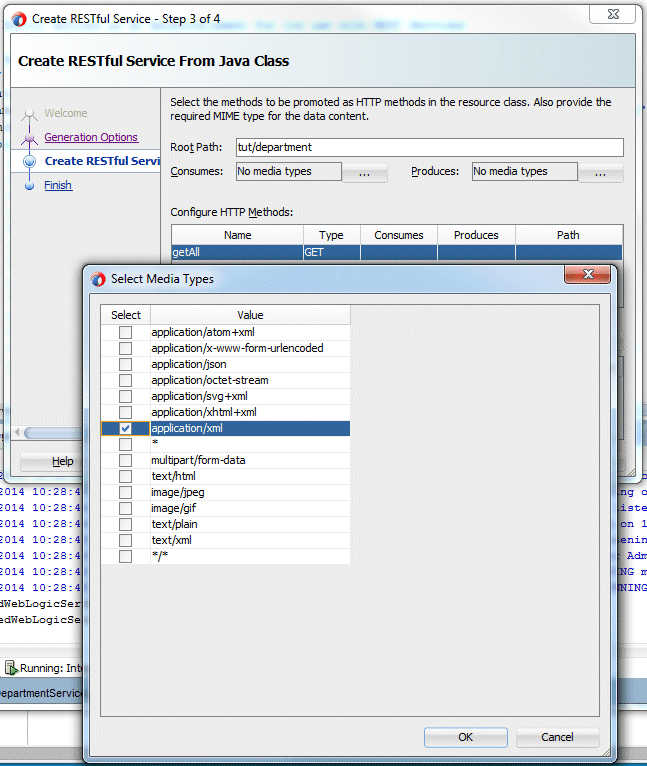
In the Produces field, click the … button and select application/xml, and then click OK.
-
Double-click in the Path field, and add a forward slash (/) as a value.
This way a list of departments is queried and returned whenever a Get request is issued to the REST root URI (tut/department).
Then click Next

-
Click OK in the Return Type Warning dialog box. The hands-on sample uses JAXB annotations added to the EJB entities to parse Java objects to XML and vice versa, so you can ignore this dialog box.

Click Finish to create the service.
-
Click Finish to create the service.
Oracle JDeveloper opens the DepartmentService.java class in the Java code editor. The class shows the getAll method annotated with
@GET
@Produces("application/xml")
@Path("/")The DepartmentService class itself is annotated with @Path to identify the root URI for this REST resource:
@Path("tut/department")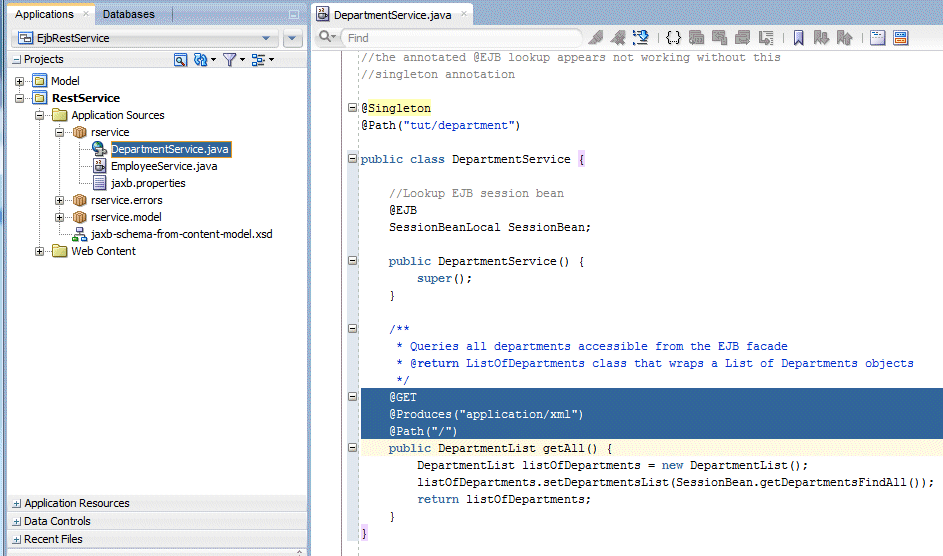
-
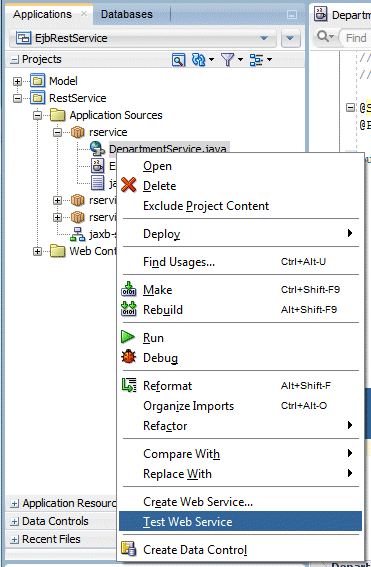
Right-click the DepartmentService.java file, and select Test Web Service to test the REST service in the HTTP Analyzer.
-
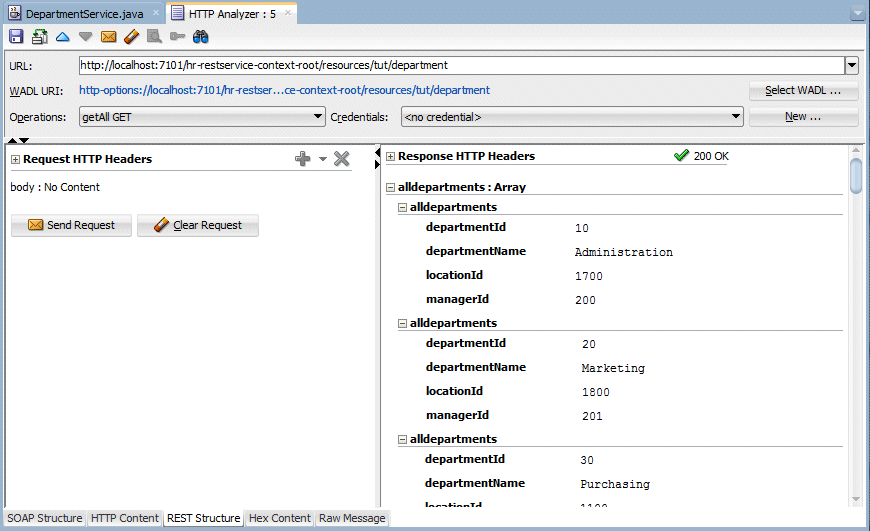
Click Send Request in the opened HTTP Analyzer window to issue a Get request for the REST web service base URI and obtain a list of departments
-
The log window shows a REST service base URL that looks similar to http://127.0.0.1:7101/hr- restservice-context-root/resources/tut/department.
Make a note of the actual REST URL—you will need it later.
Next, configure the EmployeeService class as a REST service, which requires more configuration, because it includes support for update and delete operations.
-
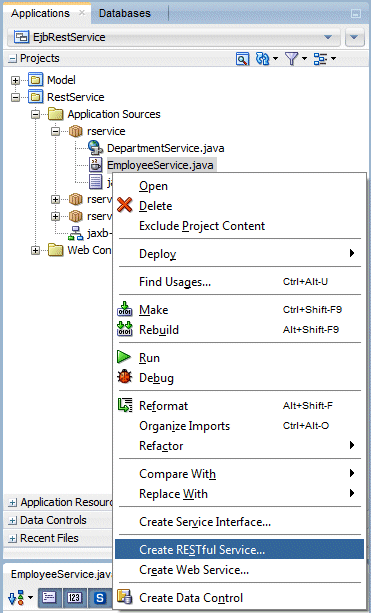
In the Application window, in RestService > Application Sources > rservice, right-click the EmployeeService.java class and select Create RESTful Service.
-
In the Create RESTful Service from Java Class dialog box, change the Root Path input field to tut/employee.
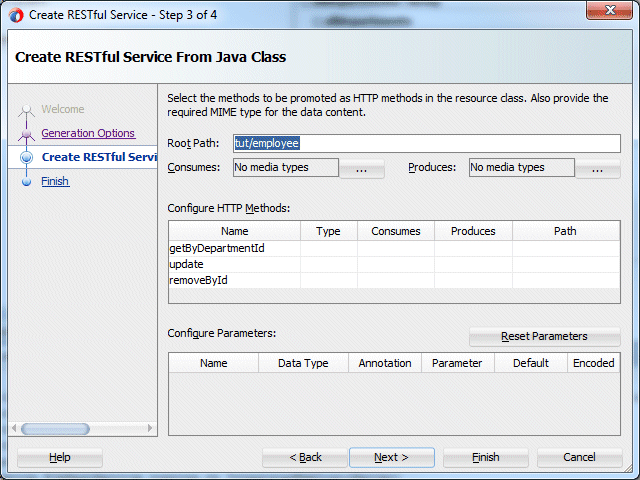
-
In the Configure HTTP Methods table, edit the methods as follows:
Name Type Consumes Produces Path getByDepartmentId GET application/xml /{departmentId} update POST application/xml / removeById DELETE /{employeeId}
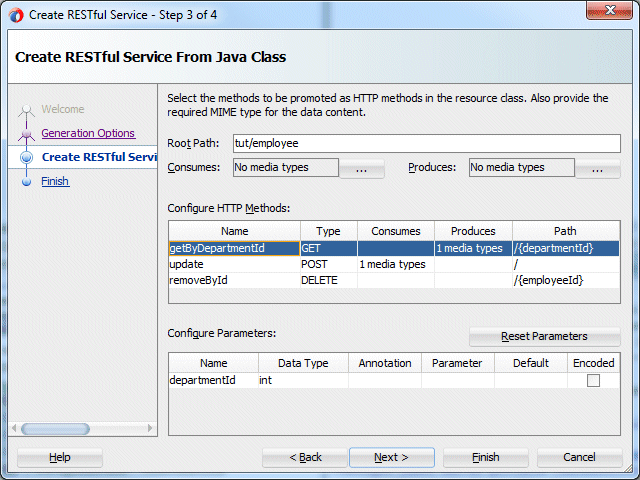
-
Next, select the GetByDepartmentId method and edit the Configure Parameters table as follows:
Name = departmentId
Data Type = int
Annotation = PathParam
Parameter = departmentId
Default = default<null>
Encoding = default<unselected>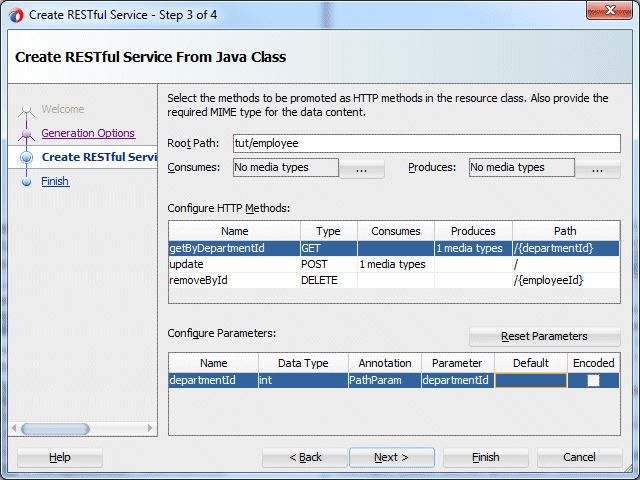
-
Next, select the removeById method and edit the Configure Parameters table as follows:
Name = employeeId
Data Type = int
Annotation = PathParam
Parameter = employeeId
Default = default<null>
Encoding = default<unselected>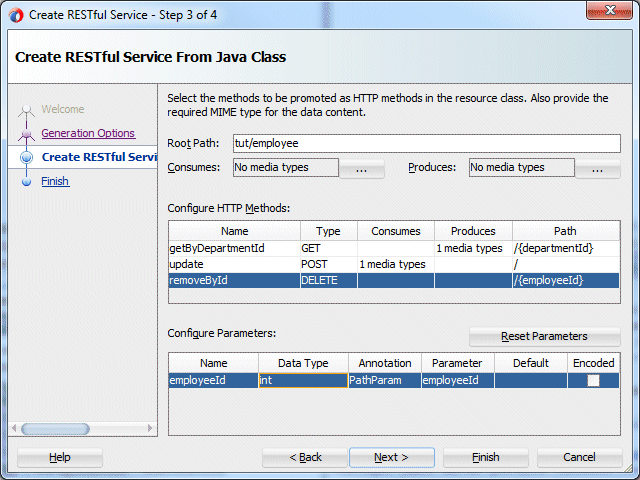
-
Click Finish and OK to confirm the Return Type Warning..

-
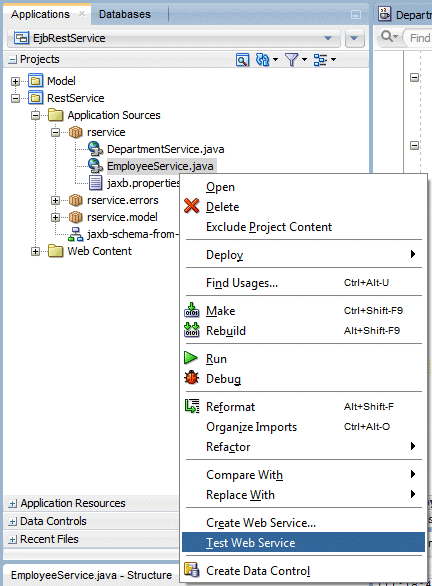
To test the service, right-click the EmployeeService class and select Test Web Service.
-
Make a note of the URL, you'll use it later - http://localhost:7101/hr-restservice-context-root/resources/tut/employee.
You successfully configured the two JavaBeans in the RestService project as services. Each service represents a resource: a department or an employee. In this section, you performed a more complex configuration that included input arguments defined for methods.
The getByDepartmentId and removeById methods both required a single input argument. Adding /{name} to the REST URI path adds an annotation that enables the request to reference a resource, such as a department, by a unique locator.So the annotated method would know where to get the required input argument, you added the PathParam annotation with the name of the variable in the request. The name of the variable is the same as the variable name added to the REST path, such as departmentId in /{departmentId}.
In the next section, you'll open a new application, create data controls from the REST services and develop a page that consumes the REST data controls.
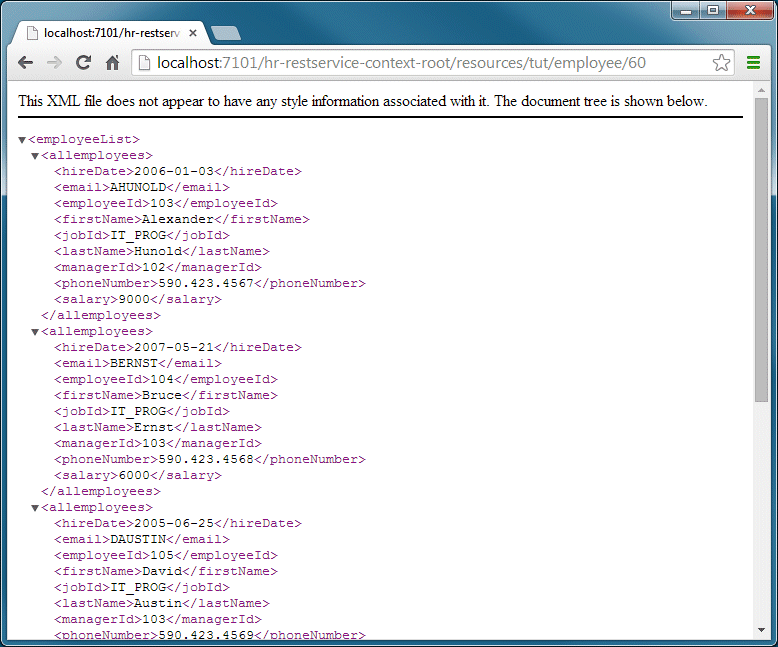
However, rather than using the HTTP Analyzer to test the service, we'll check it from a browser. Open a browser window and copy/paste the URL (http://localhost:7101/hr-restservice-context-root/resources/tut/employee/) into it. Add a "60" to the end of the URL to find all the employees in department 60.
If you scroll down, you should see 5 employees: AHUNOLD, BERNST, DAUSTIN, VPATABAL and DLORENTZ.


 Part 2: Developing the Client Application