- Use a Torx Number 20 screwdriver to remove the rail-location pegs from the front and back of the rails.
- Use a 10mm wrench to insert the adaptor pins into the ends of the rails where you removed the rail-location pegs.
A 10mm wrench and adaptor pins are included in the rail kit packaging.
Figure 1: 10mm wrench and adaptor pins
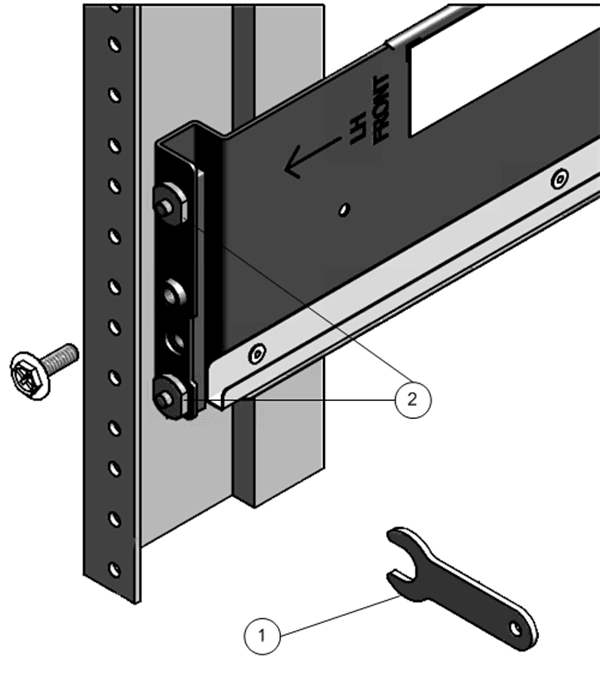
- Legend
1 10mm wrench 2 Adaptor pins
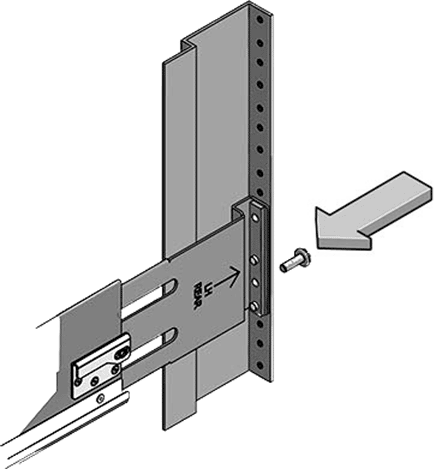
- Position the front of the rails inside of the rack, with the rail flange inside of the rack flange.
The rail label faces the inside of the rack. The pins should be fully located within the rack holes.
Figure 2: Rack flange, rail flange, and rail label (front)
- Legend
1 Rack flange 2 Rail flange and label
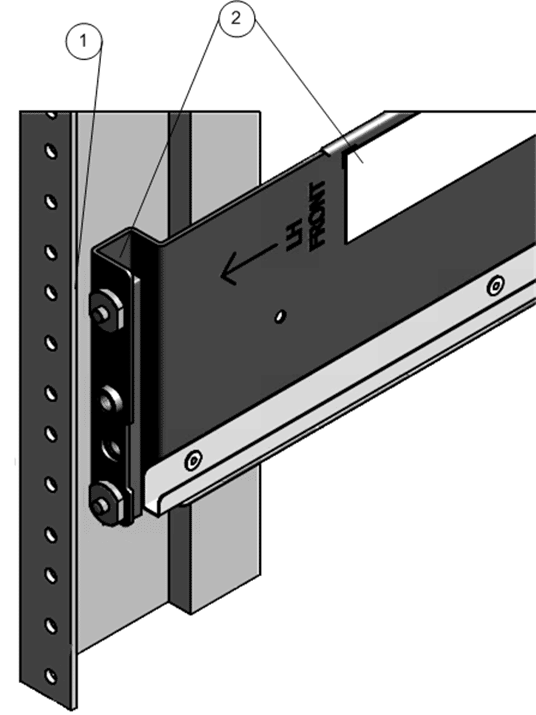
- Insert and loosely tighten one screw through the front of the rack and into the top hole in the rails.
- Adjust the rail lengths and locate the back pins inside the corresponding back rack holes.
- Insert and loosely tighten one screw through the back of the rack and into the back of the rails.
Figure 3: Back-mounting screw