5 Managing Users from the WebLogic Administration Console
With Oracle GoldenGate Monitor Server installed and configured, you can now use the WebLogic Server Administration Console to manage your users. You can then launch the Oracle GoldenGate Monitor console and start monitoring. These procedures are described in the following sections:
Note:
Before attempting any of the tasks in this chapter, ensure that both the WebLogic administration server is running. You can find server start-up instructions in Section 4.4.1, "Start the WebLogic Administration Server".5.1 Log-in to Oracle WebLogic Server Administration Console
To log in to the Oracle WebLogic Server Administration Console, do the following:
-
Open a Web browser and navigate to your administration server by entering the administration machine name and port in the navigation bar; for example:

The Console Welcome page appears. This page contains a form where you can enter your log-in credentials.
-
Enter a Username and Password and click Login:
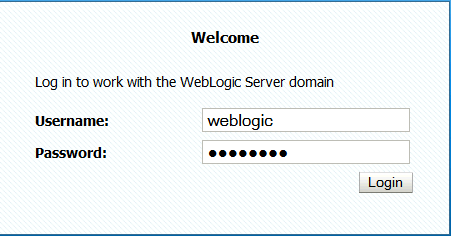
The Oracle WebLogic Server Administration Console appears, with the home page displayed in the main panel. To the left of the main panel are links that will help you navigate the console. For more information on the Oracle WebLogic Server Administration Console, see "Getting Started Using Oracle WebLogic Server Administration Console" in Administering Oracle Fusion Middleware.
5.2 Create a User
You begin user creation from the Oracle WebLogic Server Administration Console home page. Use this procedure:
-
Left of the main panel, locate the Domain Structure panel for your domain:
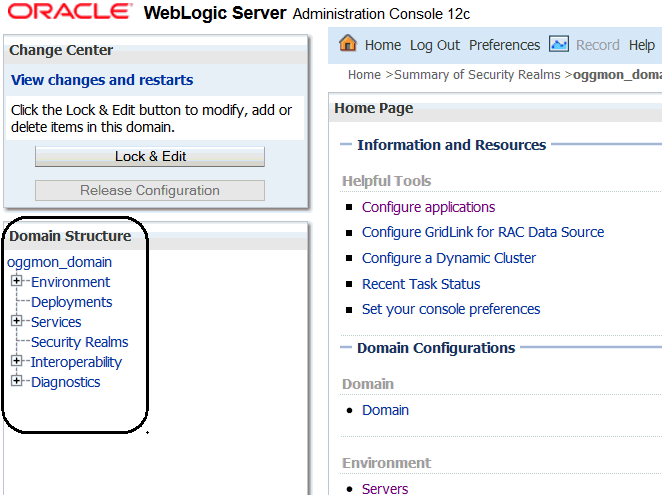
Description of the illustration cons_dom_strct_hilited.gif
-
From the Domain Structure tree, select Security Realms.
The Summary of Security Realms page appears in the main panel.
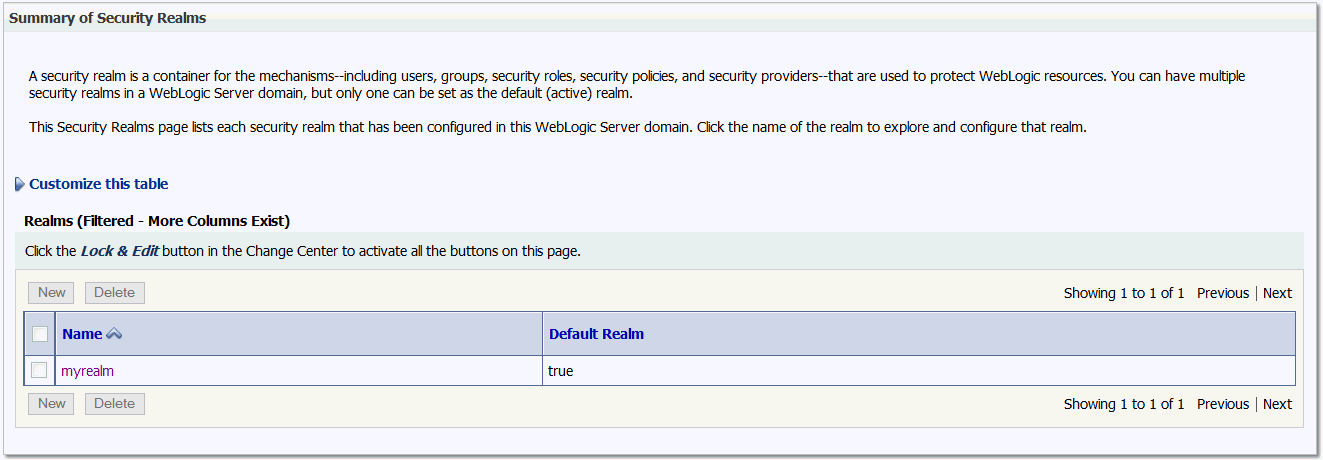
Description of the illustration cons_sec_realms.gif
-
In the Realms table, select myrealms.
The Settings for myrealm page appears in the main panel.
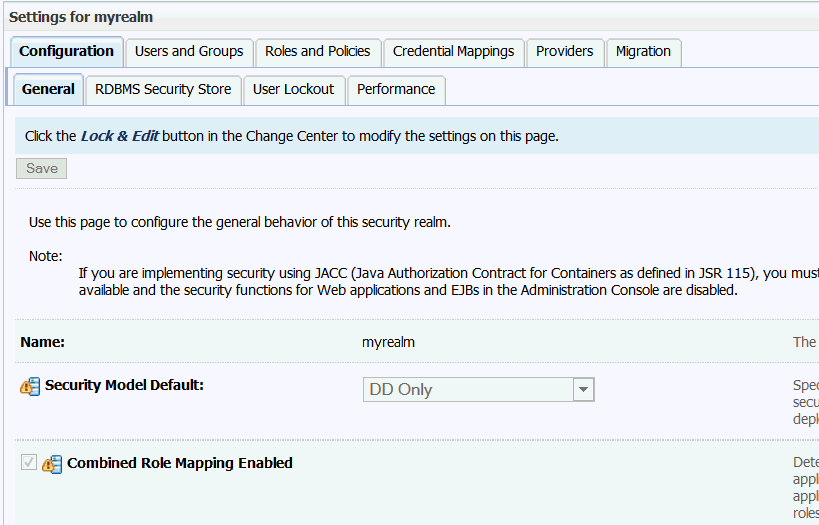
Description of the illustration cons_setttings.gif
-
Click Users and Groups.
The Users tab opens.
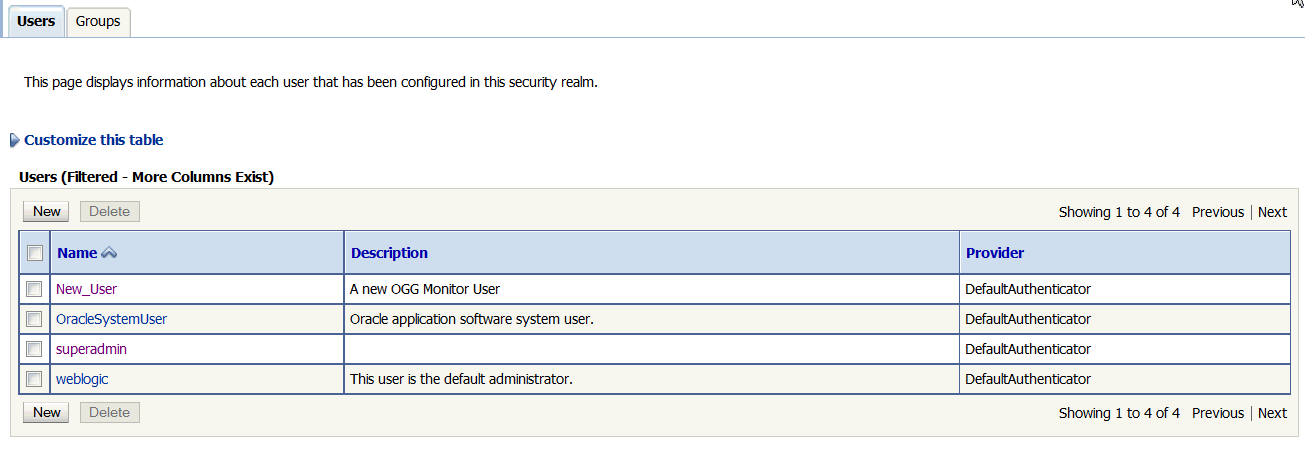
Description of the illustration cons_users_tab.gif
-
Click Add.
The Create a New User page appears.
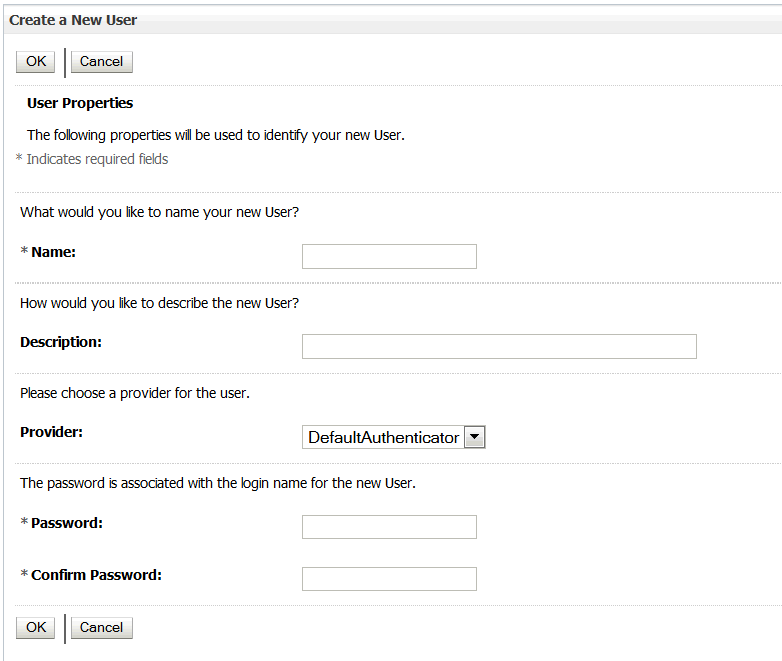
Description of the illustration cons_create_new_user.gif
-
Add the new users details:
-
User name; this name will be used to log in to the Oracle GoldenGate Monitor console.
-
A brief freeform description of the user.
-
The user provider, selected from the dropdown list.
-
A password for the user (with confirmation entry). This password will be used with the user name to log in to the Oracle GoldenGate Monitor console. It must be at least eight characters long
-
Click OK.
The User tab reappears with the new user added.
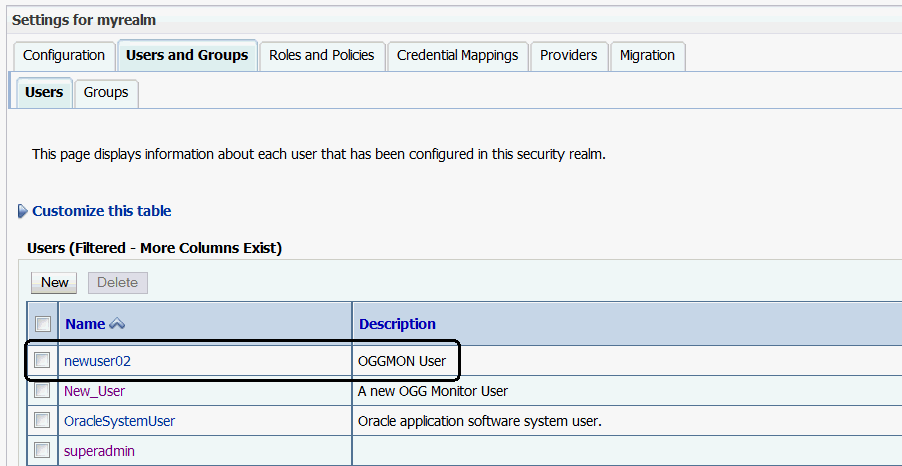
Description of the illustration cons_new_user_created.gif
-
5.3 Add the User to a Group
Next, you need to add the user you created in Section 5.2, "Create a User" to a group. To do so, use this procedure.
-
On the Settings for myrealms' User tab, click the name of the user you just added.
The Settings for username page appears.
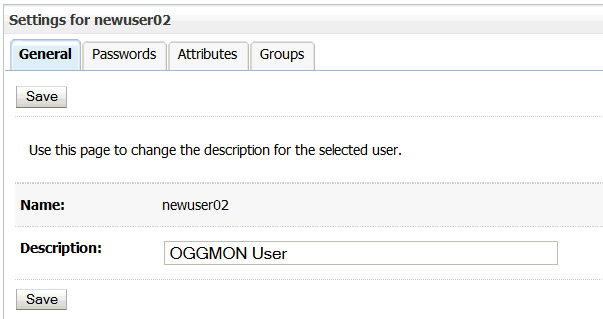
Description of the illustration cons_setting_4_username.gif
-
Click Groups.
The Groups tab opens, displaying a list of parent groups to which the user can belong.
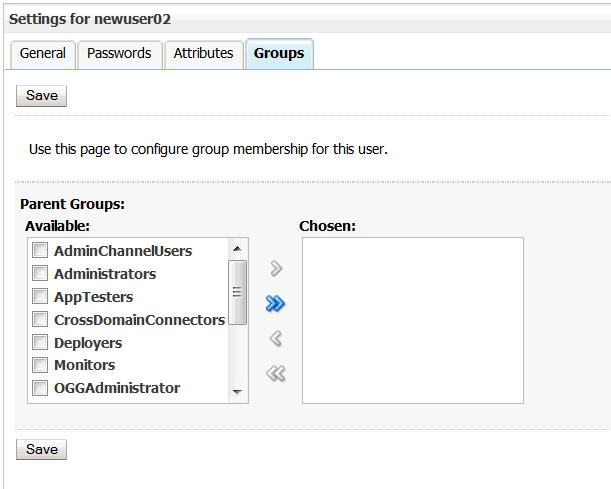
Description of the illustration cons_groups.gif
-
Select the parent groups to which you want the user to belong and click the right arrow (
 ).
).The selected groups will move to the Chosen list.
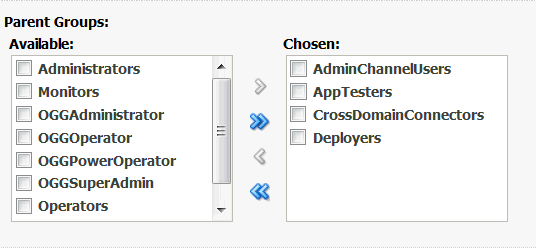
Description of the illustration cons_groups_selected.gif
If you want to make the user a member of all groups, rather than select each group, just click the double right arrow (
 ). All groups will move to the Chosen list. If you accidently add a group you did not intend, select it and click the left arrow. To remove all groups from the Chosen list, click the double left arrow.
 -
Click Save.
5.4 Start the Oracle GoldenGate Monitor Console
Finally, you are ready to launch the Oracle GoldenGate Monitor Server console. To do so, use this procedure.
-
In the Web browser navigation bar, the Oracle GoldenGate Monitor Server URL in this format:
http://hostname:portNumber/monitor/faces/loginPage.jspx
Where
hostnameis the system on which WebLogic Server is installed and theportnumberis 7003, which is the managed server port number (because the application is being deployed on a managed server, MONITOR_server1); for examplehttp://slc03abc:7003/monitor/faces/loginPage.jspx
The Oracle GoldenGate Monitor Server log-in screen appears.
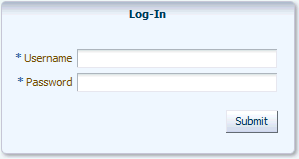
Description of the illustration oggmon_cons_login.gif
-
Provide the log-in credentials entered for the user in step 6 of Section 5.2, "Create a User"and click Submit.
The Oracle GoldenGate Monitor Server console opens. You can now start administering Oracle GoldenGate Monitor.