2 Installing and Running Applications on the Raspberry Pi Board
This chapter describes how to run IMlets using the command-line shell interface, the Application Management System (AMS) command-line interface (CLI), and NetBeans IDE. You learn how to add the board to the Device Connections Manager in the Oracle Java ME SDK and how to debug an IMlet on the board from the NetBeans IDE.
Topics:
Ways of Using the Java Runtime on the Raspberry Pi Board
There are several ways to use the Oracle Java ME Embedded platform on the Raspberry Pi board.
-
Directly run commands using a command-line shell interface or logging in using the
sshprotocol. -
Manually start a Developer Agent program on the desktop host and run commands using the Application Management System (AMS).
-
Run NetBeans IDE.
Preinstalled IMlets
The Java ME Embedded runtime delivery might include preinstalled IMlets. When started, the Java ME runtime checks availability of preinstalled IMlets and automatically installs them on the Raspberry Pi board, if they were not installed during previous runs.
Preinstalled IMlet files are located in the /appdb directory on the board and have the following format:
-
A mandatory file that contains application classes./appdb/Preinstalled_app_<num>.jar -
An optional file that contains an application descriptor./appdb/Preinstalled_app_<num>.jad
In this notation, <num> stands for a preinstalled IMlet sequence number. Can be any number starting from 1.
Run of IMlets on Raspberry Pi Using the Command Shell
You can run IMlets directly on the Raspberry Pi board by using the commands shown in Table 2-1.
Table 2-1 Raspberry PiShell Commands
| Syntax | Description |
|---|---|
|
|
List all installed IMlet suites and their status or show the detail of a single suite. |
|
|
Install an IMlet using the specified JAR file. |
|
|
Remove an installed IMlet. |
|
|
Run the specified IMlet or the default if none is specified. All logging information from the IMlet appears in the standard output of this command. |
Note:
The term IMlet, in the context of theOracle Java ME Embedded command-line interface (CLI) and references in this chapter, is synonymous with MIDlet.
An Example of Managing Application Life Cycle with Shell Commands
The following is a typical example of using the commands to install, list, run, and remove an Oracle Java ME Embedded application on the Raspberry Pi Pi board. Most commands can be terminated with the Ctrl-C key combination if they become unresponsive.
First, install the application using the installMidlet.sh command, specifying its location on the local file system.
pi@raspberrypi ~/bin $ ./installMidlet.sh /home/pi/EmbeddedTestProject.jar
Java is starting. Press Ctrl+C to exit
The suite was successfully installed, ID: 2
After an IMlet is installed, note its ID: in this case, it is 2. Next, verify it using the listMidlets.sh command.
pi@raspberrypi ~/bin $ ./listMidlets.sh
Java is starting. Press Ctrl-C to exit
Suite: 2
  Name: EmbeddedTestProject
  Version: 1.0
  Vendor: Vendor
  MIDlets:
    MIDlet: GPIODemo
You can run any installed IMlet using the runSuite.sh command. This command runs the IMlet that was just installed, passing any logging information to the standard output of this command. Note that you can press the Ctrl-C key to exit from this command, which will terminate the application.
pi@raspberrypi ~/bin $ ./runSuite.sh 2
Java is starting. Press Ctrl-C to exit
Starting - GPIODemo
You can use the removeMidlet.sh command to remove any installed IMlet.
pi@raspberrypi ~/bin $ ./removeMidlet.sh 2
Java is starting. Press Ctrl-C to exit
Suite removed
pi@raspberrypi ~/bin $
You can verify the results by using the listMidlets.sh command.
pi@raspberrypi ~/bin $ ./listMidlets.sh
Java is starting. Press Ctrl-C to exit
No suites installed
Purpose of the Developer Agent Program on the Desktop
The Developer Agent program runs on the Windows or Linux desktop and transmits all communication to and from the Oracle Java ME Embedded executable file on the Raspberry Pi board.
You can start the Developer Agent program on the desktop host computer either in a server or a client mode. The server mode is used by default. The client mode must be configured in the jwc_properties.ini file.
Configuring Client Mode Connection
To configure a client mode connection, edit the jwc_properties.ini file in the bin directory on the Raspberry Pi board as follows.
proxy_connection_mode = client
proxy.client_connection_address = <IP address>
where <IP address> is the IP address of the desktop host computer running the Developer Agent program.
Installing the Developer Agent Program
The Developer Agent program is the proxy.jar file inside the util directory of the Oracle Java ME Embedded distribution.
To install the Developer Agent program, follow these steps:
- Extract files from the copy of the Oracle Java ME Embedded ZIP archive on the host desktop.
- Delete the
/appdband/bindirectories.
Starting the Developer Agent in a Server Mode
When using the Developer Agent in a server mode, it is important that you first started the Java runtime on the Raspberry Pi board to allow access to the AMS.
To start the Developer Agent program, follow these steps:
After the Developer Agent starts, use the AMS CLI.
Starting the Developer Agent in a Client Mode
When using the Developer Agent in a client mode, ensure that you configured the client mode as described in the Configuring Client Mode Connection.
To start the Developer Agent program, use these steps:
After the Developer Agent starts, use the AMS CLI.
Secured Connection to the Developer Agent
The Oracle Java ME Embedded software enables you to set up a secured channel between the device and the Developer Agent so that the commands are sent over the TLS-encrypted channel. This section contains the following topics:
Generating the Developer Agent Connection CA Certificate
Generate the Developer Agent connection CA certificate by performing the Java SE keytool command:
keytool.exe -genkeypair -keystore <JKS keystore file> -alias <keypair alias> -keyalg RSA -keysize 4096 -validity 7305 -storepass <keystore password> -keypass <keypair password>
Installing the Developer Agent CA Certificate on the Device
Install the Developer Agent CA Certificate on your device by performing the CLI command while the device and Developer Agent are being connected:
ks-import -proxy -keystore <JKS keystore file> -storepass <keystore password> -keypass <keypair password> -alias <keypair alias>
This command installs the CA certificate to the /appdb/cert_proxy directory.
Configuring the Java Runtime Properties
To configure the Java runtime properties involved in establishing a secured connection to the Developer Agent, set the following properties:
proxy.certificate=<CA certificate name>
proxy.secured=true
Running the Developer Agent
After the secured connection to the Developer Agent is configured, restart the Developer Agent using the following command:
java -jar proxy.jar -socket 127.0.0.1 -socketPort 51300 -secureConnection -keystoreFile <JKS keystore file> -keystorePassword <keystore password> -keypairAlias <keypair alias> -keypairPassword <keypair password> -cliport 65002
Running IMlets on Raspberry Pi Using the AMS CLI
To run IMlets on the Raspberry Pi board using the AMS CLI, you must first make a raw connection to the AMS CLI and then use commands.
This section contains the following topics:
Making a Raw Connection to the AMS CLI
Before making a raw connection to the AMS CLI ensure that you started the Developer Agent program on the desktop host and the Java runtime - on the Raspberry Pi board unless the Developer Agent was started automatically by Java ME SDK.
To make a raw connection to the AMS CLI, perform the following.
- Start a PuTTY executable file on your desktop computer.
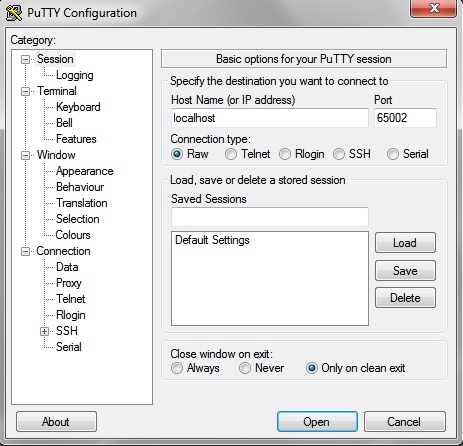
- Create raw socket connections to the IP address of the host running the Developer Agent, and port 65002.
A connection to localhost and the port 65002 is shown in Figure 2-1.
Figure 2-1 Using PuTTY to Connect to the Command-Line Interface
Description of "Figure 2-1 Using PuTTY to Connect to the Command-Line Interface"
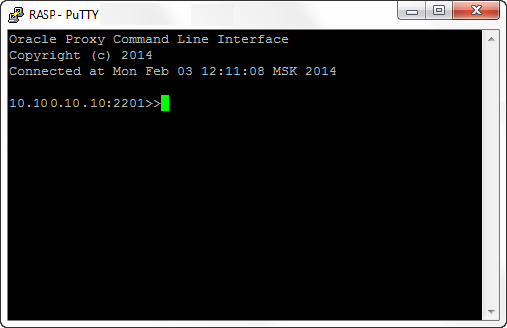
The window from port 65002 provides a CLI as shown in Figure 2-2.
Figure 2-2 Command-Line Interface to Raspberry Pi
Description of "Figure 2-2 Command-Line Interface to Raspberry Pi"
Note:
The CLI feature in this Oracle Java ME Embedded software release is provided only as a concept for your reference. It uses connections that are not secure, without encryption, authentication, or authorization.
Lists of Commands
For a complete list of CLI commands, see Using the Command Line Interface in Oracle Java ME Embedded Developer's Guide.
An Example of Managing Application Life Cycle with AMS Commands
Here is a typical example of using the AMS to install, list, run, and remove an Oracle Java ME Embedded application on the board:
oracle>> ams-install file:///C:/some/directory/hello.jar hostdownload
<<ams-install,start install,file:///C:/some/directory/hello.jar
<<ams-install,install status: stage DONE, 0%
<<ams-install,install status: stage DONE, 100%
<<ams-install,OK,Install success

oracle>> ams-install http://www.example.com/netdemo.jar
<<ams-install,start install,http://www.example.com/netdemo.jar
<<ams-install,install status: stage DONE, 0%
<<ams-install,install status: stage DONE, 100%
<<ams-install,OK,Install success

oracle>> ams-install http://www.example.com/notthere.jar
<<ams-install,start install,http://www.example.com/notthere.jar
<<ams-install,FAIL,errorCode=103 (OTHER_ERROR)
Note that the final installation example failed with an error code and matching description.
Similarly, install an additional IMlet: rs232dem. After an IMlet is installed, verify it using the ams-list command. Each IMlet has been assigned a number by the AMS for convenience.
oracle>> ams-list
<<ams-list,0.hello|Oracle,STOPPED
<<ams-list,1.netdemo|Oracle,STOPPED
<<ams-list,2.rs232dem|Oracle,RUNNING
<<ams-list,OK,3 suites are installed
You can use the ams-remove command to remove any installed IMlet.
oracle>> ams-remove 0
<<ams-remove,OK,hello removed
The results can again be verified with the ams-list command.
oracle>> ams-list
<<ams-list,1.netdemo|Oracle,STOPPED
<<ams-list,2.rs232dem|Oracle,RUNNING
<<ams-list,OK,2 suites are installed
Finally, start the IMlet using the ams-run command. The application can be terminated with the ams-stop command.
oracle>> ams-run 1
<<ams-run,OK,started
oracle>> ams-list
<<ams-list,1.netdemo|Oracle,RUNNING
<<ams-list,2.rs232dem|Oracle,RUNNING
<<ams-list,OK,2 suites are installed
NetBeans and the Raspberry Pi Board
Topics:
Required Software for Using the Raspberry Pi Board with NetBeans
Running and debugging IMlet projects on the Raspberry Pi board using the NetBeans IDE 8.1 requires the following software:
-
NetBeans IDE 8.1 with Java ME 8.3 support
-
Oracle Java ME SDK 8.3
-
Oracle Java ME SDK 8.3 plugins
For complete instructions about installing Oracle Java ME SDK 8.3, the NetBeans IDE 8.1, and Oracle Java ME SDK 8.3 plug-ins for NetBeans, see Oracle Java ME SDK Developer's Guide.
Note:
This chapter assumes that the Raspberry Pi board is already set up and connected to the Windows or Linux platform running Oracle Java ME SDK8.3 and that NetBeans IDE 8.1 has already been started.
Adding the Raspberry Pi Board to the Device Connection Manager
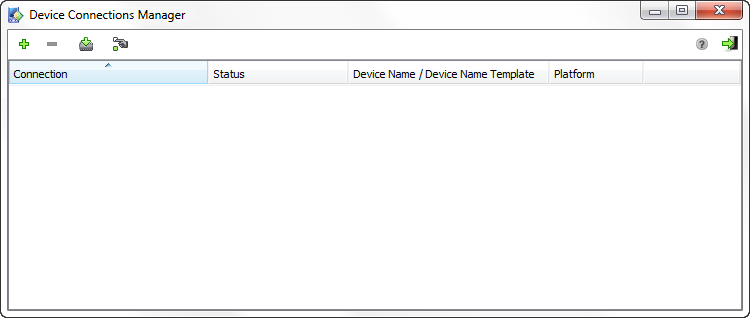
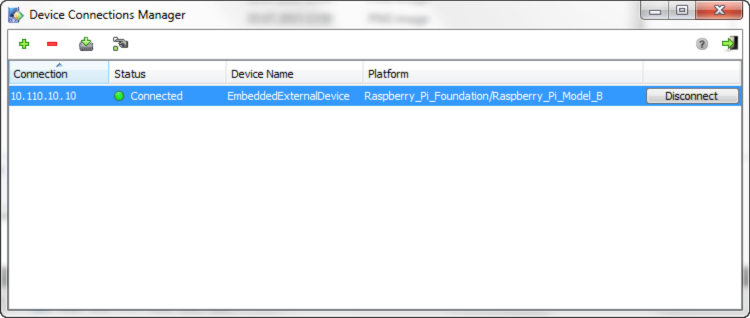
If you want to use the Raspberry Pi with NetBeans, you must first add the Raspberry Pi to the Device Connection Manager in Oracle Java ME SDK 8.3 as follows.
Assigning the Raspberry Pi Board to Your Project
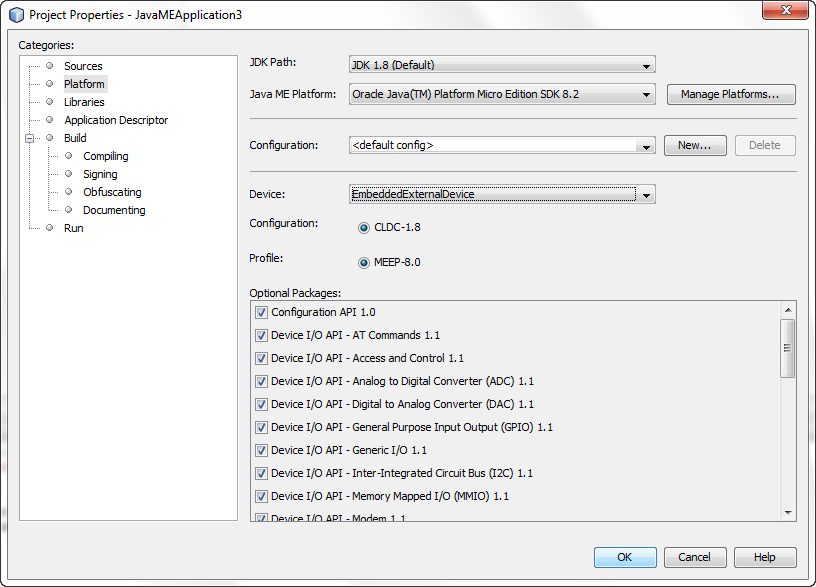
There are two ways to assign the Raspberry Pi board to your project:
After you assign the board to your project, clicking Run Project in the NetBeans IDE runs your IMlet on the board instead of on the emulator.
Using an Existing NetBeans Project
If you already have an existing NetBeans project with an IMlet that you want to run or debug on the board, follow these steps:
Creating a New NetBeans Project
Create a new NetBeans project with the name ME8EmbeddedApplication1 and assign the Raspberry Pi board to it as described in Creating a Java ME Embedded Application Project in NetBeans IDE in the Oracle Java ME SDK Developer's Guide .
Creating and Running Java ME Application in NetBeans
This section describes how to create and run a sample application. This sample application obtains an object representing GPIO pin 2 from the DeviceManager object, and tries to obtain its high/low value.
In the NetBeans Projects window, you see the sample project with the file ME8EmbeddedApplication1.java. Follow these steps:
Debugging an IMlet on the Raspberry Pi Board
Follow these steps to debug an IMlet using NetBeans:
- Open the source code of your IMlet class on the NetBeans editor.
- Click once directly on the line number where you want to set a breakpoint. The line number is replaced by a red square and the line is highlighted in red.
- Select Debug then Debug Project or use the Debug button on the toolbar.
The debugger connects to the debug agent on the board and the program stops at your breakpoint.
Access to Peripherals
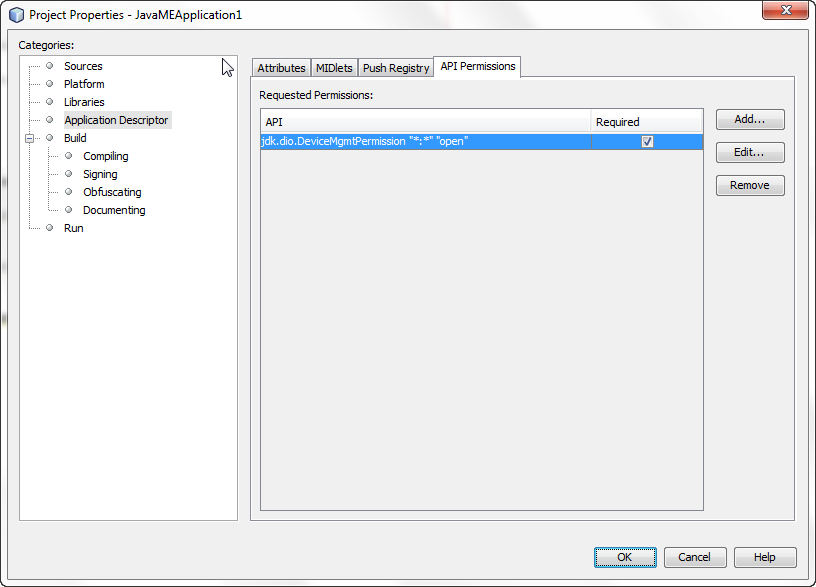
Applications that require access to Device I/O APIs must request appropriate permissions in JAD files. For more information about using the Device I/O APIs, see the Device I/O API 1.1 specification at:
Signing the Application with API Permissions
The JAD file must have the proper API permissions. Follow these steps to sign the application both in NetBeans and without an IDE:
Method #1: Signing Application Using the NetBeans IDE
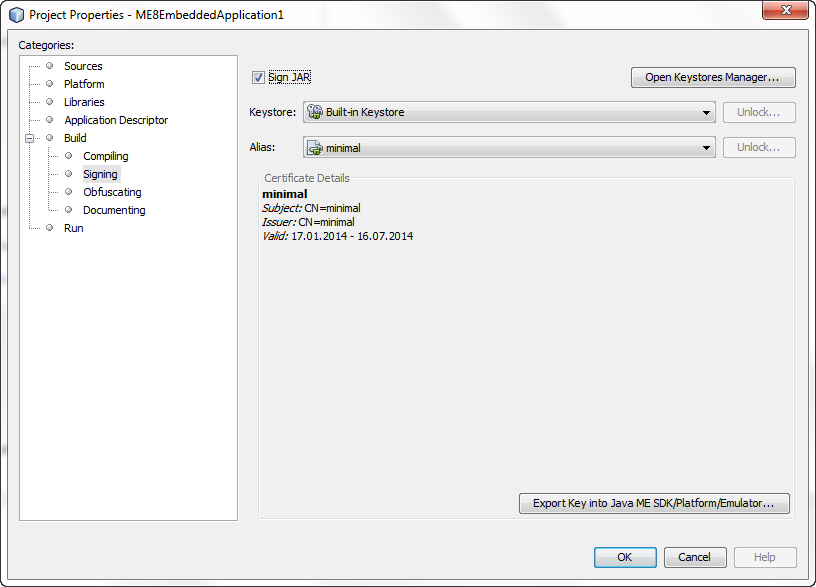
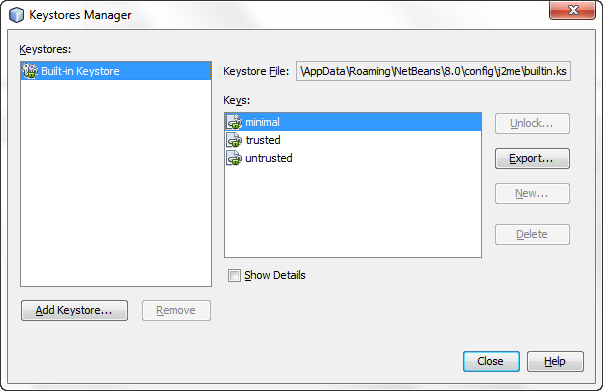
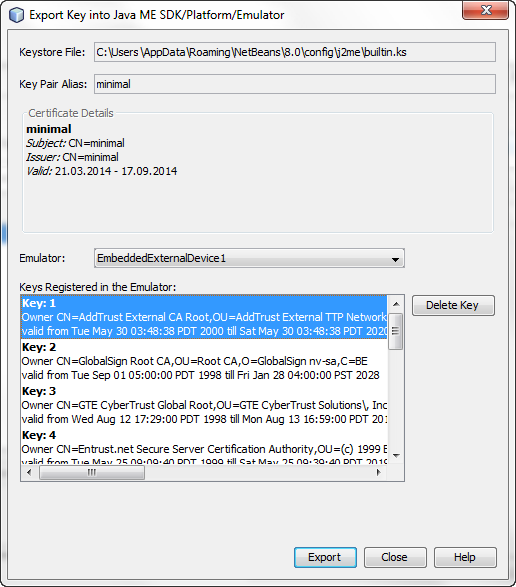
The NetBeans IDE enables developers both to sign the applications with a local certificate and upload the certificate on the device. Follow these steps:
Method #2: Signing Application Using a Command Line
If you are not using the NetBeans IDE, then you can sign your application using the command line. Follow the instructions on how to set up a keystore with a local certificate that can be used to sign the applications:
Method #3: Using NullAuthenticationProvider
This method allows you to bypass a certificate check and run unsigned applications as if they were signed and given all requested permissions. Use this method only for development and debugging. Perform final testing using a real certificate as described in method #1 or #2.
Obtaining Java Logs from a Device
There are two ways in Oracle Java ME 8.3 to obtain a device log:
These options are mutually exclusive because each of them requires the Developer Agent program but only one instance of the Developer Agent program can be run.
Obtaining Java Logs Via an SDK Output Console Window
You can obtain Java Logs via an SDK Output Console window with or without using the NetBeans IDE.
If you want to use the NetBeans IDE, follow these steps:
-
Run the NetBeans IDE.
-
Select an IMlet in the Projects window and run it.
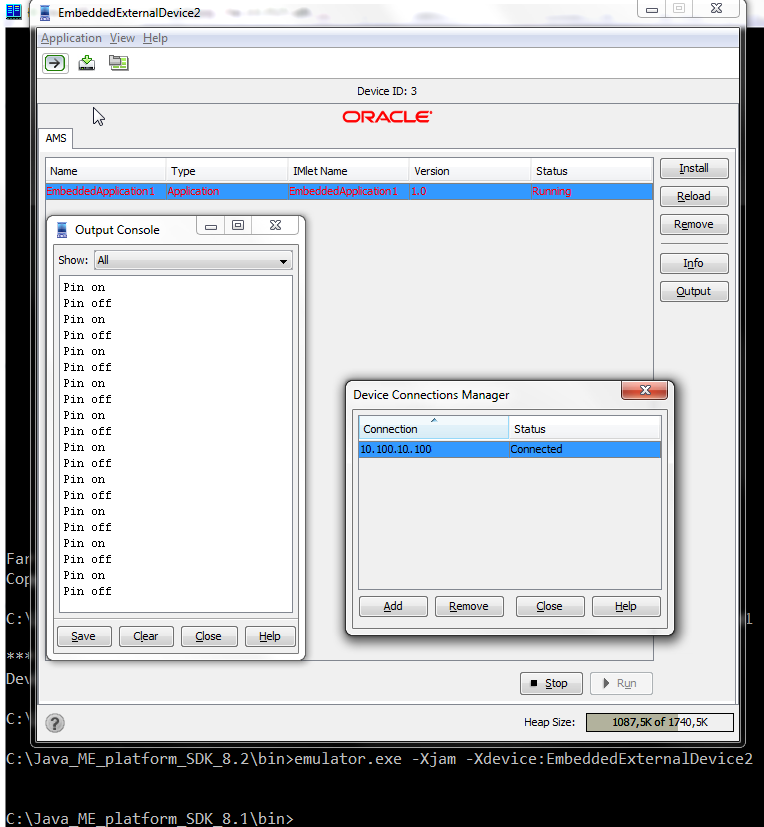
The NetBeans IDE opens the EmbeddedExternalDevice1 window.
-
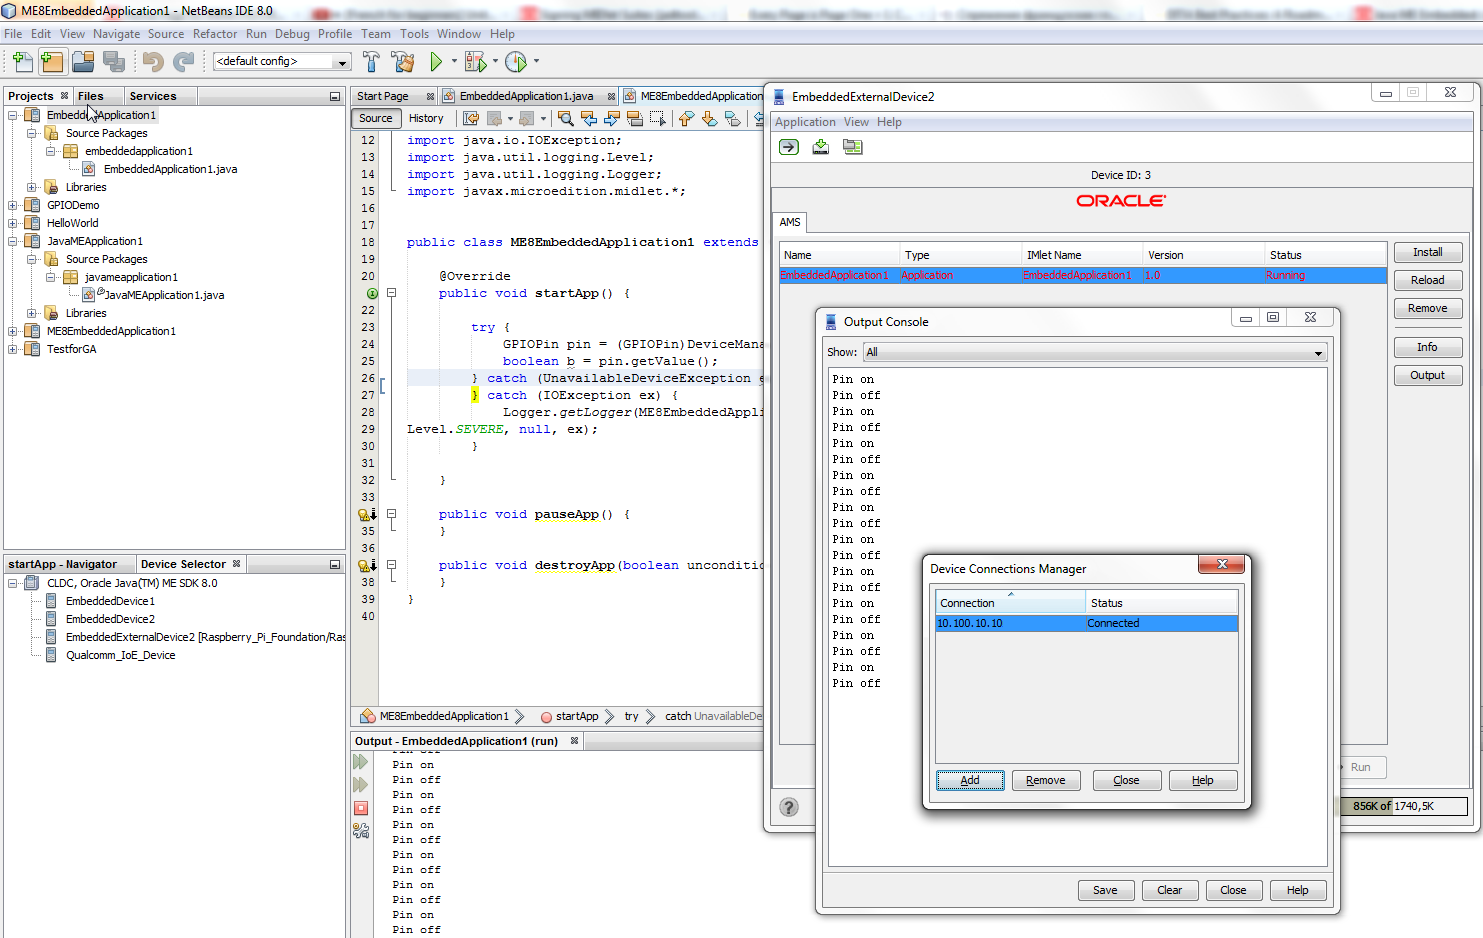
Click the Output button. The log is available in the SDK EmbeddedExternalDevice1 Output Console window shown in Figure 2-10.
Figure 2-10 Java Logging Through the SDK Output Console Using NetBeans IDE
Description of "Figure 2-10 Java Logging Through the SDK Output Console Using NetBeans IDE"
If you want to obtain Java Logs without using the NetBeans IDE, follow these steps:
List of Logging Parameters in the jwc_properties.ini File
You can control the scope of information being logged by editing the following parameters in the jwc_properties.ini file:
Table 2-2 Logging Parameters
| Parameter | Functional Area |
|---|---|
|
|
The information storage subsystem. The generated messages are useful when facing issues with installing or running applications. |
|
|
The Record Management System. |
|
|
The security provisioning system. |
|
|
GCF |
|
|
The generated messages are useful when facing issues with installing or running applications. |
To select a level of logging details, set a parameter value as follows.
-
0 - all information messages
-
1 - warning level messages
-
2 - errors
-
3 - critical (system's functioning is not guaranteed)
-
4 - logging is turned off
Work With an Embedded Display
This section provides helpful information for working with an embedded display. The section contains the following topics:
Setting Up a Primary Display
If two displays are connected to your board, you can set the primary display by editing the frame_buffer.device property in the jwc_properties.ini file. For more information about editing the jwc_properties.ini file, see Configuring the Java Runtime Properties.
