| Oracle® Java Micro Edition Software Development Kit Developer's Guide Release 3.4 for Eclipse on Windows E37550-04 |
|
 Previous |
 Next |
| Oracle® Java Micro Edition Software Development Kit Developer's Guide Release 3.4 for Eclipse on Windows E37550-04 |
|
 Previous |
 Next |
The Oracle® Java Micro Edition (Java ME) Software Development Kit (SDK) is a natural starting point for learning and using Java ME technology. The focus of the SDK is to provide emulation and deployment assistance during the development process. This chapter introduces the SDK and provides a quick introduction to using the SDK.
Using this simple yet powerful tool you can create, edit, compile, package, and sign an application. After testing your application in the Oracle Java ME SDK emulation environment, you can move to deploying and debugging on an external device.
This chapter provides information you need to ensure that your Microsoft Windows XP (32-bit) or Windows 7 (32-bit or 64-bit) platform is correctly set up for working with Oracle Java ME SDK. Both Windows XP and Windows 7 must include the most recent Microsoft service packs.
To properly run the Oracle Java ME SDK software and its associated Tools, you must have Java Platform, Standard Edition (Java SE), Version 7, Update 11 (or later) installed on your computer.
This guide assumes you have already installed the Java SE platform. If you have not installed Java SE, you can download it from the following location:
http://www.oracle.com/technetwork/java/javase/downloads
The Java SE platform must also be in your PATH.
To verify if Java SE platform is set in your PATH:
In the Windows command line, type:
C:\>echo %PATH%
If Java SE is properly installed, you see a path to the default installation directory:
C:\>Program Files\Java\jdk1.7.0_x
If not, you need to add Java SE to your PATH.
|
Note: Setting the PATH may require using a Windows short name. To see top-level Windows short names, type C:\>dir /x |
Set the Java SE variable, JDK_DIR:
C:\>set JDK_DIR=C:\Program Files\Java\jdk1.7.0_13
Add JDK_DIR to your PATH:
C:\>set PATH=%PATH%;%JDK_DIR%\bin
To verify the version of your Java SE platform, type:
C\:>java -version
The version number shown in the output should be version 1.7.0_11 or higher.
Follow these steps to install the Oracle Java ME SDK 3.4.
If you have previously installed an earlier version of Oracle Java ME SDK, uninstall the previous version as shown below.
|
Note: If you are installing Oracle Java ME SDK for the first time, skip to Step 2. |
If you have Oracle Java ME SDK data to save, please copy it to a safe location before continuing.
In the Windows system tray, right click on the emulator icon and select Exit.
From the Windows Programs menu, select the previous version and select Uninstall from the submenu. The Installer opens.
On the first page check the option to remove the user data directory.
Follow the prompts.
Download the SDK from:
http://www.oracle.com/technetwork/java/javame/javamobile/download
Double-click the executable. When the installer starts, follow the prompts.
If you do not already have Eclipse Indigo 3.7 installed on your system, you can download it here:
http://www.eclipse.org/downloads/packages/release/indigo/sr2
You can download Juno 4.2 here:
http://www.eclipse.org/downloads/packages/release/juno/sr1
Once you have downloaded the Eclipse Indigo 3.7 or Juno 4.2 installation module, do the following to install Eclipse on your system:
Unzip the distribution file into the C:\Program Files directory.
In the C:\Program Files\eclipse directory, click on eclipse.exe to launch Eclipse.
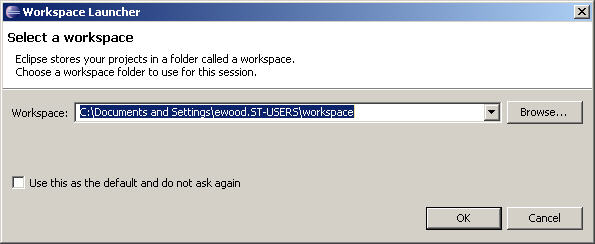
When the Select a Workspace dialog box appears, specify a directory location in which to store your Eclipse project files. Click OK.
Figure 1-1 The Eclipse Workspace Launcher

This opens the Eclipse main screen, as shown in Figure 1-2.
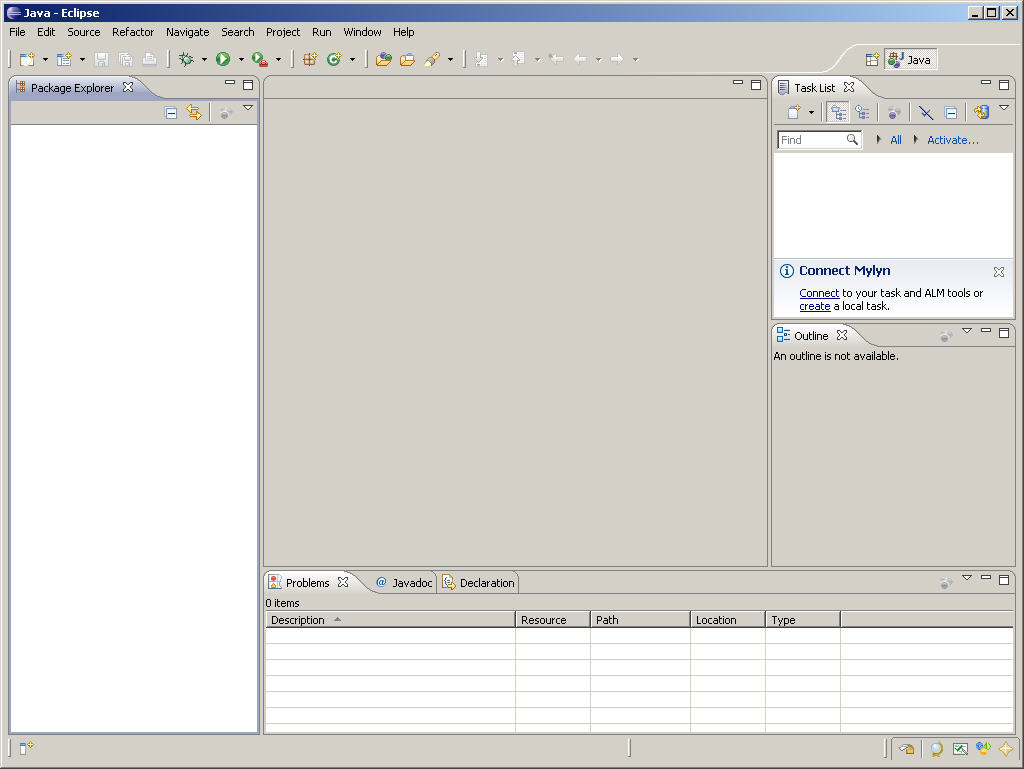
Click on the icons on the far right (it says "Go to the Workbench"). This displays an empty workbench screen, as shown in Figure 1-3.
Figure 1-3 The Eclipse Workbench Start Screen
