20 Creating a Blog Tree Tab
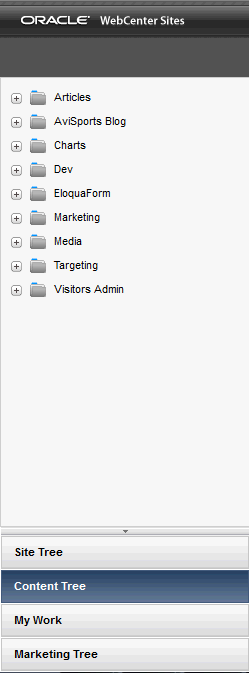
You can display the hierarchy of blog categories and their assets by configuring a tree tab in the Admin interface.
To create a blog tree tab:
- Log in to the Admin interface as a general administrator.
- Select a site.
- In the General Admin tree, expand the Admin node, and then double click the Tree node.
- Click Add New Tree Tab.
The Add New Tree Tab form opens.
- In the Add New Tree Tab form, fill in the fields:
-
Title: Enter a short, descriptive name, of up to 64 characters.
-
Tooltip: Enter a short, informative description of the tab, up to 255 characters. This description opens when a user mouses over the tab.
-
Site: Select the sites that display this tab. You must enable the blog asset types on these sites. For instructions, see Enabling Blog Asset Types.
-
Required Roles: Select the roles a user must be assigned to access this tab.
-
Tab Contents: Select the asset types that opens on the tab and then click Add Selected Items.
-
(Optional) To add custom functionality to this tab, use the Section Name and Element Name fields. See Customizing Blog Components in Developing with Oracle WebCenter Sites.
-
- Click Save.
The Information page for the newly created blog opens.
Additionally, the new blog tab opens in the tree (refresh your browser, if necessary).
