|
Oracle® Business Intelligence Discoverer Plus User's Guide
10g Release 2 (10.1.2.0.0) Part No. B13915-01 |
|
 Previous |
 Next |
|
Oracle® Business Intelligence Discoverer Plus User's Guide
10g Release 2 (10.1.2.0.0) Part No. B13915-01 |
|
 Previous |
 Next |
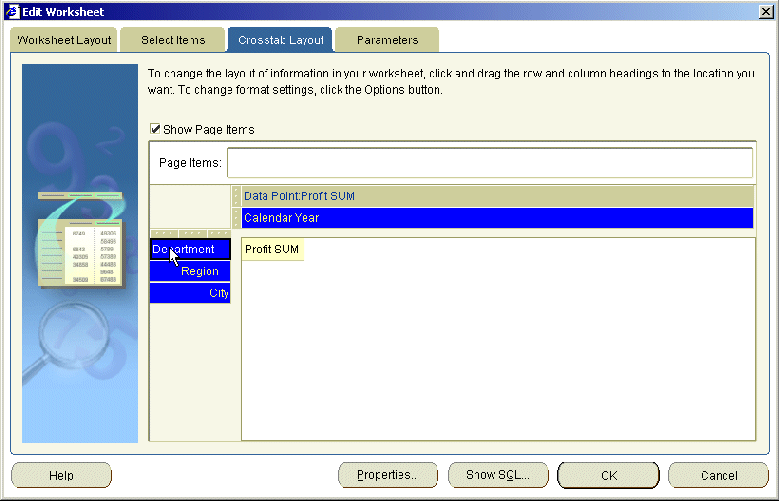
You pivot worksheet items using the Edit Worksheet dialog to rearrange items in worksheet design mode. In the Edit Worksheet dialog, you see only item headings, not the data itself. For example, you might have a large worksheet that is difficult to edit in the Discoverer work area because you cannot see all worksheet items in the same window.
To pivot worksheet items using the Edit Worksheet dialog:
Display the worksheet that you want to analyze.
Choose Edit | Crosstab to display the "Edit Worksheet dialog: Crosstab Layout tab".

Select the name or grab handle of the item you want to pivot.
Hint: To help you pivot items, make sure that the item labels are displayed in the Crosstab Layout tab. To display item names, choose Edit | Worksheet from the main Discoverer menu, click Properties, display the Sheet Properties tab, and select the Show item labels check box.
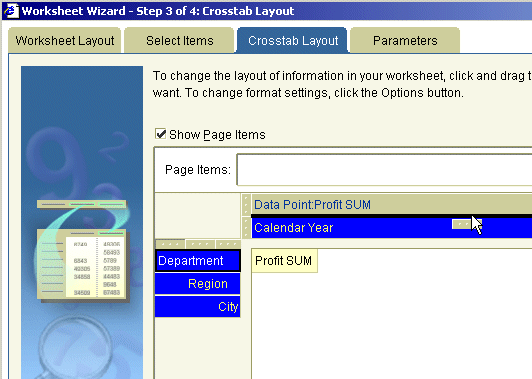
Drag the item to the required position and release the mouse button.
Hint: When you drag and drop items, a black line shows the item's new position on the worksheet.

Click OK to save the details and close the Edit Worksheet dialog.
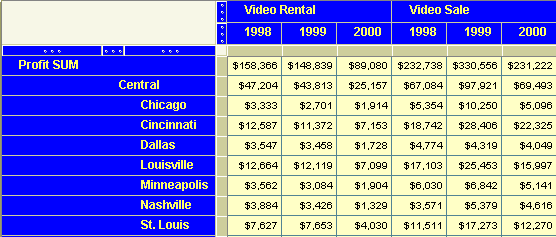
Discoverer repositions the worksheet item as you specified.
