|
Oracle® Application Server Integration InterConnect User's Guide
10g Release 2 (10.1.2) Part No. B14069-01 |
|
 Previous |
 Next |
|
Oracle® Application Server Integration InterConnect User's Guide
10g Release 2 (10.1.2) Part No. B14069-01 |
|
 Previous |
 Next |
This chapter describes how to use iStudio to create, publish, and subscribe to events. It contains the following topics:
An event is an integration point used to model the Publish/Subscribe paradigm. An event has associated data that is the common view of all the data to be exchanged through this event.
The data structure that should be used for defining the common view is entirely dependent on the integration scenario, and the choice is left to the implementor. The only condition that data structure should satisfy is that it should be a superset of all the application views for applications that will be publishing or subscribing to this event. The choices for common view data include:
Corporate internal standards enforced by the organization where OracleAS Integration InterConnect is being implemented.
Industry standard definitions, such as Open Applications Group (OAG) and Business Object Definitions (BOD).
One of the application views can be used as the common view, if the scenario has one application that is driving the integration.
For example, App1 and App2 publish customer names, and App3 subscribes to it. If App1 publishes First Name, Last Name, and Middle Initial, and App2 publishes First Name, Last Name, Prefix, and Suffix, the event could be defined as follows:
New Customer Event
Prefix
First Name
Last Name
Middle Initial
Suffix
If an application publishes exactly the same data structure for two or more events, event maps allow OracleAS Integration InterConnect to distinguish which message corresponds to which event. For example, an application publishes the same Customer Application Data Type whether or not it is a Create_Customer event or an Update_Customer event. Through event maps, OracleAS Integration InterConnect can determine which messages correspond to Create_Customer and Update_Customer.
|
Note: Event maps need to be used only if two or more events published by a particular application have the exact same application view structure. |
To create an event:
From the File menu, click New, then select Event. The Create Event dialog is displayed.
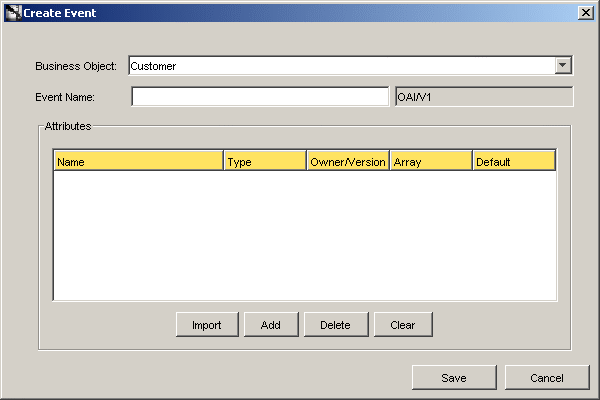
Enter the following information in the fields:
Business Object: The name of the category to which the event belongs. Select a category from the list.
Event Name: The name of the event. Only alphanumeric characters can be used.
OAI/V1: The owner and version number of the Business Object. This field cannot be edited.
Add or import attributes to this event.
Click Save.
The publish/subscribe paradigm is used for asynchronous one-way communication. The sending application is said to publish the event. The receiving application subscribes to the event.
Publishing an event in an application in iStudio involves the Publish Wizard. To start the Publish Wizard:
In the Design Navigation list, expand the Application node. Select and expand the Application node to display the Published Events leaf. Right-click Published Events and select Publish. The Publish Wizard is displayed.
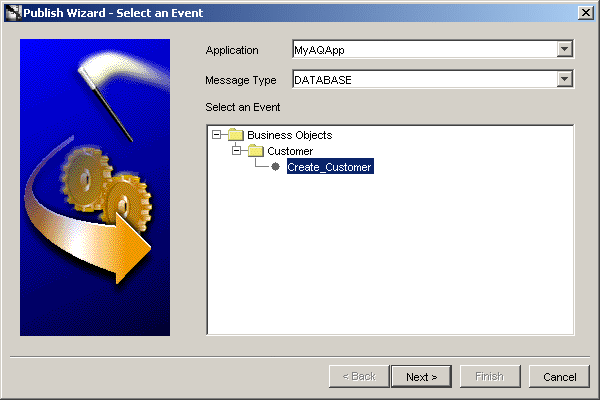
Enter following information in the fields:
Application: The name of the invoking application is selected by default.
Message Type: The mode of communication between OracleAS Integration InterConnect and the application. Select from the following message types:
Database: OracleAS Integration InterConnect communicates with the application using the database.
Generic: OracleAS Integration InterConnect communicates with the application using a user-defined bridge.
XML: OracleAS Integration InterConnect communicates with the application using XML data described through a data type definition (DTD) using the FTP, SMTP, HTTP, MQ Series, or user-defined adapters.
AQ: OracleAS Integration InterConnect communicates with the application through Oracle Advanced Queues using the Advanced Queue adapter. The payload can be Oracle Objects where fields may be XML or RAW XML.
D3L: OracleAS Integration InterConnect communicates with the application using non-XML data formats described through D3L using the FTP, SMTP, HTTP, and MQSeries adapters.
|
Note: Other choices will be visible if you've purchased and installed additional adapters for Oracle E-Business Suite, SAP, Peoplesoft, and Siebel. |
Select the event name.
Click Next.
The Define Application View page is displayed.
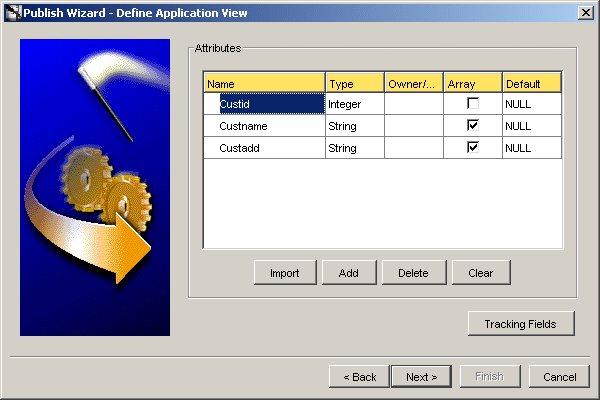
Once an event is selected to publish, the application view is defined. The application view page is initially an empty table. Define the attributes using Add, or import the definitions from a database or an API Repository using Import.
Click Add or Import to add or import attributes.
To import an XML DTD, click Import and select XML to display a file dialog:
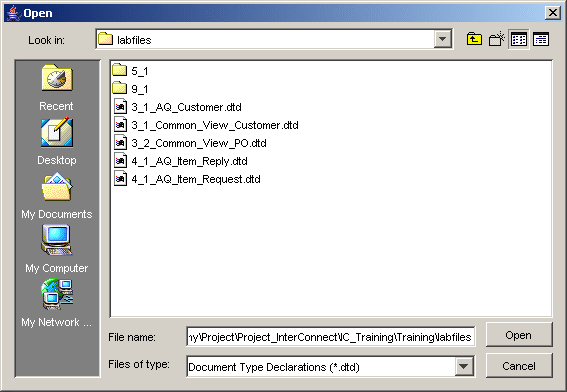
Select a DTD file and click Open. The Choose Root Element dialog is displayed.
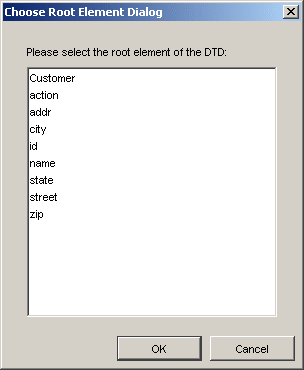
Select a root DTD element and click OK.
If this is a XML type message, the Event Map button is enabled. To define the event map, click Event Map. The Event Map dialog is displayed.
|
Note: Event maps need to be used only if two or more events published by a particular application have the exact same application view structure. |
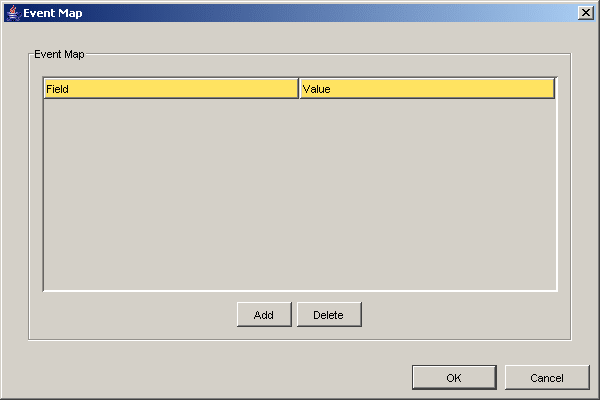
Click Add to add an event map attribute. The New Event Map dialog is displayed.
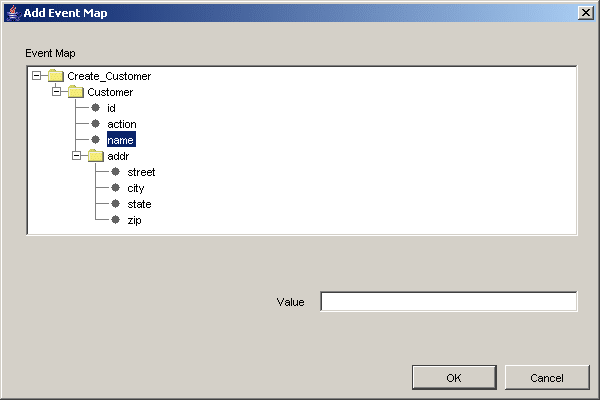
Expand the list and select an attribute and enter a value in the Value field.
Click OK on the Add Event Map dialog to return to the Event Map dialog.
Click OK to return to the Publish Event wizard.
Click Next.
Click Next on the Define Application View page. The Define Mapping page is displayed. Mapping involves copying the individual fields or simple shape-change transformations.
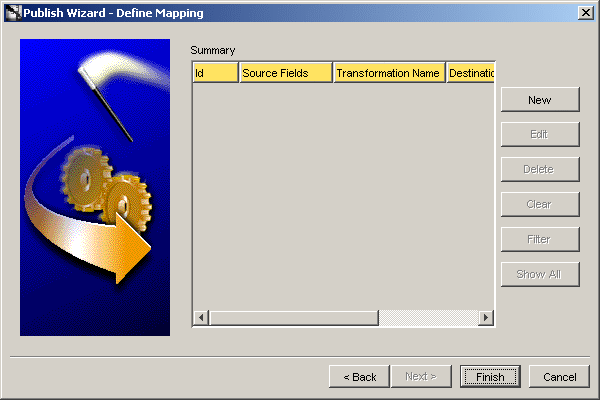
Click New to define new mappings. The Mapping Parameters dialog is displayed.
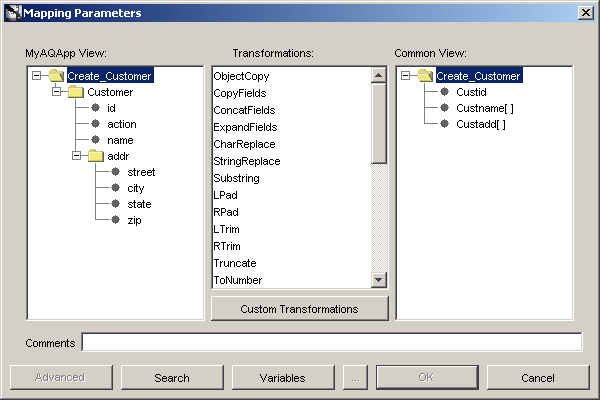
Use a transformation to map fields in the application view to fields in the common view. For example, to map fields in the FirstName and LastName in the common view to Name in the application view, use the ConcatFields transform.
Click OK to return to the Publish Event Wizard.
Click Finish.
Subscribing to an application event in iStudio involves using the Subscribe Wizard. To subscribe to an event in an application:
In the Design Navigation list, expand the Application node. Select and expand the Application node to display the Subscribed Events leaf. Right-click Subscribed Events and select Subscribe. The Subscribe Wizard is displayed.
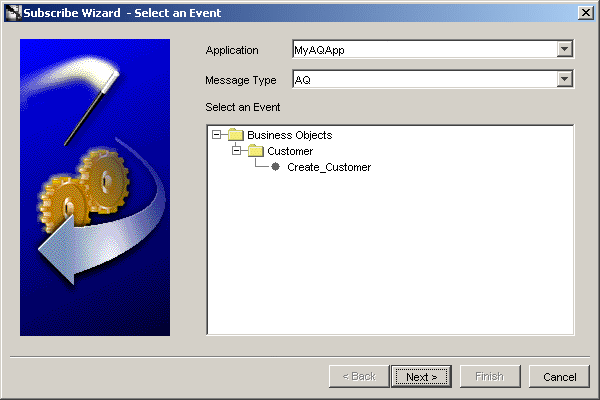
Enter following information in the fields:
Application: The name of the application selected in the navigation list, which invokes the procedure, appears selected by default.
Message Type: The message type that specifies the mode of communication between OracleAS Integration InterConnect and the application. Select from the following message types:
Database: OracleAS Integration InterConnect communicates with the application using the database.
Generic: OracleAS Integration InterConnect communicates with the application using a user-defined bridge.
XML: OracleAS Integration InterConnect communicates with the application using XML data described through a data type definition (DTD) using the FTP, SMTP, HTTP, MQ Series, or user-defined adapters.
AQ: OracleAS Integration InterConnect communicates with the application through Oracle Advanced Queues using the Advanced Queue adapter. The payload can be Oracle Objects where fields may be XML or RAW XML.
D3L: OracleAS Integration InterConnect communicates with the application using non-XML data formats described through D3L using the FTP, SMTP, HTTP, and MQSeries adapters.
Oracle Applications: OracleAS Integration InterConnect communicates with Oracle Applications using this message type.
|
Note: Other choices will be visible if you've purchased and installed additional adapters for SAP, Peoplesoft, and Siebel. |
Select the event name.
Click Next.
The Define Application View page is displayed.
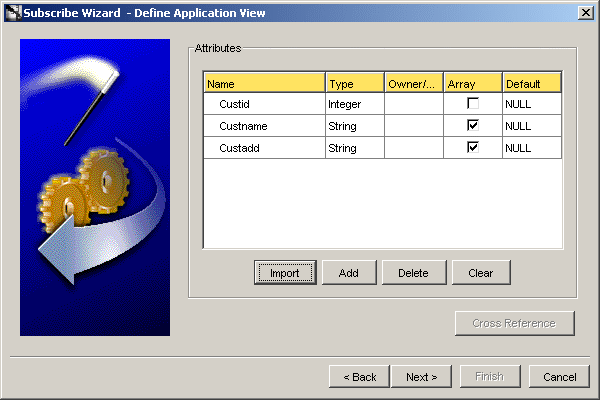
Once an event is selected to subscribe to, the application view is defined. The application view page is initially an empty table. Define the attributes using Add or import the definitions from a database or an API Repository using Import.
Click Add or Import to add or import attributes.
Populate and look up cross-reference tables by clicking Cross Reference... The Cross Reference dialog is displayed. Click OK to return to the Subscribe Wizard.
Click Next on the Define Application View page. The Define Mapping Page is displayed. Mapping can involve either copying the individual fields or simple shape-change transformations.
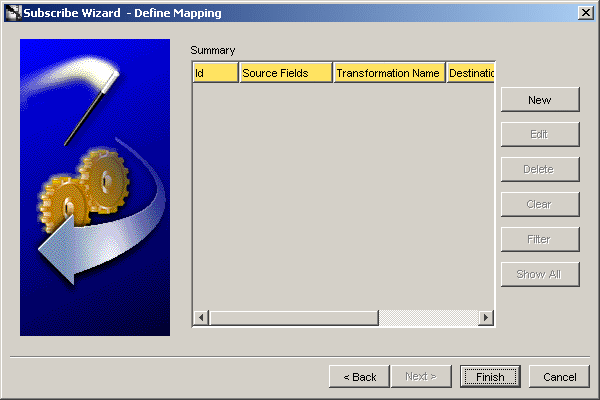
Click New to define mappings. The Mapping Parameters dialog is displayed.
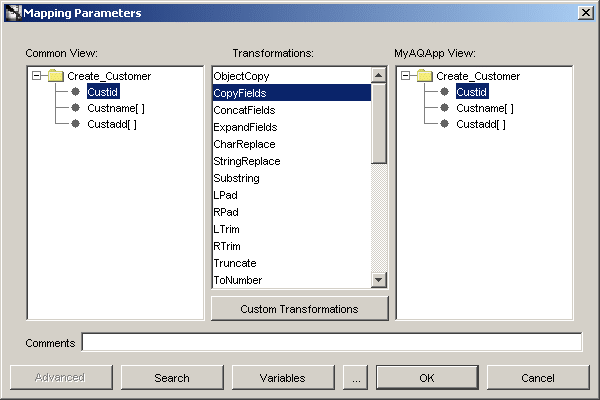
Description of the illustration 4.3.2-4.gif
Use a transformation to map fields in the common view to fields in the application view. For example, to map fields in the FirstName and LastName in the common view to Name in the application view, use the ConcatFields transform.
Click OK to return to the Subscribe Event Wizard.
Click Finish.