| Oracle® Identity Federation Administrator's Guide 10g (10.1.4.0.1) Part Number B25355-02 |
|
|
View PDF |
| Oracle® Identity Federation Administrator's Guide 10g (10.1.4.0.1) Part Number B25355-02 |
|
|
View PDF |
This chapter details the steps required to install Oracle Identity Federation. As we shall see, there are two installation modes: a basic mode which requires little input and a simpler installation, and an advanced mode which provides more flexibility.
The chapter contains these sections:
This discussion assumes that you have an understanding of Oracle Identity Federation concepts and features, and have collected the information necessary for installation.
See Also:
Chapter 2, "Planning Oracle Identity Federation Deployment" for a checklist of information necessary for deployment.This section explains briefly the steps involved in Oracle Identity Federation installation.
Note:
There are two installation modes, Basic and Advanced. Table 3-1 covers both modes, and each mode is subsequently discussed in its own section.Table 3-1 Oracle Identity Federation Installation Steps
| # | Step | Description |
|---|---|---|
|
1 |
Welcome screen |
|
|
2 |
Step for Unix platforms |
Run |
|
3 |
File locations |
Supply source and destination files, paths. |
|
4 |
Product selection |
Choose the product to install. |
|
5 |
Type of install |
Choose between default and advanced options. If you select the default option, you are directed to Step 11. |
|
6 |
Pre-install checklist |
A screen displays pre-installation requirements for confirmation. |
|
7 |
Port configuration |
Choose between manual and automatic configuration. |
|
8 |
Virtual host |
Select virtual addressing option. |
|
9 |
Record store |
Decide how the record store should be updated. |
|
10 |
Transient session store |
Specify where transient session data will be stored. |
|
11 |
Server instance creation |
Specify a server name and administrator password. |
|
12 |
Summary screen |
Displays install options, settings and requirements. |
|
13 |
Progress |
|
|
14 |
Run root.sh |
This step applies only to Unix/Linux platforms. |
|
15 |
Post-installation |
Run the Configuration Assistant to deploy Oracle Identity Federation. |
Take the following steps to install Oracle Identity Federation:
Run the Oracle Universal Installer. The welcome screen appears.

No input is required on this screen. Click Next to continue.
If you are installing on a Unix platform, and this is the first install, you must:
specify the inventory directory
run the OrainstRoot.sh shell script
Specify the path and filename for the install file, a name for the installation, and the complete path to the location where you want to install.
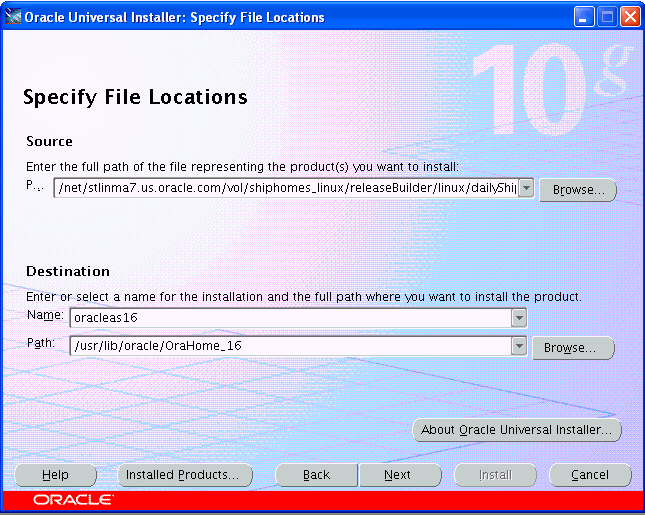
Note:
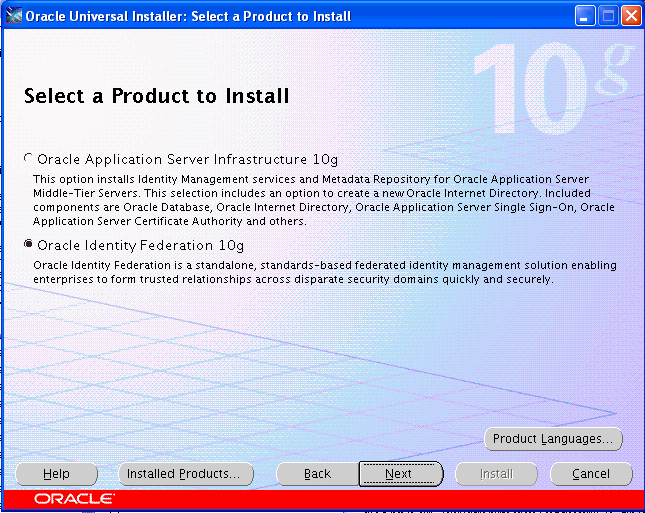
The source file path shown in this screen is for illustration purposes only. The actual path you see will depend on your installation source file.Select Oracle Identity Federation as the product to install.
Select the Basic installation method.
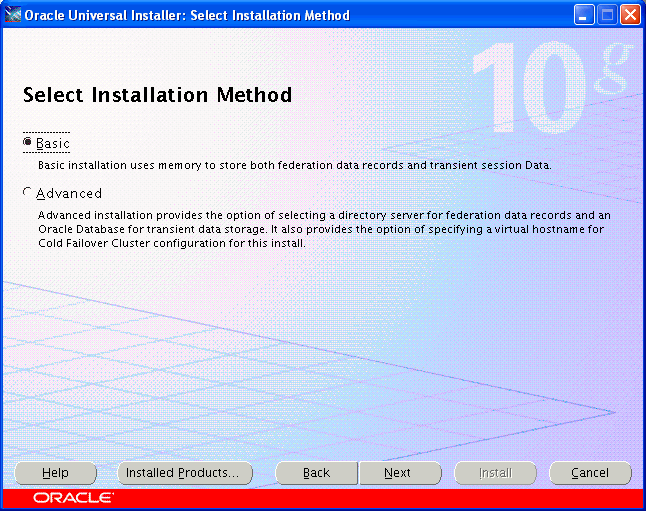
When you choose the basic installation, Oracle Universal Installer makes the following assumptions:
pre-installation requirements such as root privileges for the host have been met
ports used by components and services will be configured automatically, using a pre-allotted port range for each component
Note:
You can find port information post-install by checking the$ORACLE_HOME/staticports.ini file.virtual addressing is not required
your LDAP directory server will not be automatically updated with the federation record schema
no federation data store information will be collected
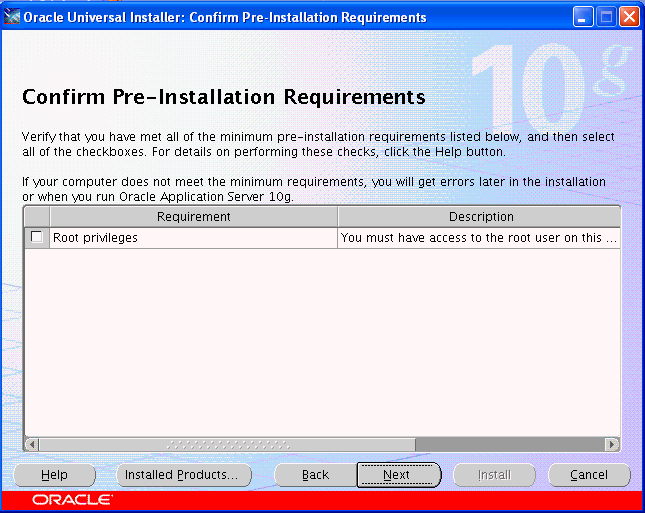
Confirm pre-installation requirements have been met by checking the box(es).
Specify Oracle Application Server hostnames and the administrator password for this instance of Oracle Identity Federation.
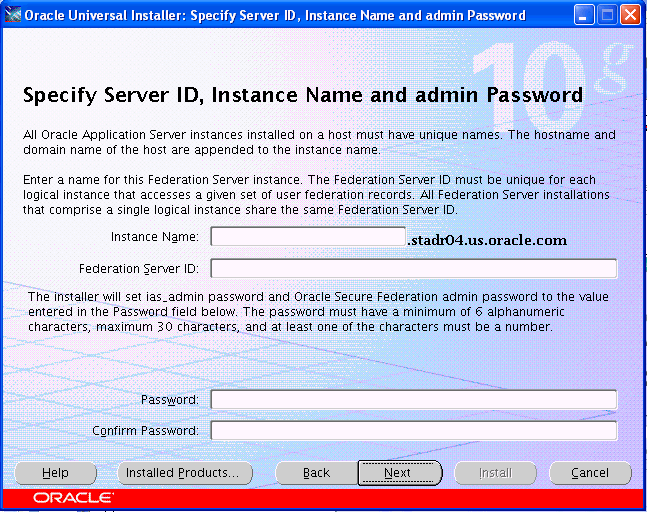
Note:
The Oracle Identity Federation administrator username isoif_admin.Note:
This step sets both theias_admin password and the oif_admin password. The password field cannot be left blank.Review the summary screen. To revise any information, press the Back button. To continue with the installation, press Install.
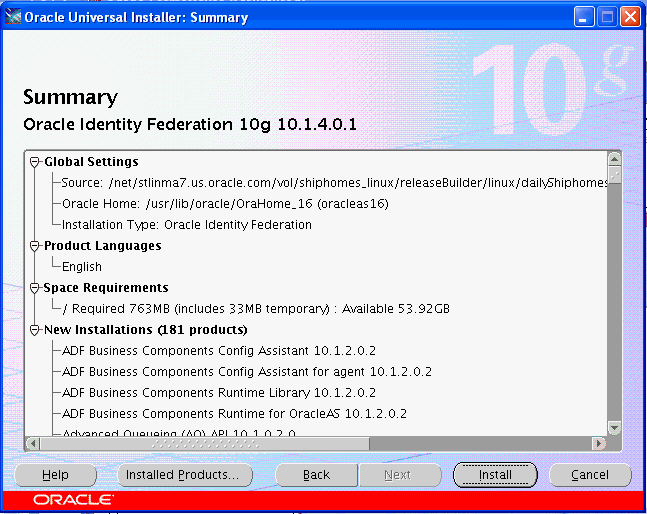
Oracle Universal Installer creates an instance of Oracle Containers for J2EE (OC4J) and Oracle Identity Federation.
The installer next directs you to the configuration assistant for default settings.
The Configuration Assistant configures and deploys the EAR file and modifies configuration files. After configuration is complete, a configuration summary screen appears.
The Oracle Universal Installer wizard prompts you to exit the session.
The advanced installation procedure contains several steps that are bypassed in the basic procedure. See Table 3-1 for a description of all the steps.
Take the following steps to install Oracle Identity Federation in the advanced mode:
Run the Oracle Universal Installer. The welcome screen appears.

No input is required on this screen. Click Next to continue.
If you are installing on a Unix platform, and this is the first install, you must:
specify the inventory directory
run the OrainstRoot.sh shell script
Specify the path and filename for the install file, a name for the installation, and the complete path to the location where you want to install.
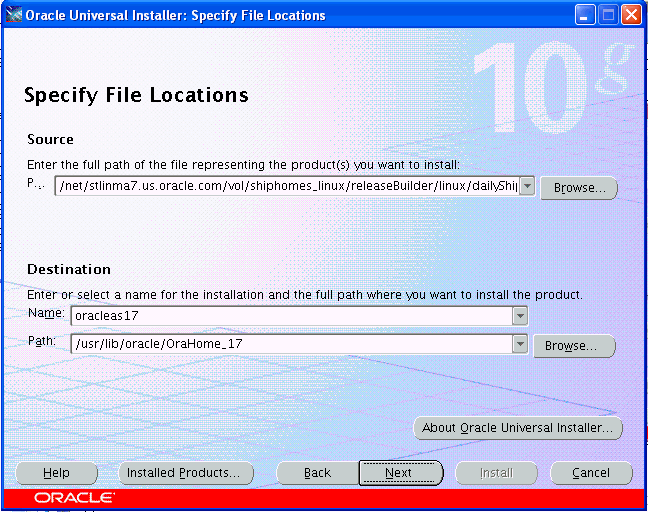
Note:
The source file path shown in this screen is for illustration purposes only. The actual path you see will depend on your installation source file.Select Oracle Identity Federation as the product to install.
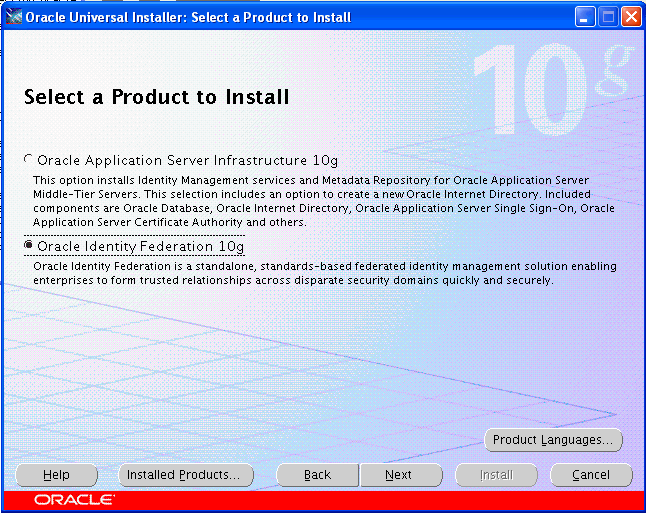
Select the Advanced installation method.
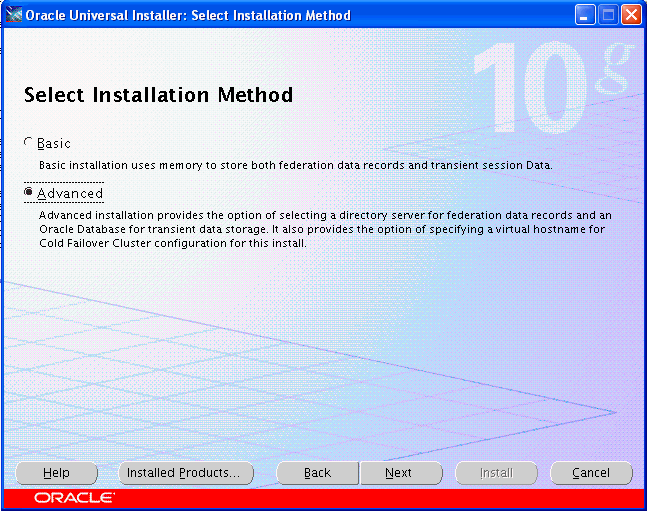
When you select the Advanced option, the installer continues with Step 6 to collect this information:
confirmation of pre-installation requirements such as root privileges for the host
port configurations
virtual addressing
LDAP directory server information for the federation record schema
federation data store information
Confirm pre-installation requirements have been met by checking the box(es).
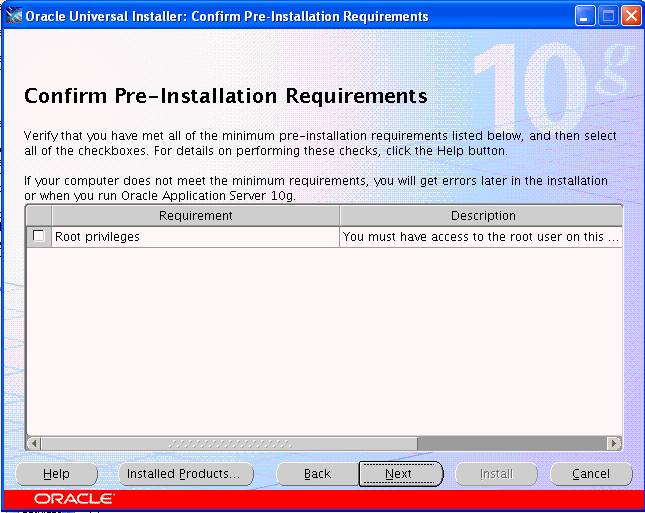
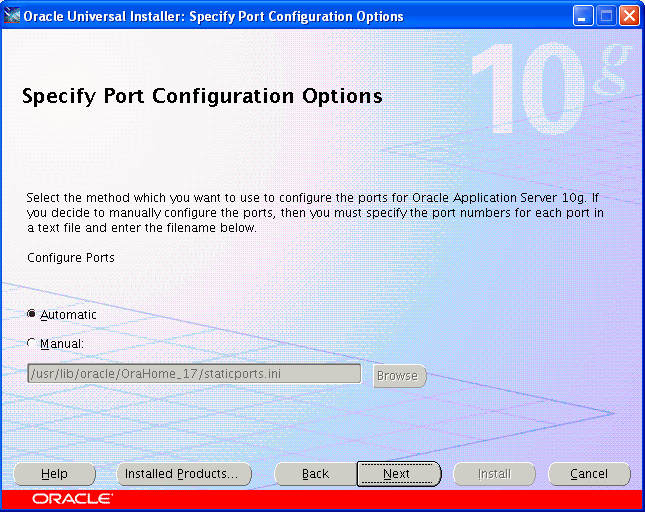
Choose how the port configuration will be determined. Oracle Universal Installer can configure the ports automatically, or you can specify a file, called the staticports.ini file, listing port numbers for the server.
This is a sample staticports.ini file showing the file format. Replace port numbers with the values that you want to use for the component in question.
[System]
@ Host Name = sys04.my.company.com

[Ports]
Oracle HTTP Server port =  7778
Oracle HTTP Server Listen port = 7778
Oracle HTTP Server SSL port = 4444
Oracle HTTP Server Listen (SSL) port = 4444
Oracle Notification Server Request port = 6004
Oracle Notification Server Local port = 6102
Oracle Notification Server Remote port = 6201
Oracle HTTP Server Diagnostic port = 7201
Java Object Cache port = 7001
Oracle Management Agent Port = 1831
Application Server Control RMI port = 1851
Log Loader port = 44001
DCM Discovery port = 7101
Application Server Control port = 1810
Note:
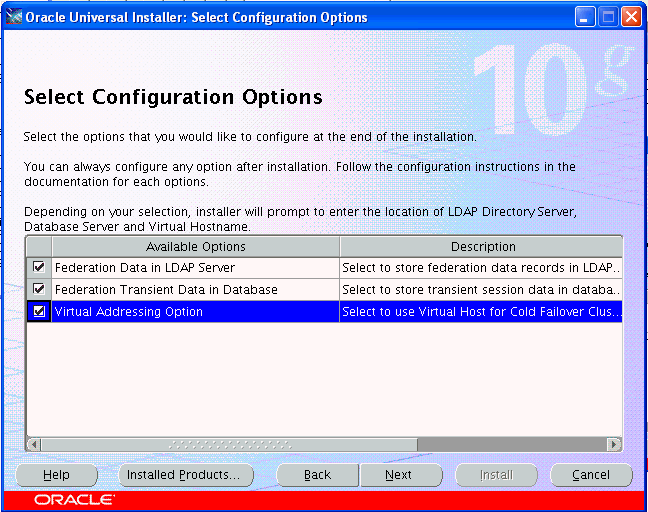
Thestaticports.ini file contains Federation, Apache, Opmn, DCM, and EM ports. See Using Custom Port Numbers (the "Static Ports" Feature) in the Oracle Application Server Installation Guide for your platform for additional details about the staticports.ini file.Select configuration options to be implemented post-installation:
Federation record store - update the LDAP schema of the server where federation records will be stored.
Transient data store - transient data can be stored in a relational database; you will be presented with a second screen to provide the database information.
Virtual addressing - all components in the installation can be configured to use a virtual hostname; you will be presented with a second screen to specify a virtual hostname.
If you elected to update an LDAP schema for your federation records, the installer now prompts you for details. You can choose between Oracle Internet Directory, Sun Java System Directory, and Microsoft Active Directory:
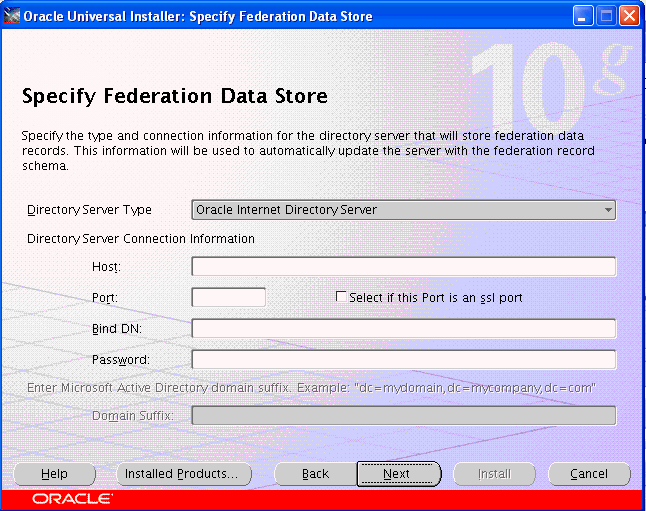
If the directory server is Oracle Internet Directory or Sun Java System Directory, specify:
the server hostname
the port on which the server listens
whether SSL is enabled or disabled
the Oracle Internet Directory superuser name, or a single sign-on username with appropriate install privileges
the password
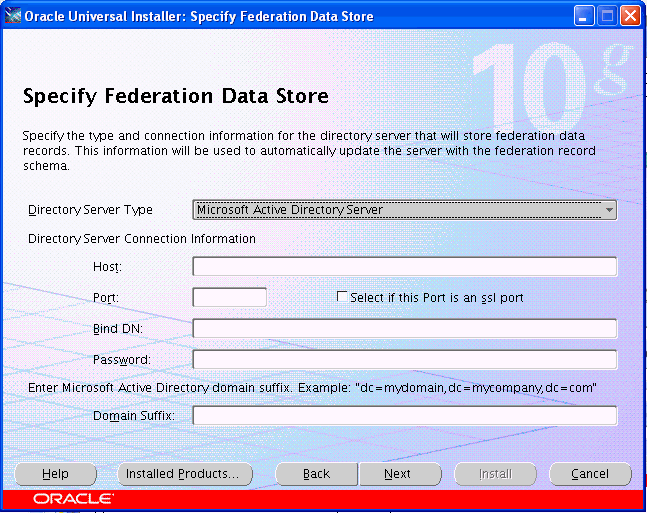
If the directory server is Microsoft Active Directory, also specify the Domain Suffix.
If you elected to store transient data in a relational database, the installer prompts you for details:
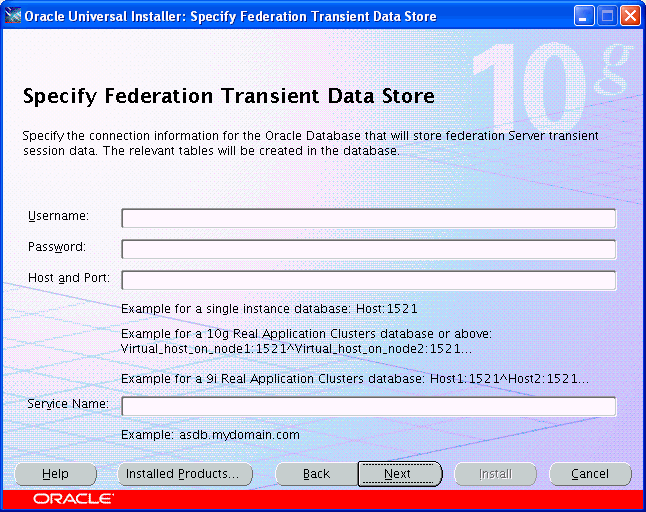
If you specified RDBMS storage for one or more types of transient data in Step 8, Oracle Universal Installer requests connection details for the database:
the username and password of a non-administrator account that has connect and resource roles
the hostname and the port number at which the server listens
the Web service name
Note:
Whether you can share an RDBMS transient store depends on how your Oracle Identity Federation server is deployed:If the Oracle Identity Federation server will function as a standalone server, the database instance/database username combination must only be used by this Oracle Identity Federation instance; attempts to use the same RDBMS server/username to persist data for two Oracle Identity Federation servers will cause runtime conflicts around configuration and user session data.
If the Oracle Identity Federation Server is deployed in a clustered or load balanced environment, the same database instance/database username combination can be used for all Oracle Identity Federation servers that are part of the cluster/load balancing group. In this case all the Oracle Identity Federation instances will use the same configuration and back end user session store.
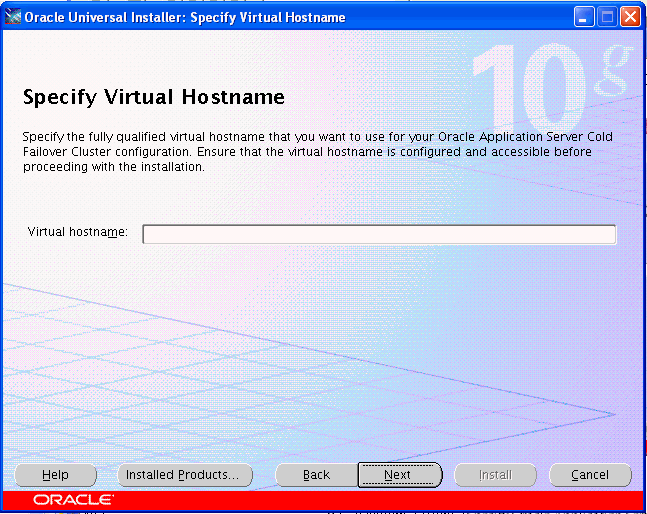
If you elected to designate a virtual hostname, enter that information now.
Specify Oracle Application Server hostnames, and the administrator password for this instance of Oracle Identity Federation.
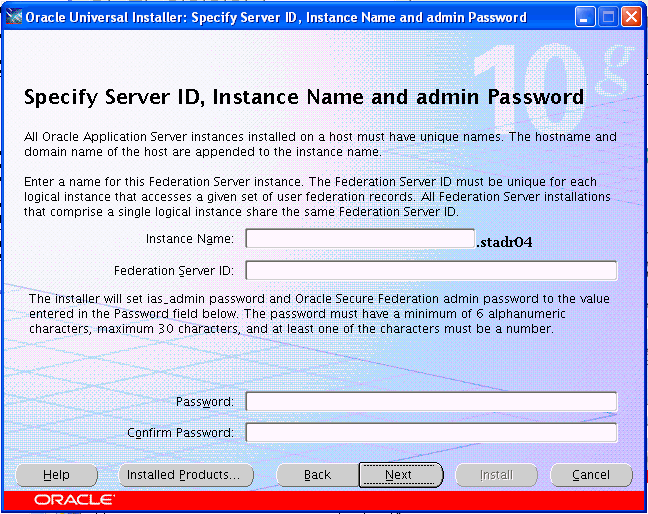
Note:
The administrator username isoif_admin.Note:
This step sets both theias_admin password and the oif_admin password. The password field cannot be left blank.Review the summary screen. To revise any information, press the Back button. To continue with the installation, press Install.
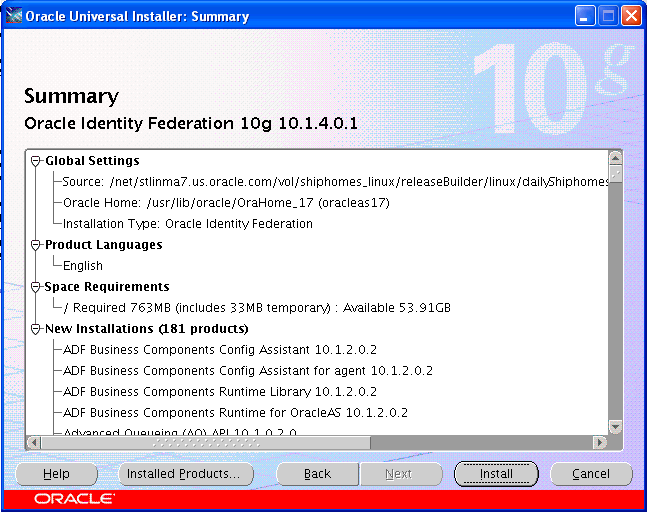
Oracle Universal Installer creates an instance of Oracle Containers for J2EE (OC4J) and Oracle Identity Federation.
The installer next directs you to the configuration assistant for default settings.
The Configuration Assistant configures and deploys the EAR file, modifies configuration files, and creates the federation data LDAP schema if this was requested.
The Oracle Universal Installer wizard exits.
When you install Oracle Identity Federation, the procedure also installs SSLConfigTool in the $ORACLE_HOME/bin directory. However, this does not configure SSL for the server. Note that:
SSLConfigTool cannot be used to affect or modify Oracle Identity Federation SSL configuration. You use the Oracle Identity Federation administration console to configure the server to allow it to communicate with other components over SSL. See "Using SSL with Oracle Identity Federation" for details.
To enable SSL on the Oracle Application Server instance where Oracle Identity Federation is running, you must use SSLConfigTool to configure SSL communications for Oracle HTTP Server. For more information, see the Oracle Application Server Administrator's Guide, chapter titled "Enabling SSL in the Infrastructure."
To check that the Oracle Identity Federation server installed correctly, you can access the Oracle Identity Federation administration console at http://hostname:port/fedadmin.
After installation is complete, the Oracle Identity Federation administration console starts up automatically so that you can configure operational details such as:
user ID repository settings
authentication source
overrides for default settings, if desired
Circle of Trust (COT) metadata (optional)
For detailed information on these and other topics, refer to:
Chapter 5, "Server Administration" for day-to-day administrative tasks, and for information on managing users and peer providers in the COT
Chapter 6, "Configuring Oracle Identity Federation" for server configuration details
You may need to change the network configuration to point your Oracle Identity Federation server to a different Infrastructure instance. This process (also referred to as reassociation) is necessary, for example, when Oracle Identity Federation server is ready to move from a test environment to a production Infrastructure.
For details of the reassociation procedure, see the Oracle Application Server Administrator's Guide. In Task 8: Update Oracle Identity Federation, Steps 1 and 2 explain how to perform the Infrastructure change. The remaining steps apply if you reassociate Oracle Identity Federation with a different Oracle Internet Directory or OracleAS Single Sign-On.