| Oracle® Retail Bulk Data Integration Cloud Service Installation Guide Release 19.0.000 F25611-01 |
|

 Previous |
| Oracle® Retail Bulk Data Integration Cloud Service Installation Guide Release 19.0.000 F25611-01 |
|
Previous |
This section provides guideline to update the status of BDI Schedules.
All the BDI schedules are in DISABLED state by default after installation. So the user should make the required schedules ACTIVE as per the requirement. To enable the schedule the user can either User interface or the ReST end point.
To enable the schedule using the User Interface:
Login to the BDI scheduler web application.
Navigate to the Manage Schedules tab.
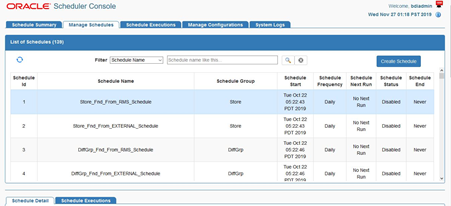
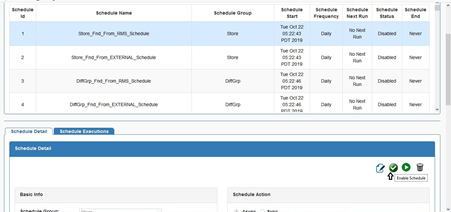
Select the Schedule in the List of Schedules table.
Go to the Schedule Detail Tab below the table.
Click on the Enable Schedule Icon on the top right of the Schedule Detail Panel.
To enable/disable multiple schedules using ReST end point:
The ReST end point allows user to update status of one or more schedules in a single request.
The ReST end point returns response at schedule level.
Valid input value for scheduleStatus is: ACTIVE and DISABLED
ReST End Point Name: activateOrDisable-schedules
Method Name:
activateOrDisableSchedules
Type:
POST
Sample Request:
{
"scheduleStatusVo": [{
   "scheduleName": "CodeDetail_Fnd_From_RMS_Schedule",
   "scheduleStatus": "ACTIVE"
},
{
   "scheduleName": "CodeHead_Fnd_From_RMS_Schedule",
   "scheduleStatus": "ACTIVE"
}
]
}
Sample Response:
{"scheduleStatusVo": [
      {
      "message": "Schedule status updated successfully",
      "scheduleName": "CodeDetail_Fnd_From_RMS_Schedule",
      "scheduleStatus": "ACTIVE"
   },
      {
      "message": "Schedule status updated successfully",
      "scheduleName": "CodeHead_Fnd_From_RMS_Schedule",
      "scheduleStatus": "ACTIVE"
   }
]}
