| Oracle® Retail Omnichannel Cloud Data Service Installation Guide Release 19.0.0 F25867-01 |
|

 Previous |
 Next |
| Oracle® Retail Omnichannel Cloud Data Service Installation Guide Release 19.0.0 F25867-01 |
|
Previous |
Next |
This chapter describes the procedure for installing and creating the WebLogic Middleware needed to host OCDS. Important information about the installation and deployment of a BDI Job Admin can be found in the Oracle Retail Bulk Data Integration Installation Guide.
Obtain WebLogic 12c (12.2.1.3.0) by visiting the Oracle Technology Network and taking the following steps.
Find fmw_12.2.1.3.0.0_infrastructure_Disk1_1of1.zip and download this file to your system.
Extract the contents of this zip file to your system. You will use the fmw_12.2.1.3.0.0_infrastructure.jar file to run the installer.
Run the installer by executing the jar file:
java -jar fmw_12.2.1.3.0.0_infrastructure.jar
The Welcome window appears.
Click Next. The Auto Updates window appears.
Select the appropriate radio button and click Next. The Installation Location window appears.
Click Browse to select the Oracle Home location where the WebLogic Server is to be installed.
Click Next. The Installation Type window appears.
Select Fusion Middleware Infrastructure (JRF and Enterprise Manager) and click Next. The installer performs the pre-requisite checks and ensures all required conditions are satisfied.
When the prerequisite check completes successfully, click Next. The Security Updates window appears.
Provide information and click Next.
Click Install. The Installation Progress window appears.
Click Next when the installation completes. The Installation Complete window appears.
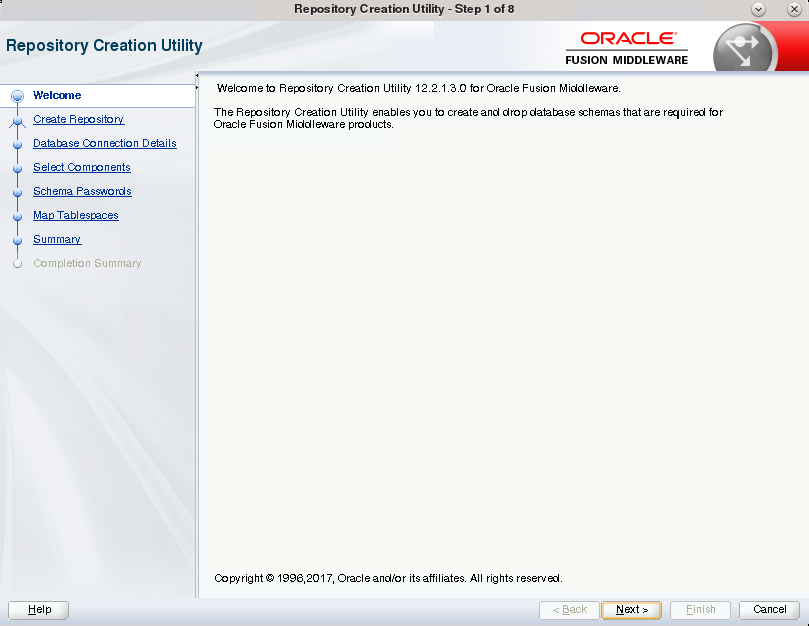
The installation of OCDS Job Admin and Injector components requires the existence of schemas in a database prior to installation. These schemas are created and loaded in your database using the Repository Creation Utility (RCU).
This section describes the instructions for running the RCU. See the Oracle Fusion Middleware documentation for detailed instructions on using the RCU.
The following steps will create Oracle AS Repository Components for:
Common Infrastructure Services
Oracle Platform Security Services (includes Audit Services)
WebLogic Services
Launch the rcu from ORACE_HOME/oracle_common/bin.
Click Next.
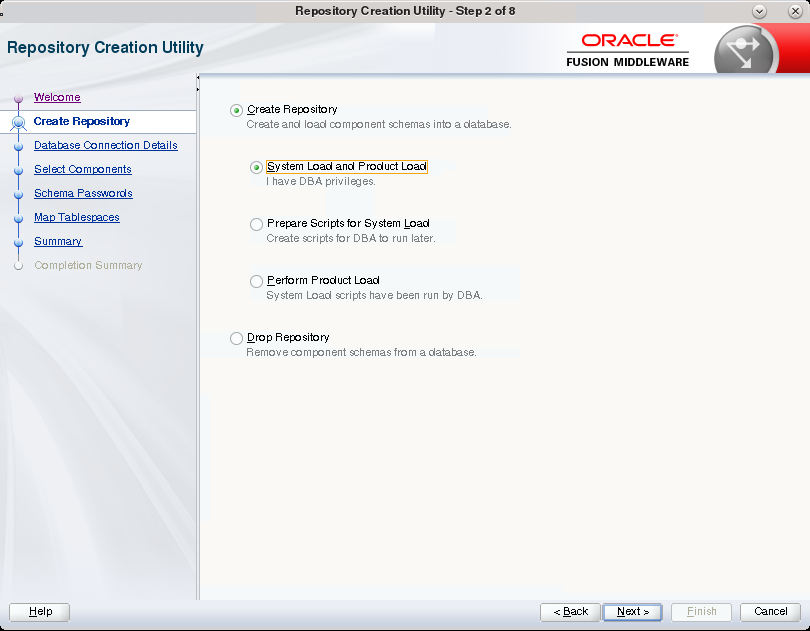
Select System Load and Product Load, then click Next.
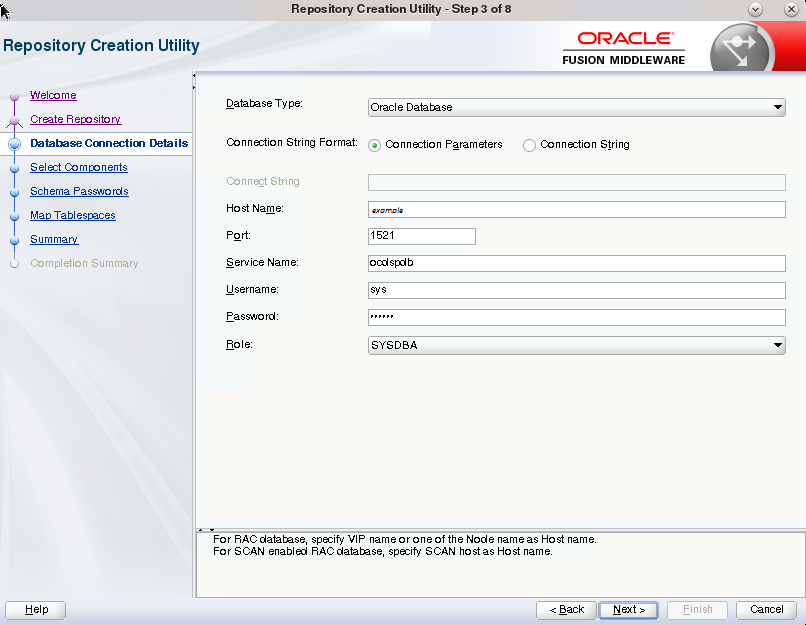
Enter database credentials.
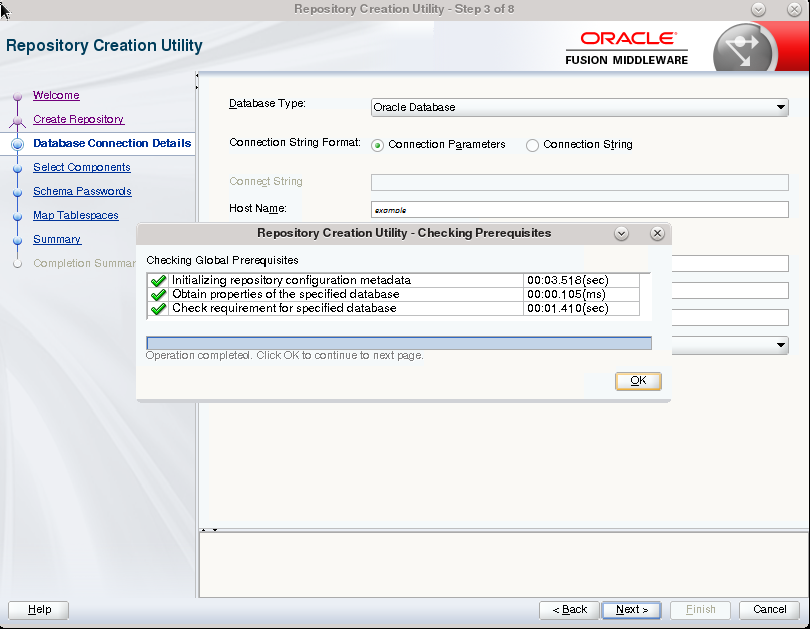
Click OK after prerequisites check completes.
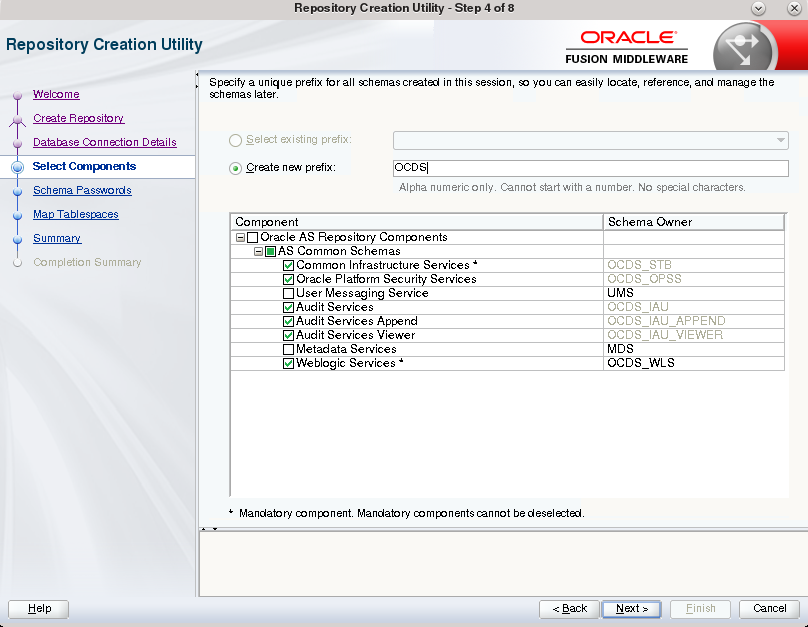
The database object created by the RCU will be used during the installation of OCDS (BDI) Job Admin and the OCDS Injector. Choose an appropriate prefix. In addition to the defaults, check the box for Oracle Platform Security Services.
|
Important: Keep track of the Prefix, Schema Owner names, and Passwords used in RCU, they will be needed to deploy OCDS components. |
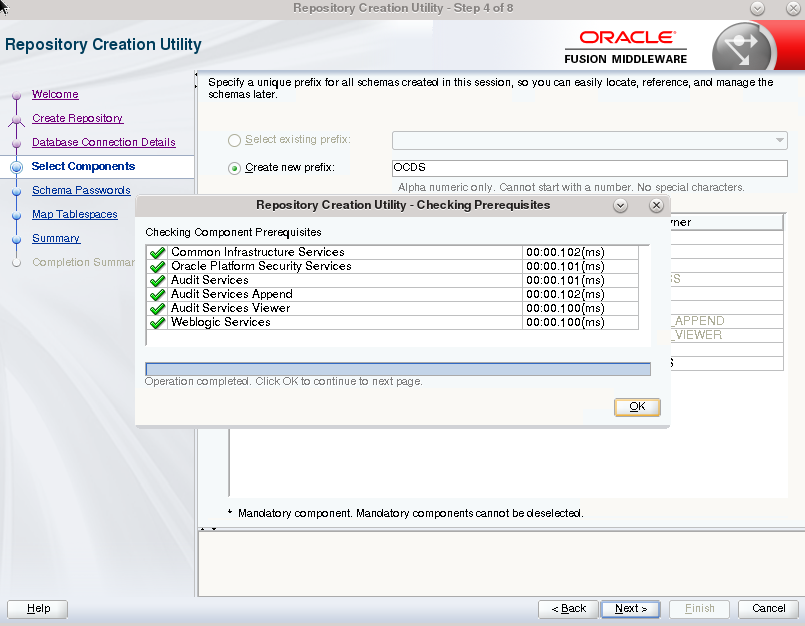
Click Next after Checking Component Prerequisites completes.
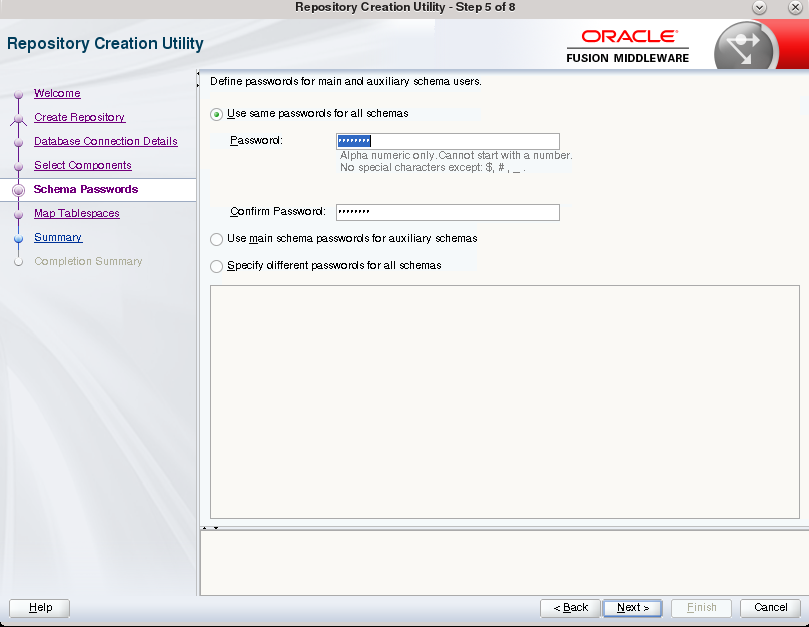
Click OK, enter password, and then click Next.
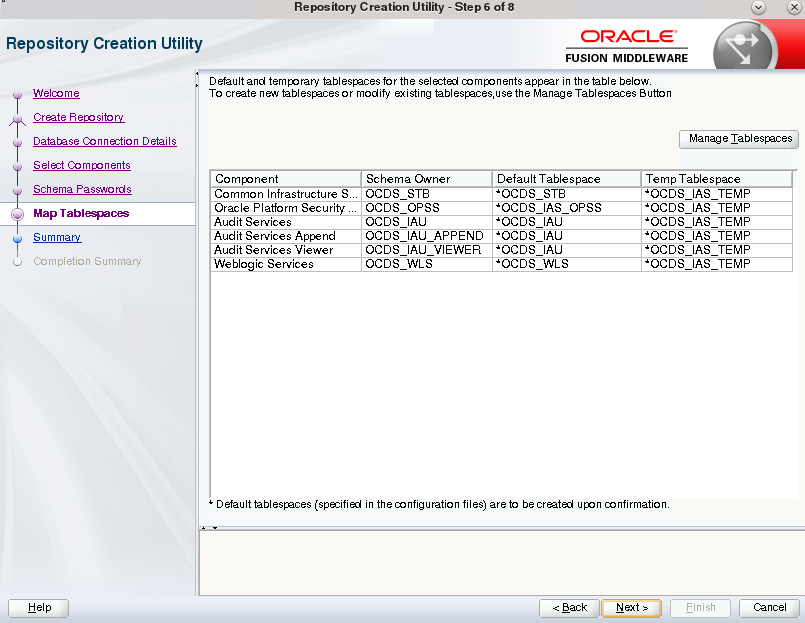
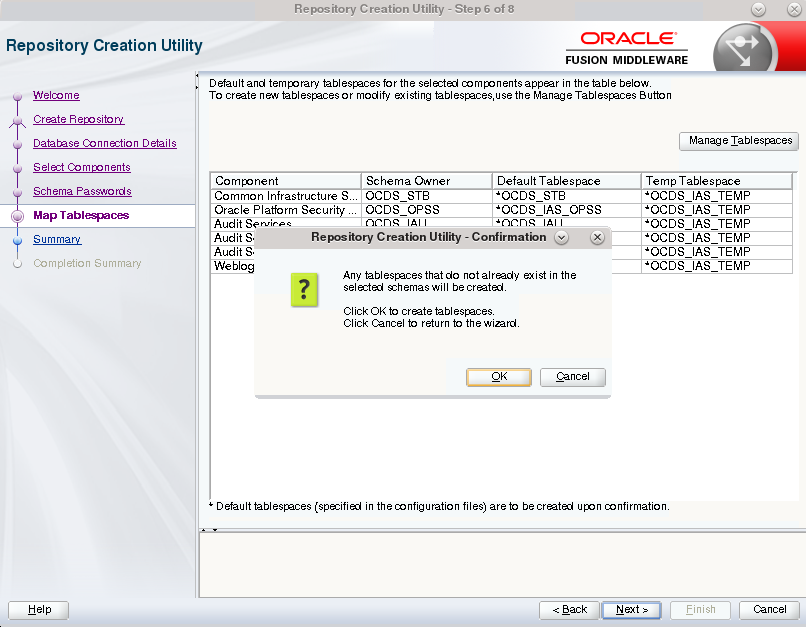
Click Next to accept Default Tablespaces, or click Manage Tablespaces for advanced handling, then click Next.
Click OK to confirm.
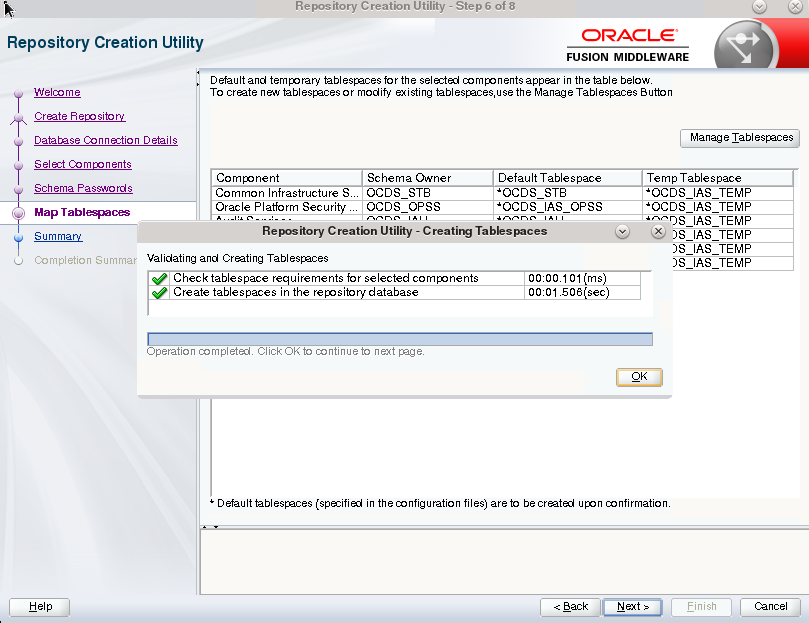
Click OK to continue.
Click Create.
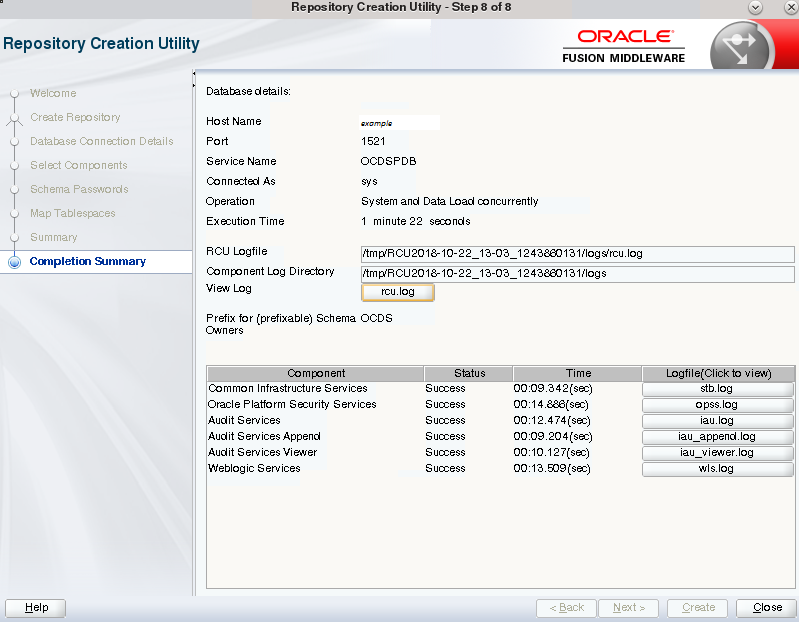
Click Close when Repository Creation has completed.
This section describes instructions for creating a new WebLogic domain with JRF, and instructions to create a managed server into which the OCDS Job Admin, Injector, and ORDS components can be deployed.
The installation of OCDS components requires the existence of schemas in a database prior to installation. These schemas are created and loaded in your database using the Repository Creation Utility (RCU). OCDS requires Oracle WebLogic server 12c (12.2.1.3.0), built with Java 8 (JDK 1.8 64 bit with the latest security updates).
The minimum recommended Java VM memory setting for the OCDS application domain is:
-Xms1024m -Xmx2048m
If re-creating a domain using the same RCU schemas, and those schemas are not in ocds_* tablespaces, then run RCU to drop old RCU schemas.
Perform the following procedure to create a WebLogic Domain with one Managed Server. OCDS can be installed on more than one managed server if preferred.
Launch the Fusion Middleware Configuration Wizard from ORACLE_HOME/oracle_common/common/bin.
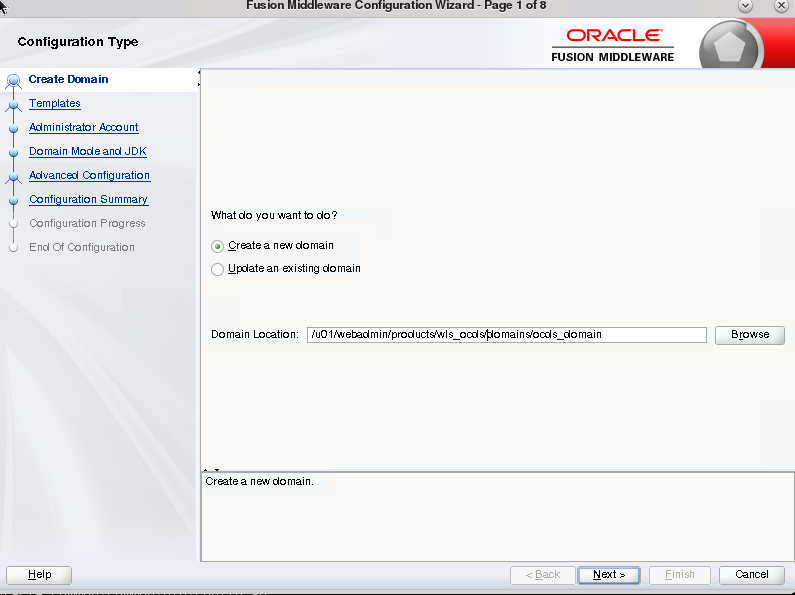
Select Create a new Domain, and enter the domain location.
Select Oracle Enterprise Manager to cause the Oracle JRF and WLS Coherence Cluster Extension templates to be selected, in addition to the Basic WebLogic Server Domain template.
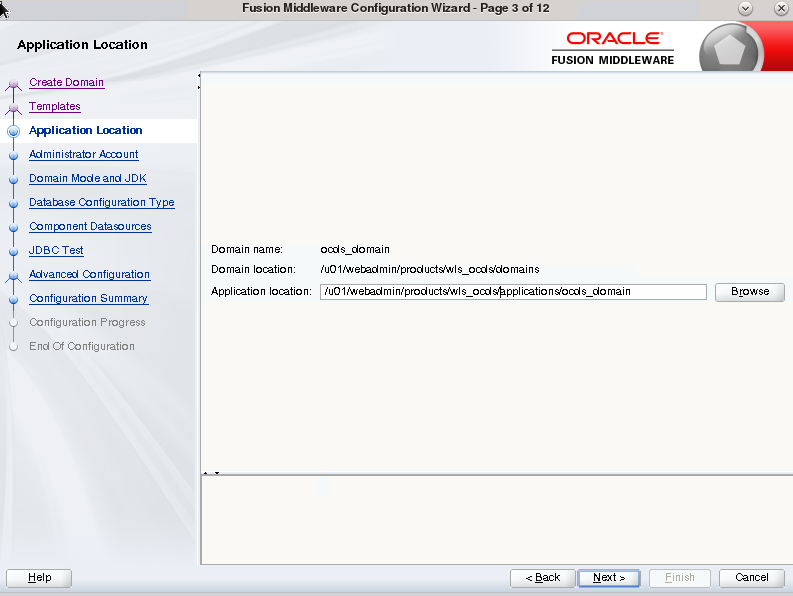
Select the application location.
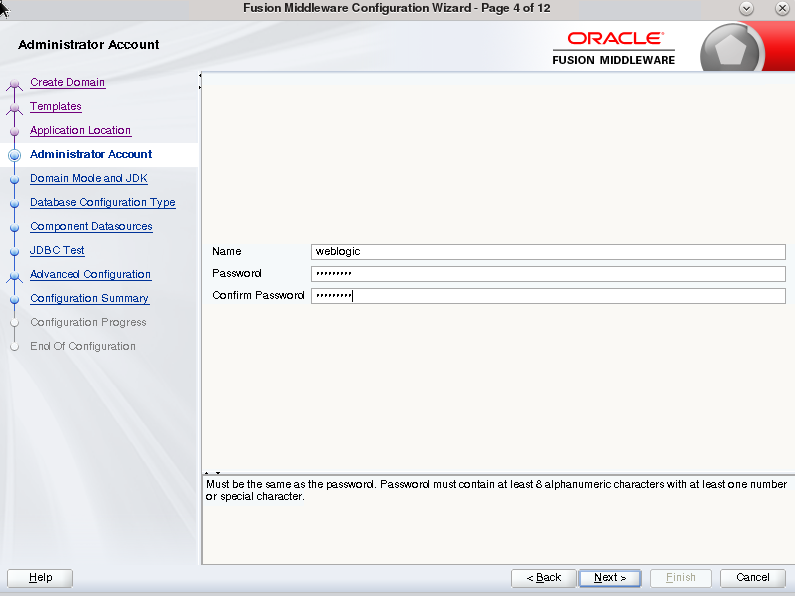
Create a WLS Administrator account.
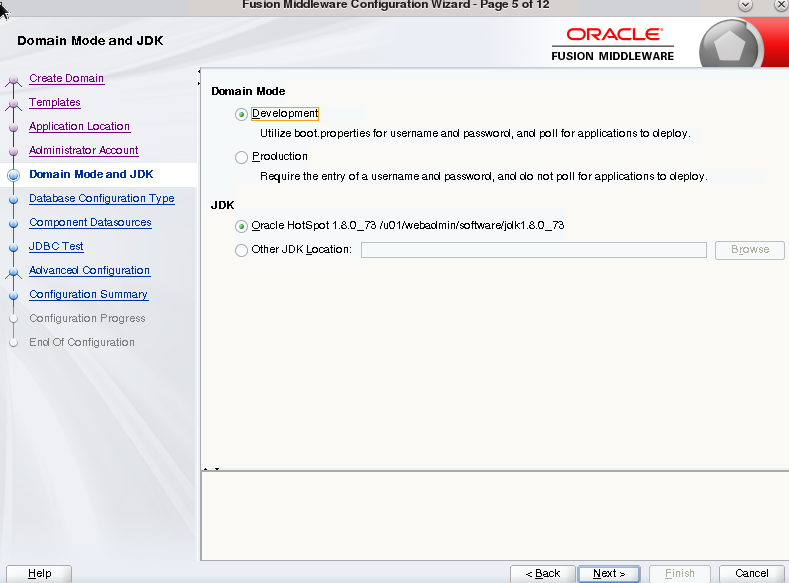
Choose a domain mode.
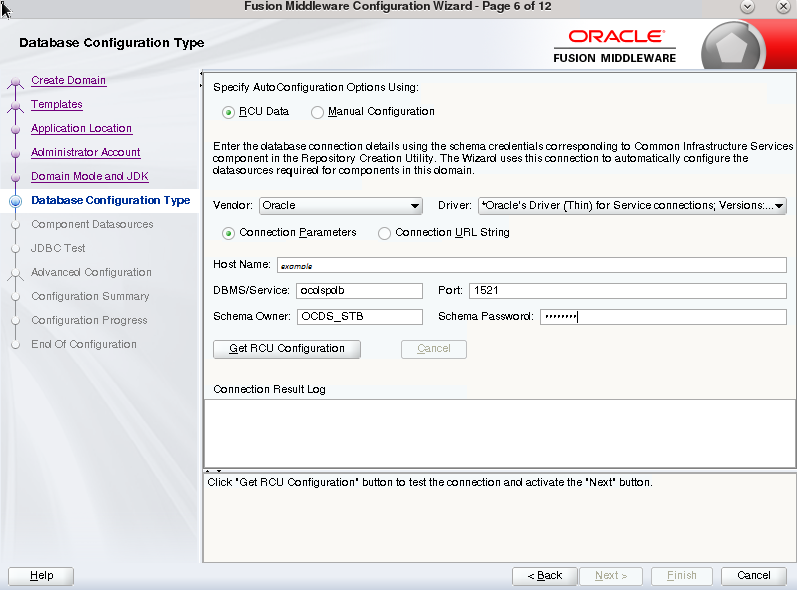
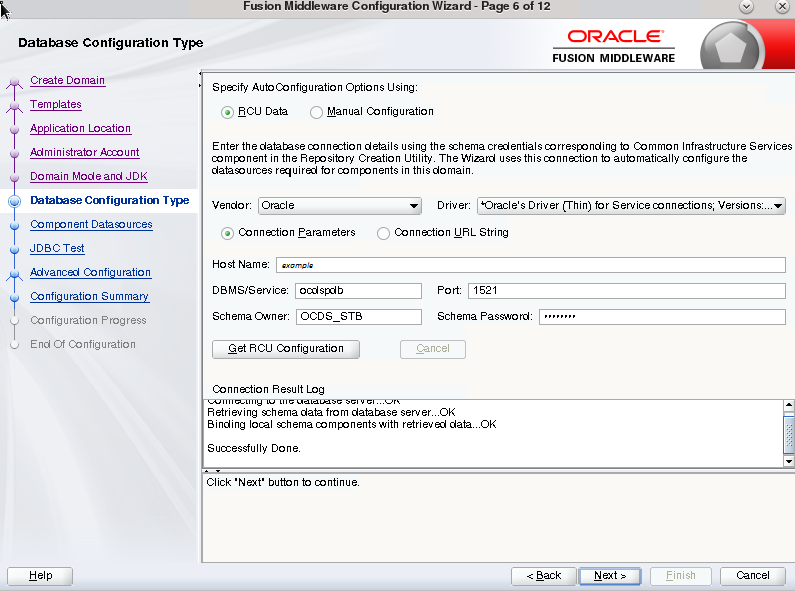
Specify the RCU AutoConfiguration. The Schema Owner was created during the RCU step. Complete the form and click the Get RCU Configuration button.
Click Next, if the Connection Result Log is error free.
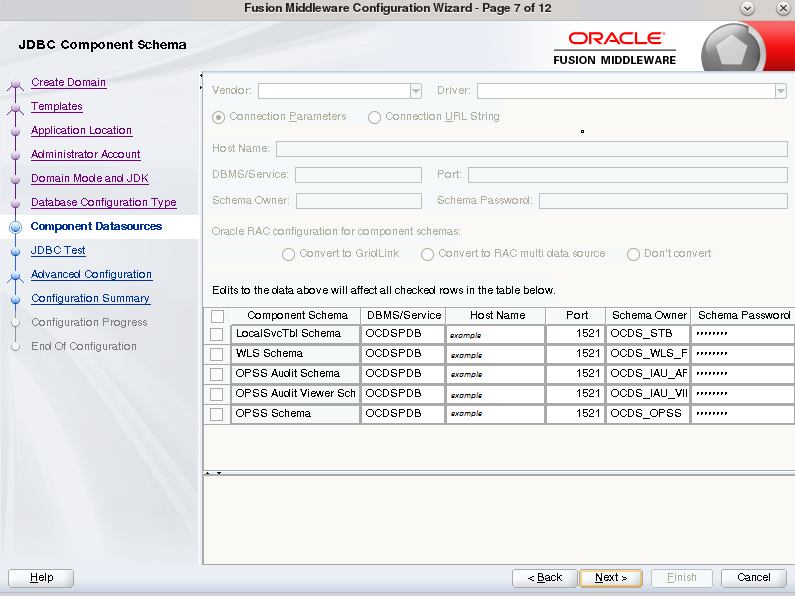
Accept defaults, then click Next (unless you need to edit schema passwords because they are not all the same).
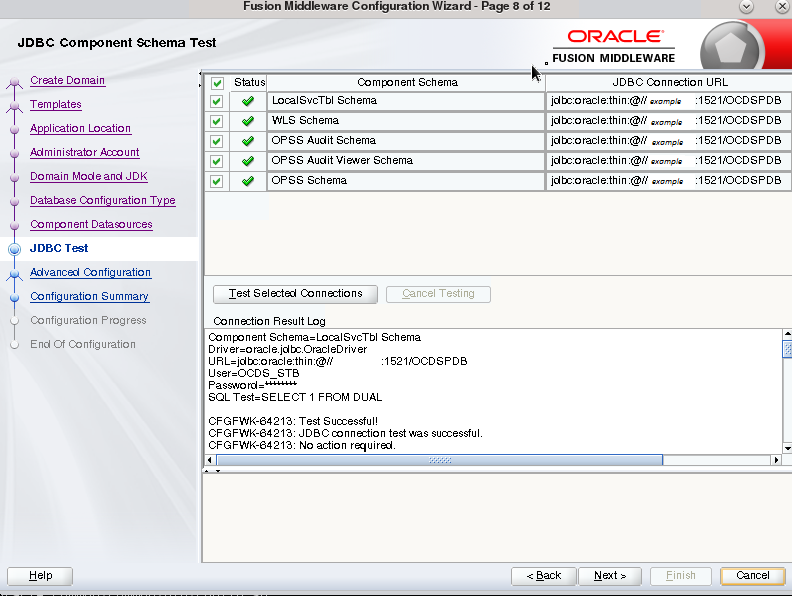
Test the selected connections. If all connections are successful, click Next.
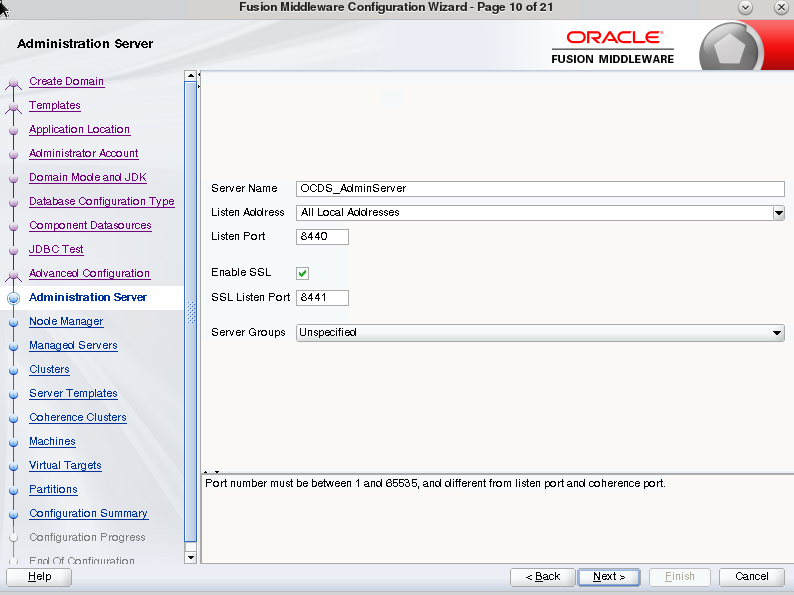
Select the settings according to the deployment topology and click Next. The Managed Server is shown here.
Choose the server name and ports, and enable SSL. Then click Next.
Select the Node Manager Type, and enter the Node Manager Credentials, then click Next.
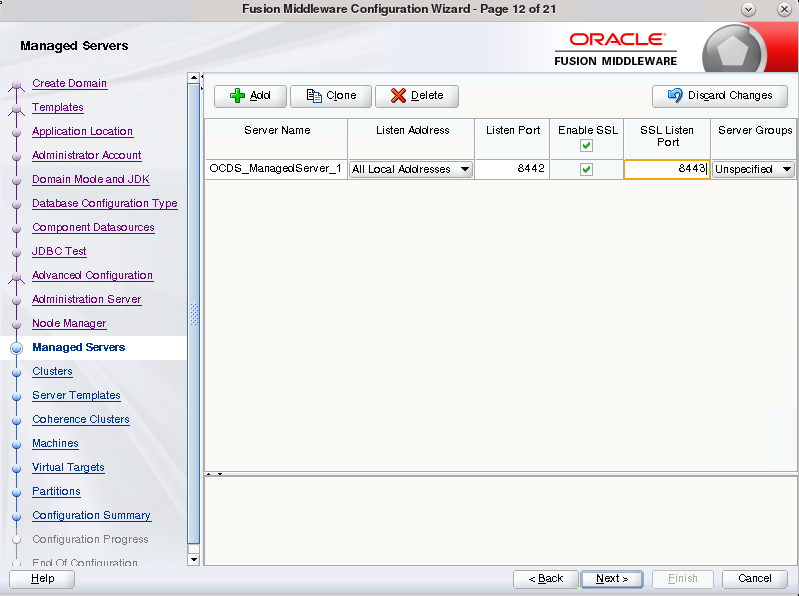
Click the Add button.
Enter the Managed Server name and ports, then click Next.
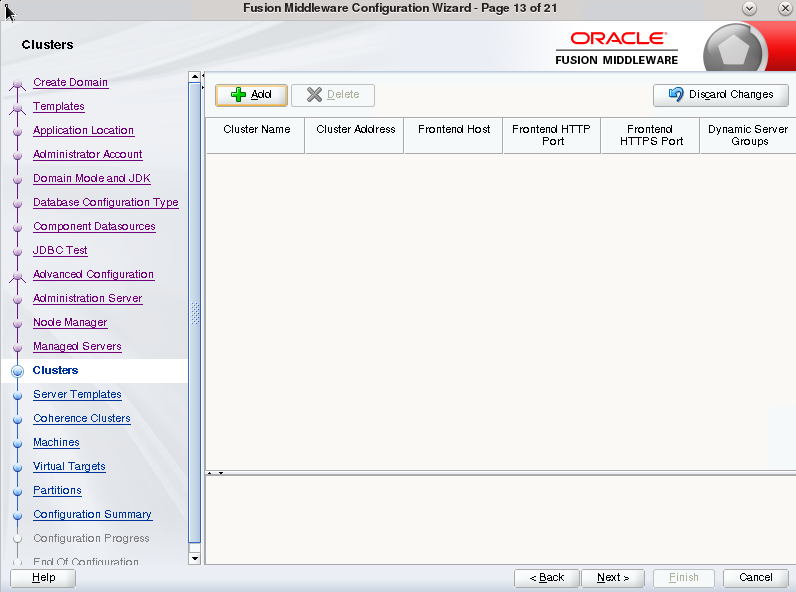
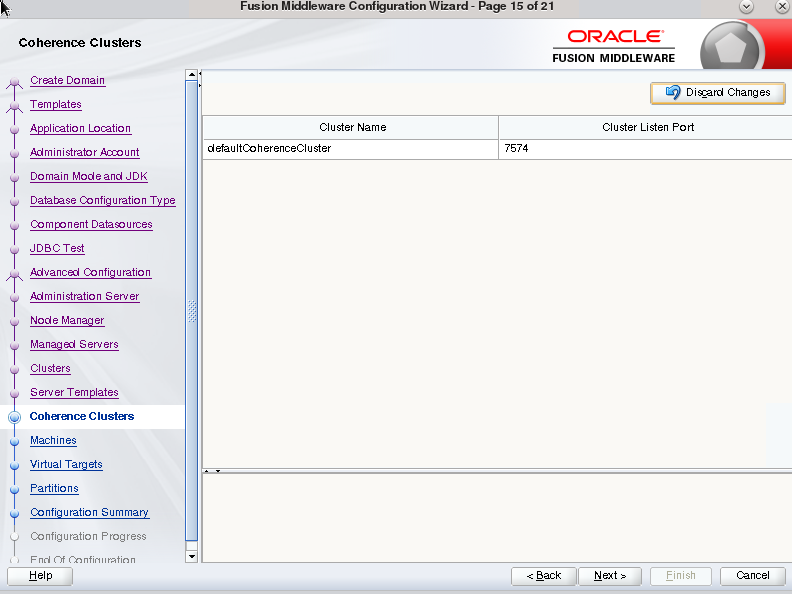
Click Next if skipping the cluster configuration, or click Add to enter information. Then click Next.
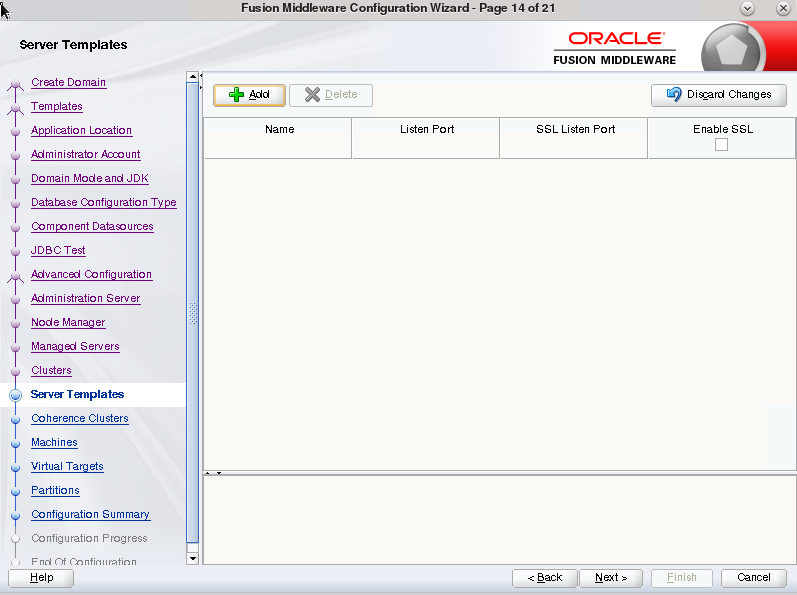
Click Next if skipping the Server Templates, or click Add to enter the information. Then click Next.
Click Next if no changes are required.
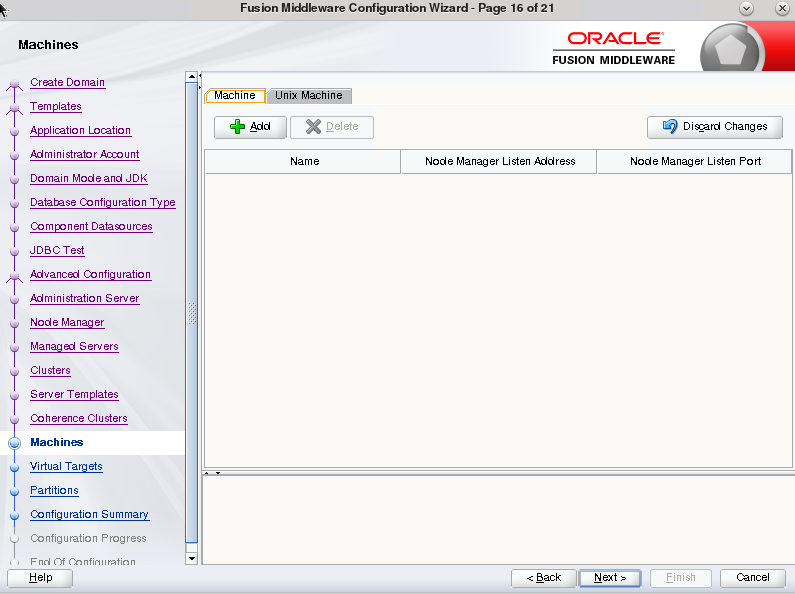
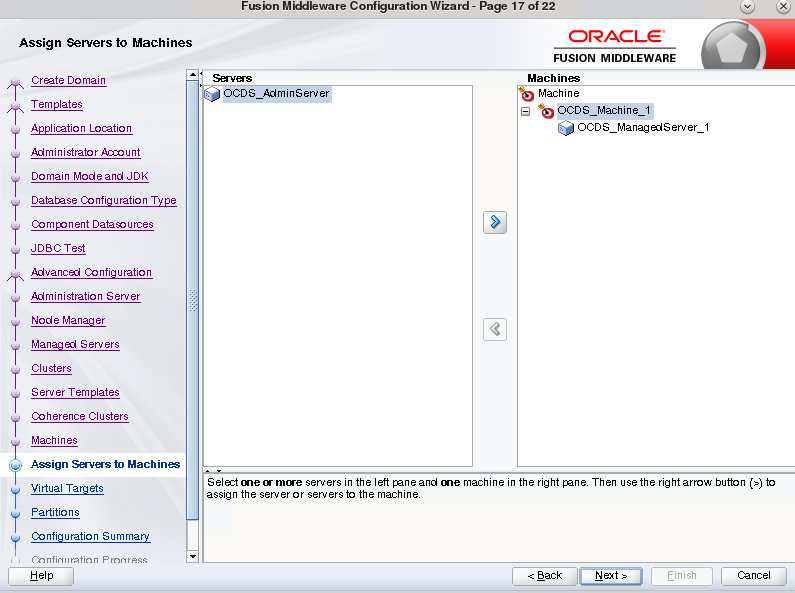
Click Add to enter the machine information.
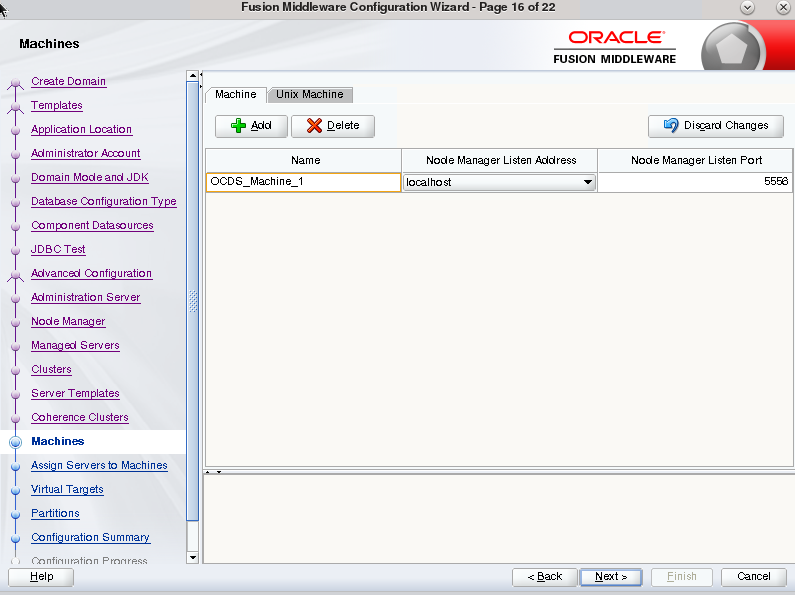
Enter the machine and click Next.
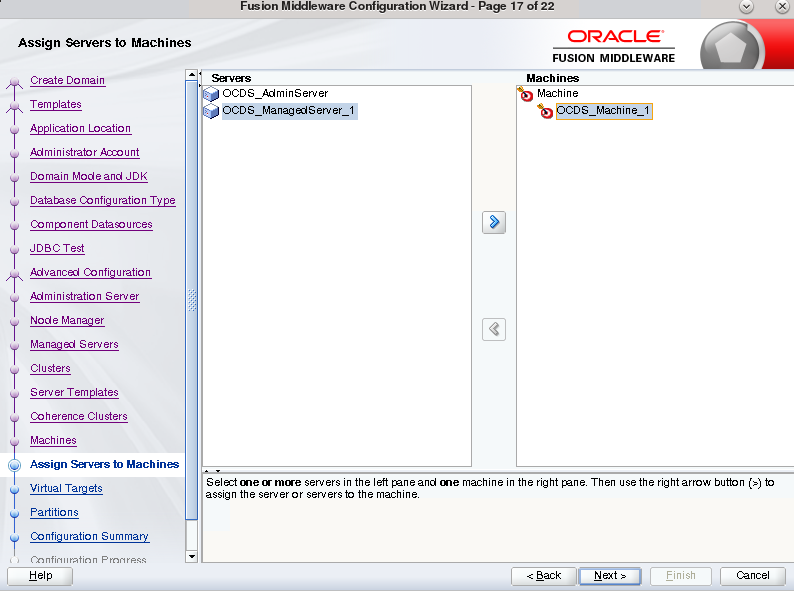
Assign the managed server to the machine by selecting the managed server on the left, and the machine on right, then click the right arrow.
Click Next.
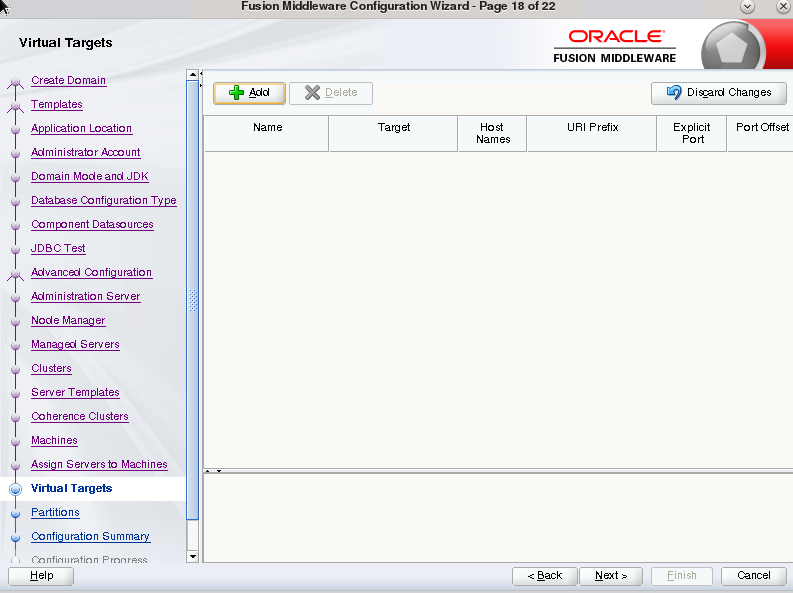
Click Next to skip virtual targets.
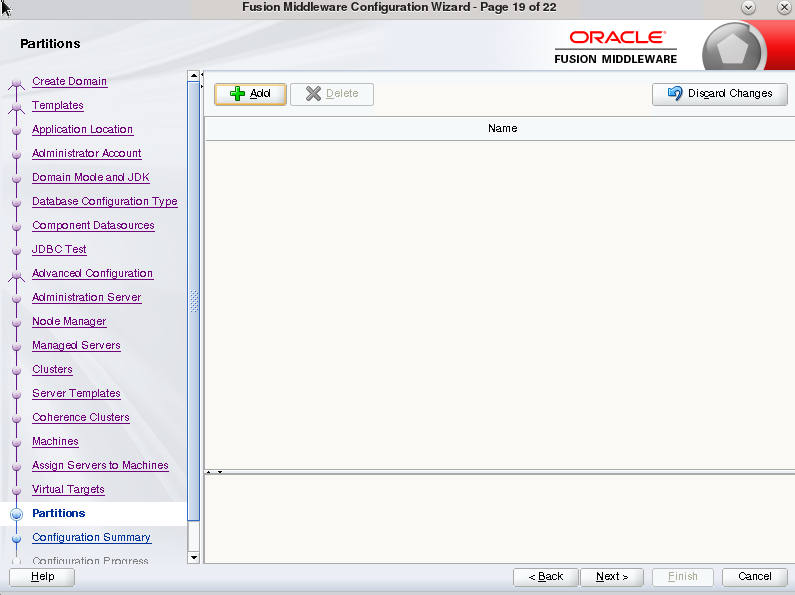
Click Next to skip partitions.
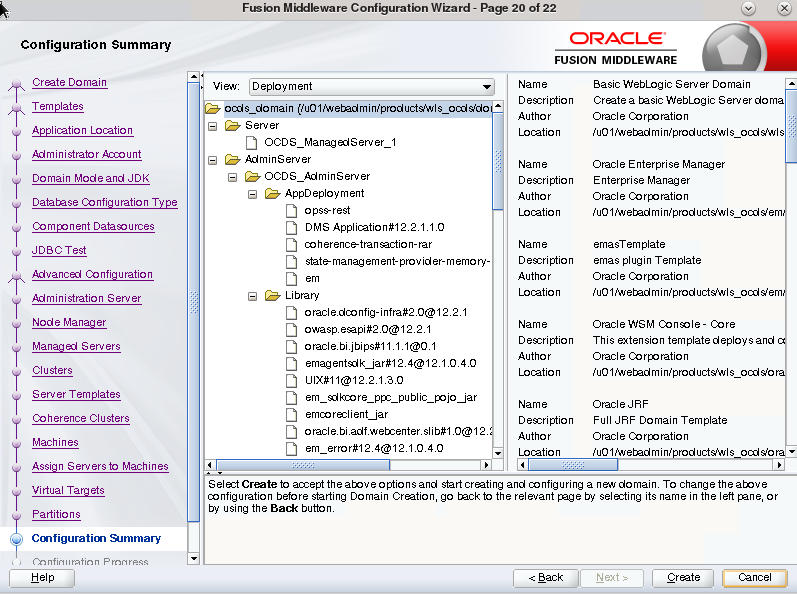
Review the domain configuration, then click Create.
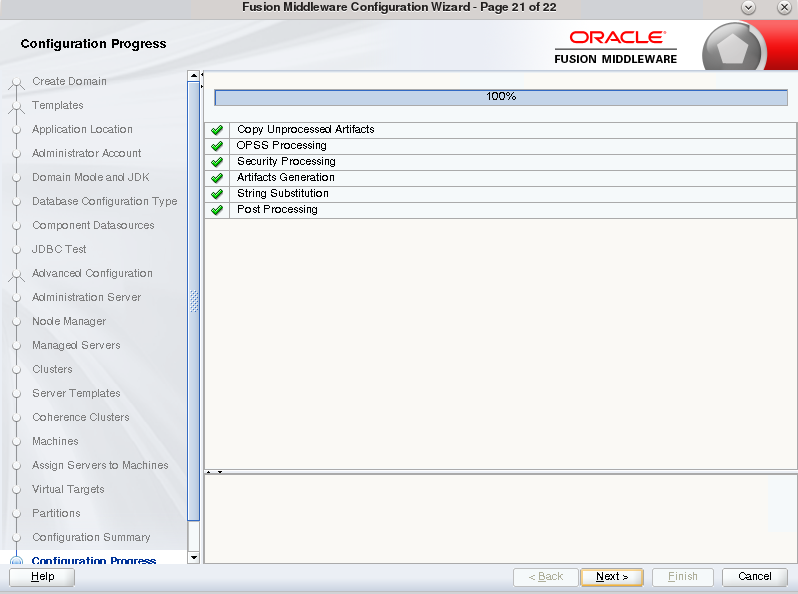
Click Next. The Configuration Progress is displayed.
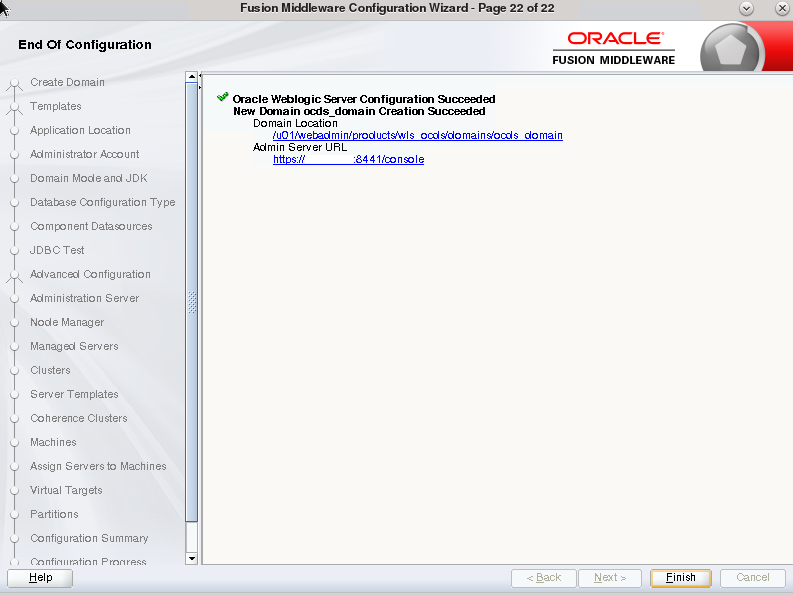
Click Finish at the confirmation page.
|
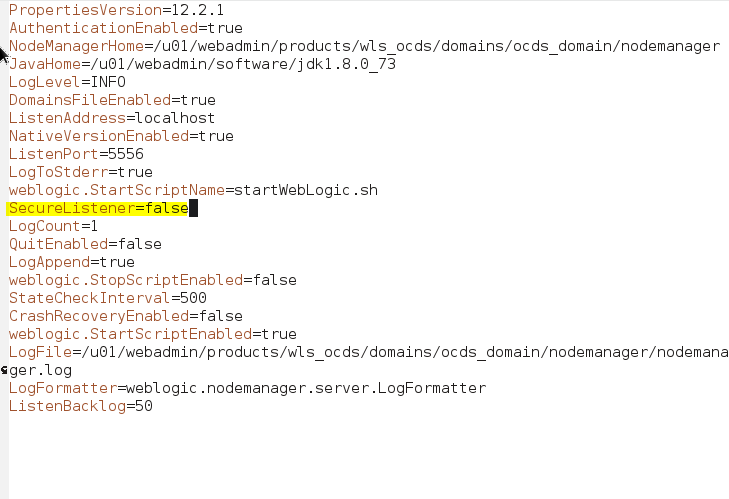
Note: At this point the new node manager will have SecureListener enabled by default. |
QA systems may prefer to disable this feature. If so, edit <DOMAIN_HOME>/nodemanager/nodemanager.properties and set SecureListener=false.
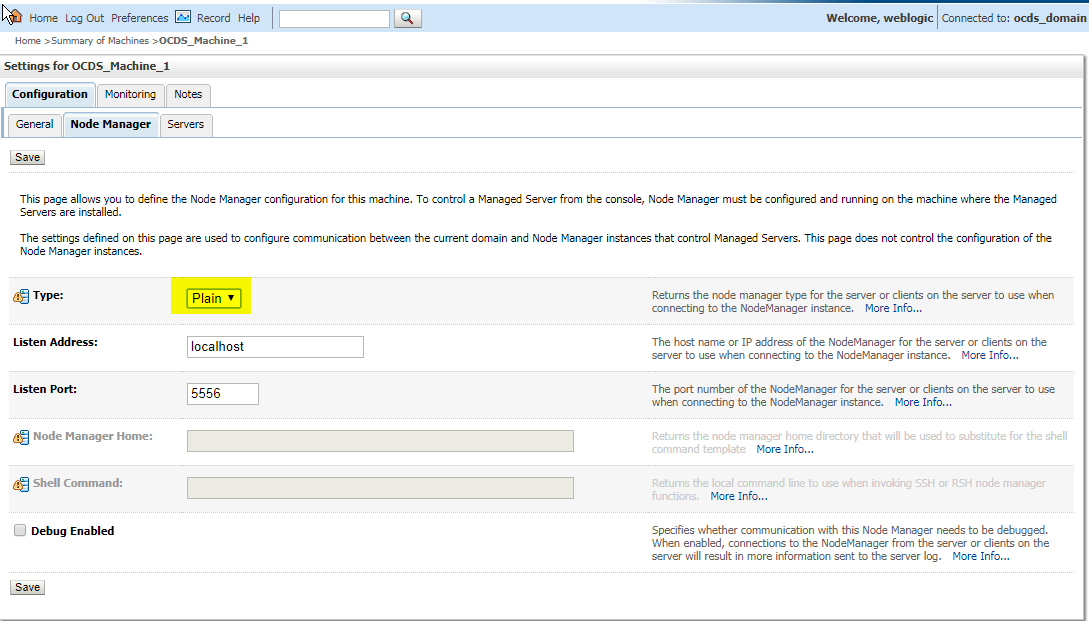
In this case, after starting the Node Manager and WebLogic, set the Node Manager's Type to Plain on the machine, by navigating to Home - Machines - [machine] - Node Manager. Then click Save.
Finally, bounce node manager, and then WebLogic.
Start the Node Manager ($DOMAIN_HOME/bin/startNodeManager.sh).
Start the Domain ($DOMAIN_HOME/bin/startWebLogic .cmd).
|
Note: Once the console is up you can start the managed server and configure SSL (if needed) |
Start the Managed Server. If you are using the Admin Console, navigate to Home - {Domain} - Summary of Servers - Control (tab), then select managed server and click Start.
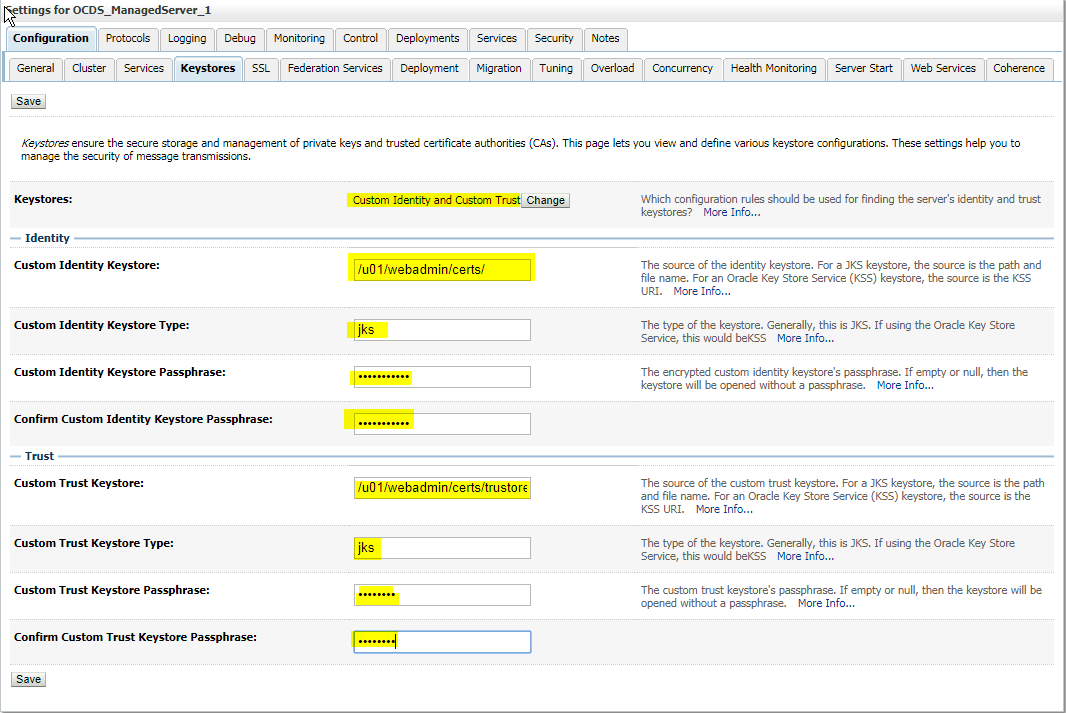
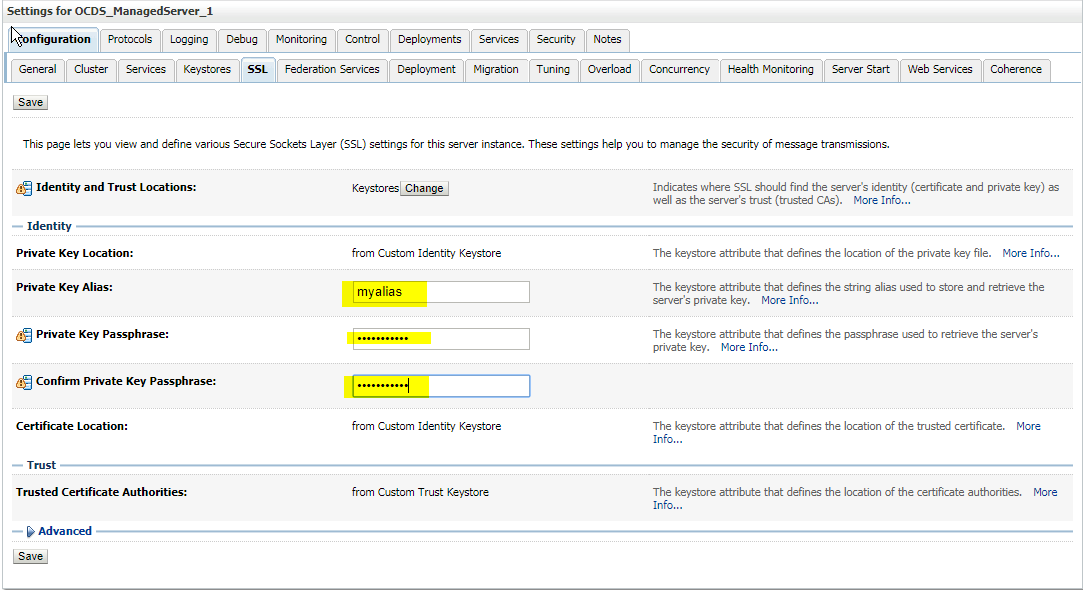
Configure SSL on Managed Server.
Add the following security policy to $ORACLE_HOME/wlserver/server/lib/weblogic.policy file.
grant codeBase "file://-" { permission java.security.AllPermission; permission oracle.security.jps.service.credstore.CredentialAccessPermission "credstoressp.credstore", "read,write,update,delete"; permission oracle.security.jps.service.credstore.CredentialAccessPermission "credstoressp.credstore.*", "read,write,update,delete"; };
Set JTA timeout to 43200.
Log in to Admin console.
Click on the domain name.
Select the JTA tab and change the timeout value to 43200.
|
Note: The last two steps are part of the requirements for jobadmin deployment, see the Oracle Retail Bulk Data Integration Installation Guide for additional information. |