| Oracle® Retail Bulk Data Integration Cloud Service Installation Guide Release 19.1.000 F31806-01 |
|
 Previous |
 Next |
| Oracle® Retail Bulk Data Integration Cloud Service Installation Guide Release 19.1.000 F31806-01 |
|
 Previous |
 Next |
This chapter describes the procedure you must use to install the JRF domain and deploy the BDI Batch Job Admin application. For more information about domain creation and other server related information, see the WebLogic application server documents.
This section describes the installation and setup instructions including the installation prerequisites, preparing the WebLogic server, creating a WebLogic domain, and deploying the WAR file.
The BDI Batch Job Admin application requires Oracle WebLogic server 12c (12.2.1.4.0), built with Java 8 (JDK 1.8 64 bit with the latest security updates).
The recommended Java VM memory setting for the Job Admin application domain is:
-Xms1024m -Xmx2048m
To obtain WebLogic 12c (12.2.1.4.0), go to the Oracle Technology Network and take the following steps.
Find fmw_12.2.1.4.0.0_infrastructure_Disk1_1of1.zip and download this file to your system.
Extract the contents of this zip file to your system. You will use the fmw_12.2.1.4.0.0_infrastructure.jar file to run the installer.
Run the installer by executing the jar file:
java -jar fmw_12.2.1.4.0.0_infrastructure.jar
The Welcome window appears.
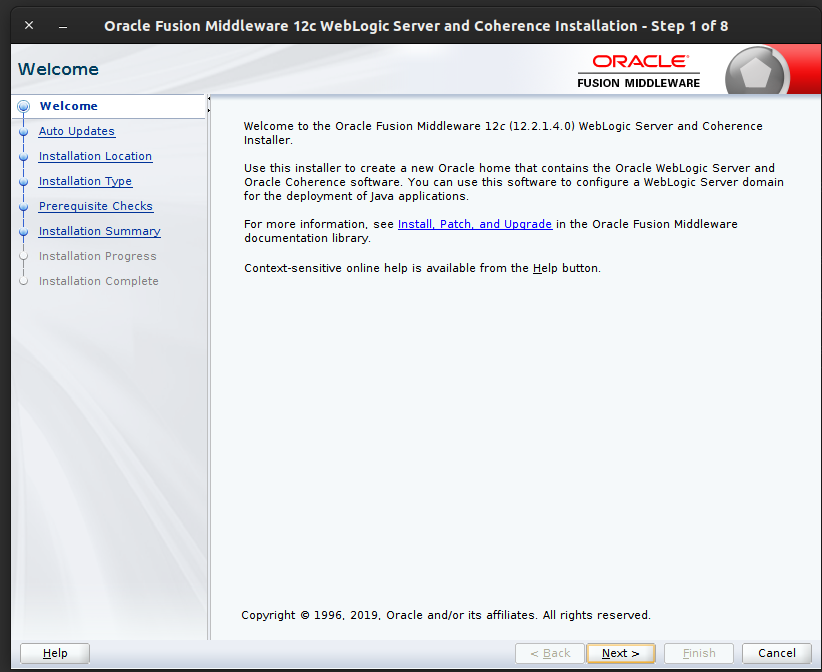
Click Next. The Auto Updates window appears.
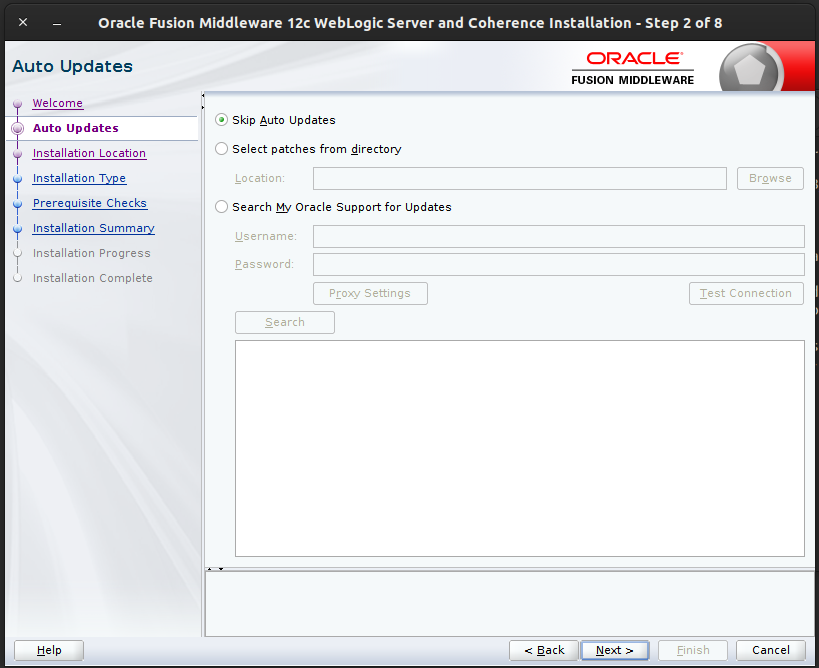
Select the appropriate radio button and click Next. The Installation Location window appears.
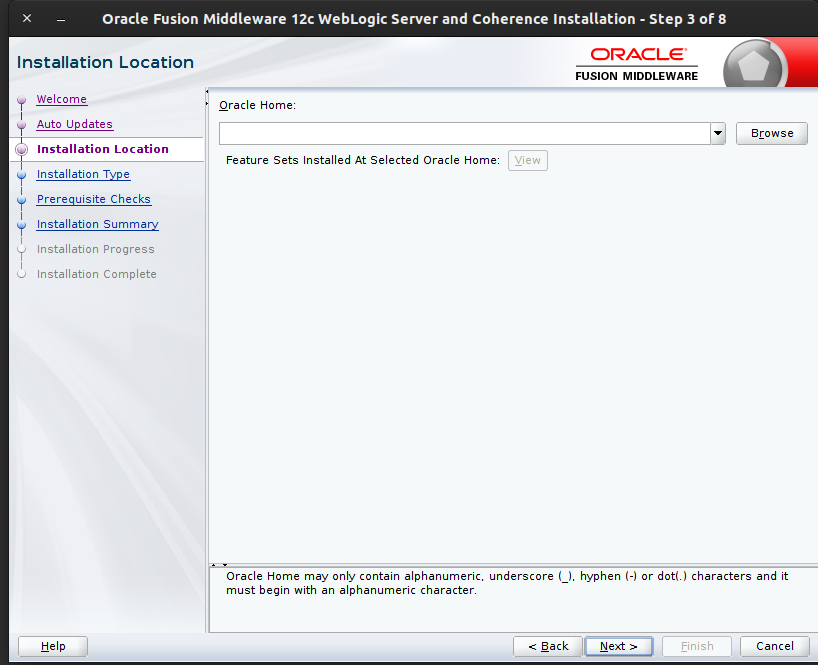
Click Browse to select the Oracle Home location where the Weblogic Server is to be installed.
Click Next. The Installation Type window appears.
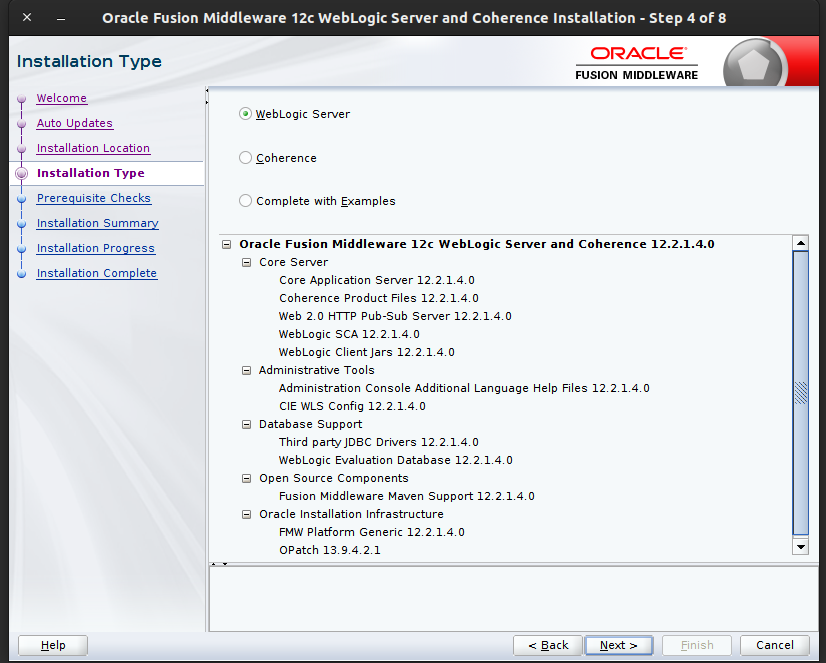
Select Fusion Middleware Infrastructure (JRF and Enterprise Manager) and click Next. The installer performs the pre-requisite checks and ensures all required conditions are satisfied.
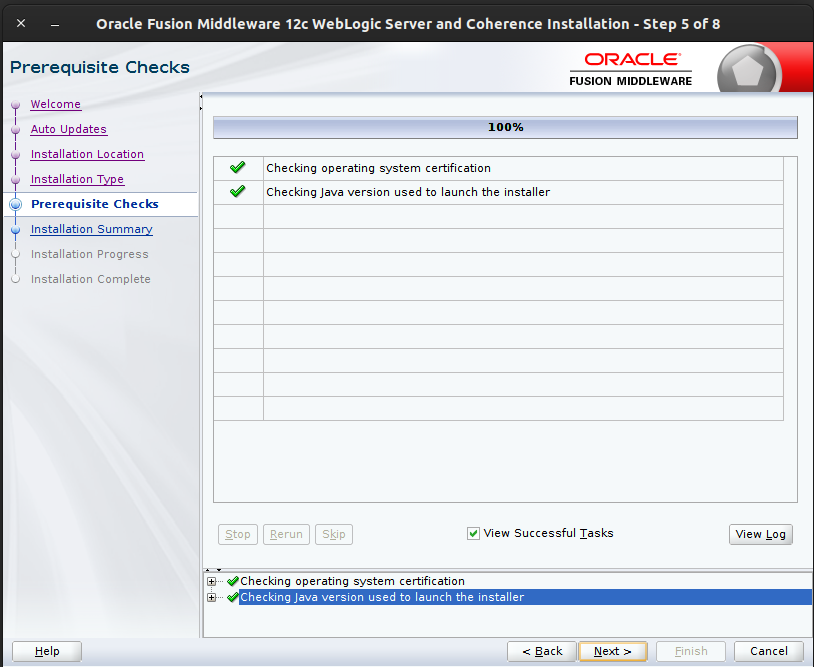
When the prerequisite check completes successfully, click Next. The Security Updates window appears.
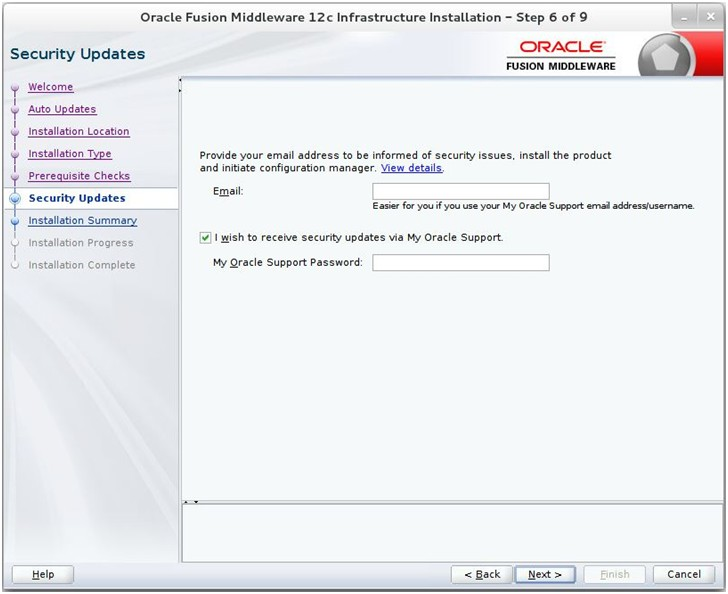
Provide information and click Next.
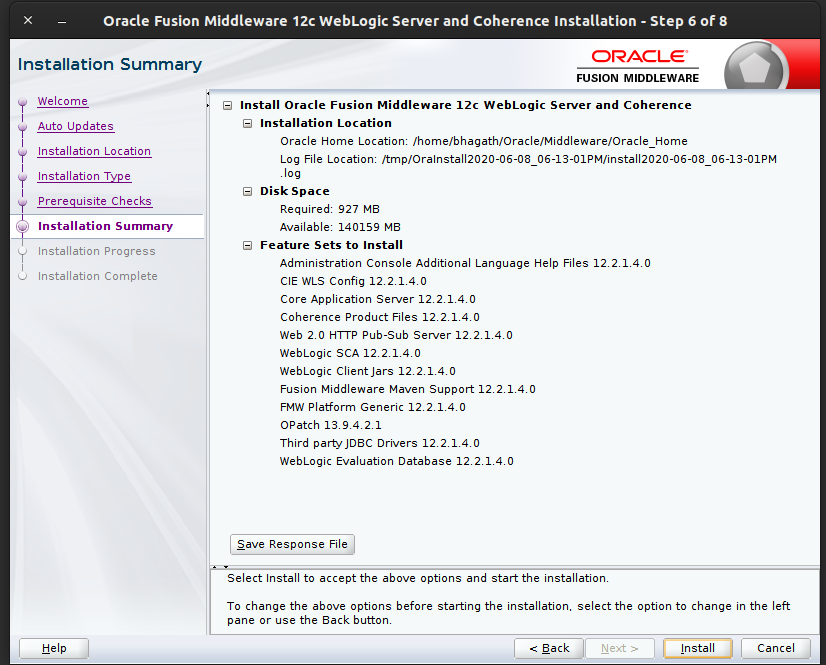
Click Install. The Installation Progress window appears.
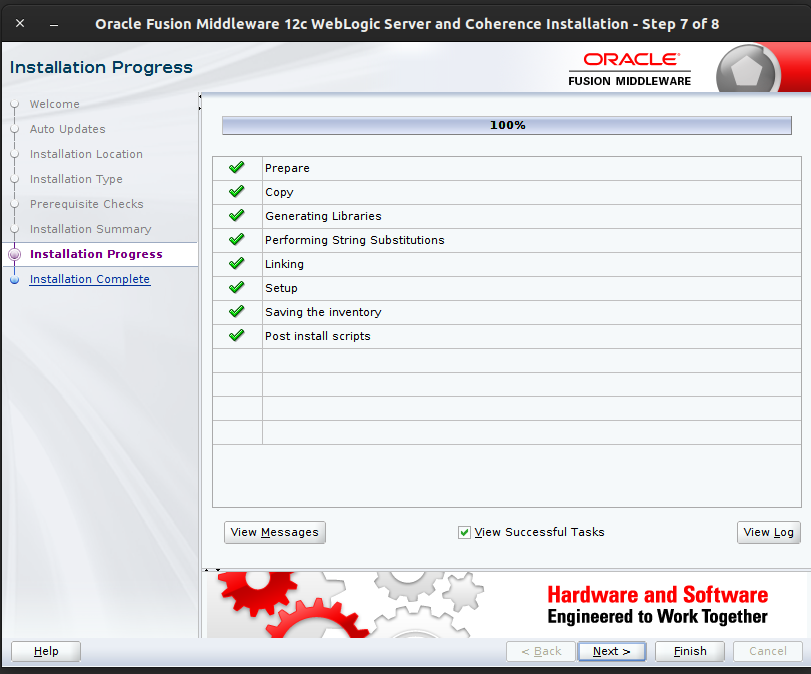
Click Next when the installation completes. The Installation Complete window appears.
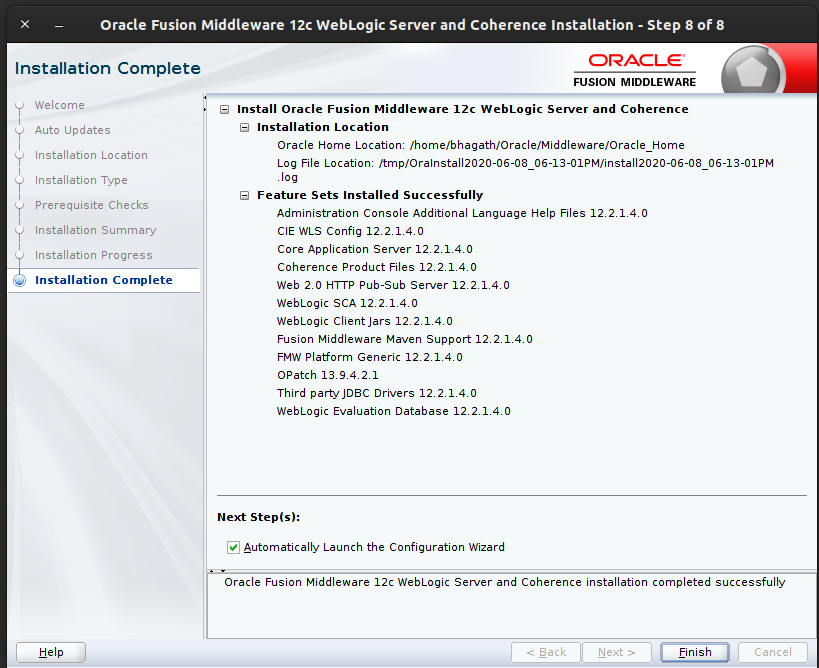
Perform the following procedure to create a schema user for the domain:
Run the RCU from the <MW_HOME>/oracle_common/bin folder. The Welcome window appears.
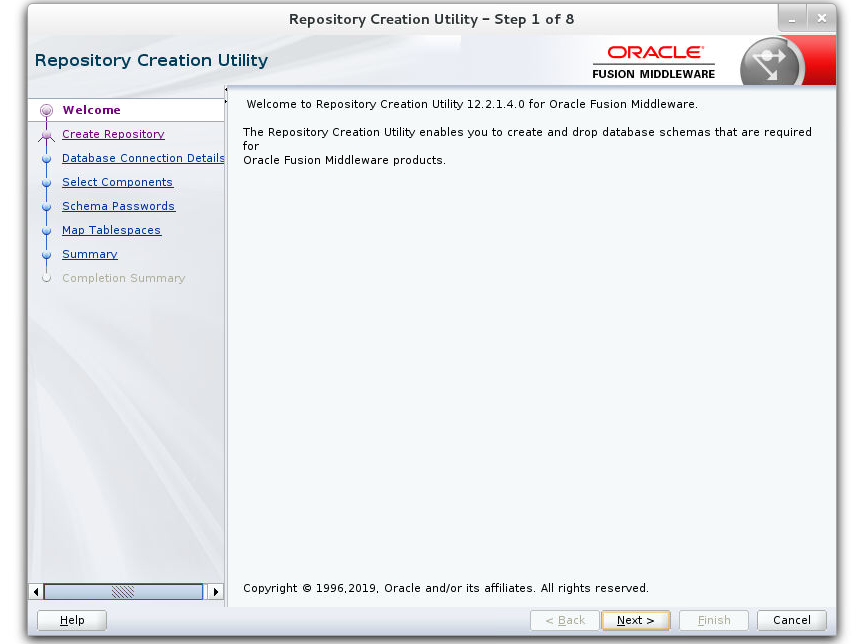
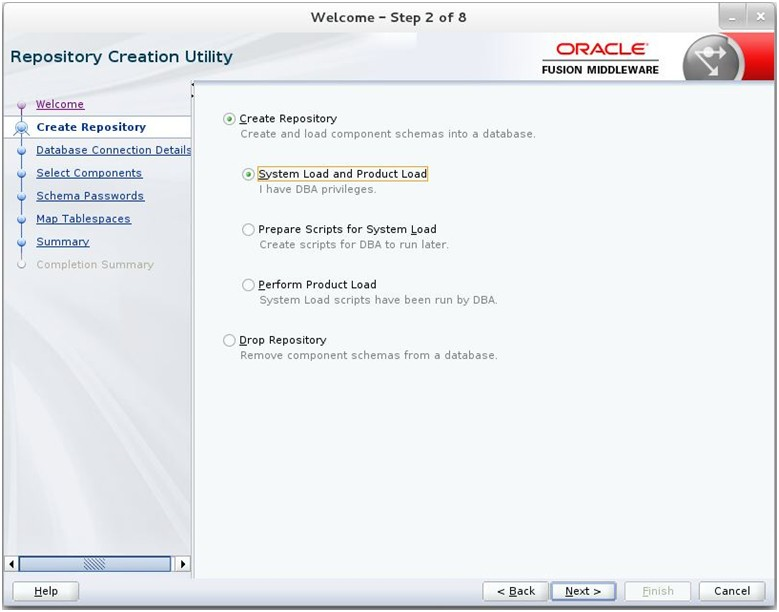
Click Next and select the Create Repository option.
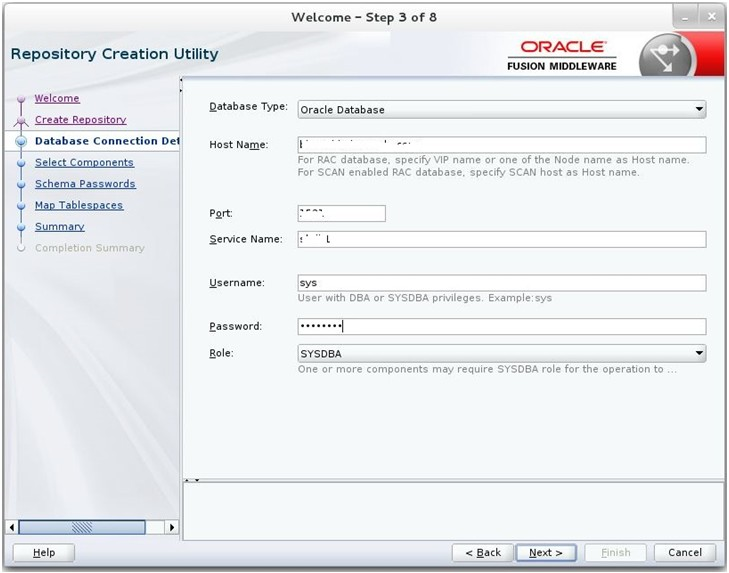
Click Next. Enter the database credentials where the schema user has to be created.
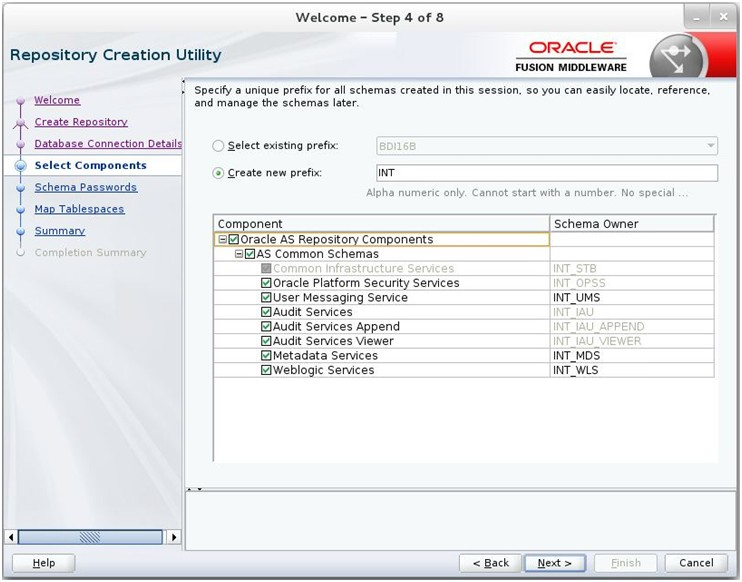
Click Next. Specify the prefix to be used for the schema user creation. For example, INT. Select Metadata Services, WebLogic Services, and Oracle Platform Security Services.
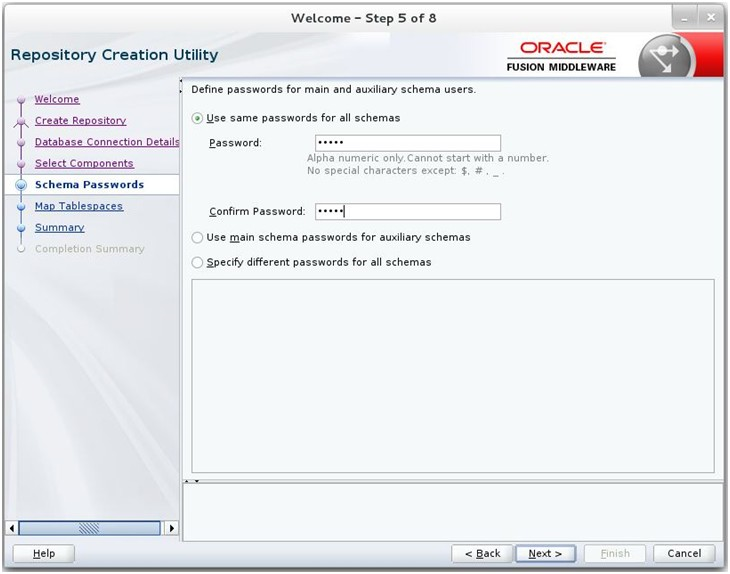
Click Next. Specify the password.
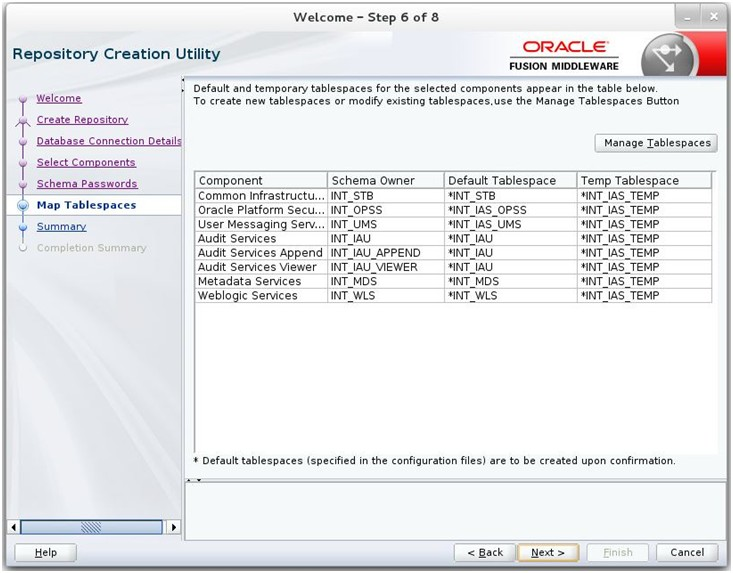
Click Next. The window provides the details of tablespaces created as part of schema creation.
Click Next. The Confirmation window appears.
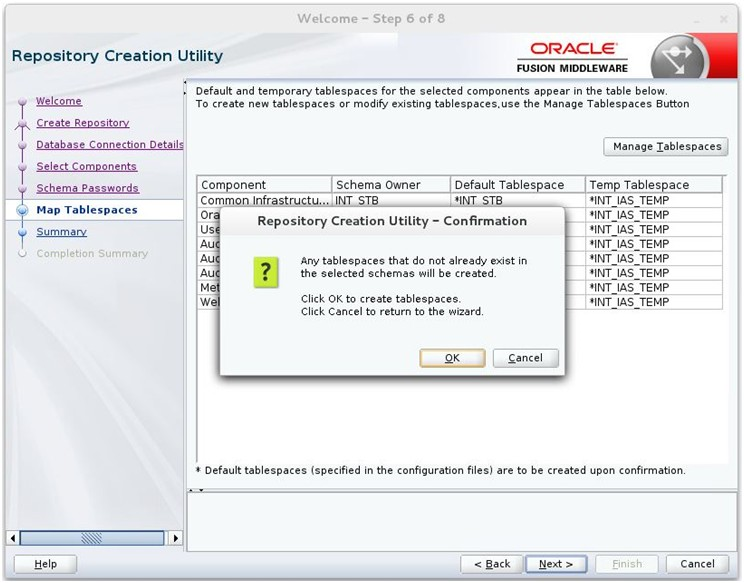
Click OK. The Summary window appears.
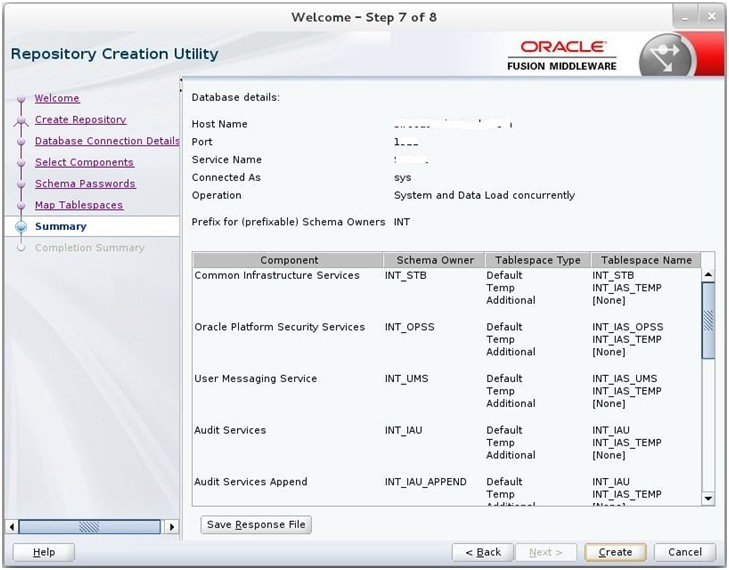
Click Create and proceed to create the schema. This could take a while to complete. The Completion Summary window appears.
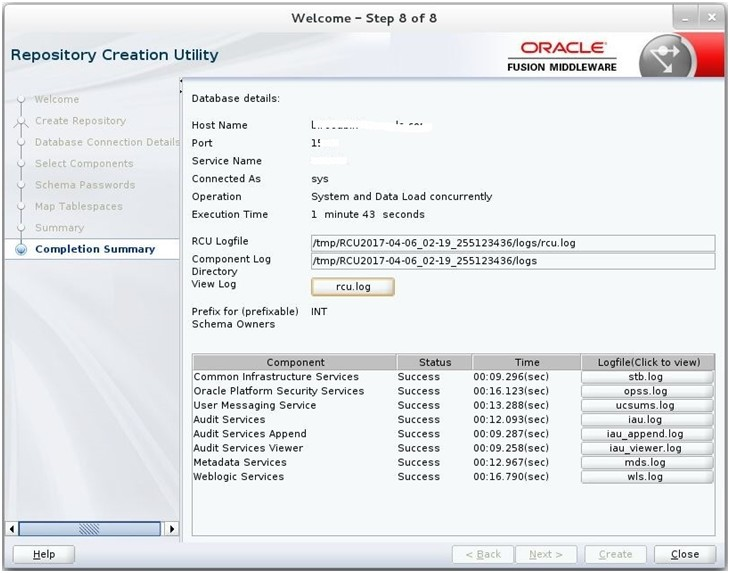
Perform the following procedure to create a new WebLogic domain with JRF:
Run the config.sh from <ORACLE_HOME>/oracle_common/common/bin folder. The Configuration Type window appears.
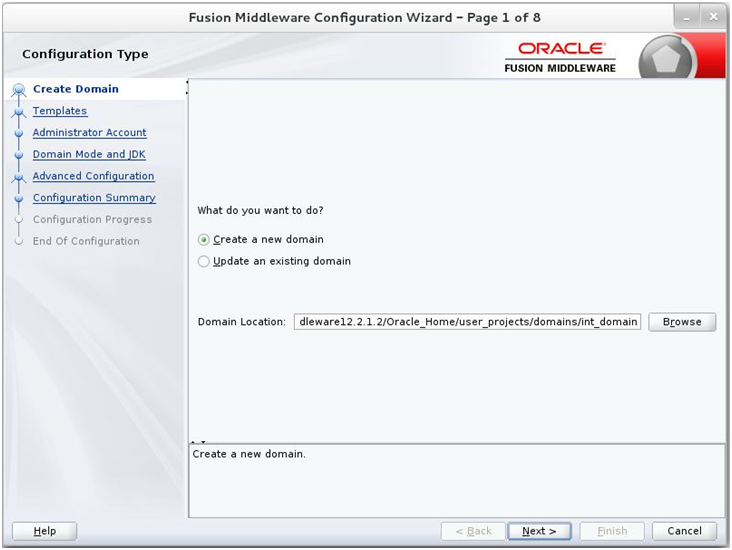
Select Create a new domain, provide domain location, and click Next. The Templates window appears. By default, the Basic WebLogic Server Domain - 12.2.1.4.0 [wlserver] checkbox is selected.
Select the Oracle JRF - 12.2.1.4.0.0 [oracle_common], Oracle Enterprise Manager [em], and Oracle WSM Policy Manager - 12.2.1.4.0 [oracle_common] check boxes.
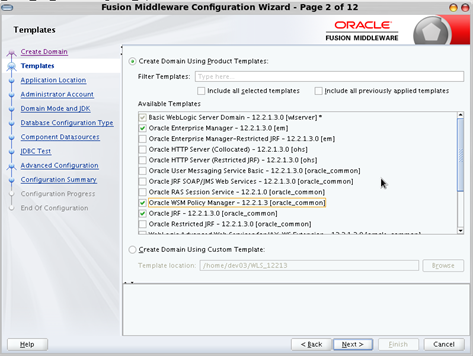
Click Next. The Administrator Account window appears. Enter the user credentials you want to use to log in to the WebLogic Administration Console.
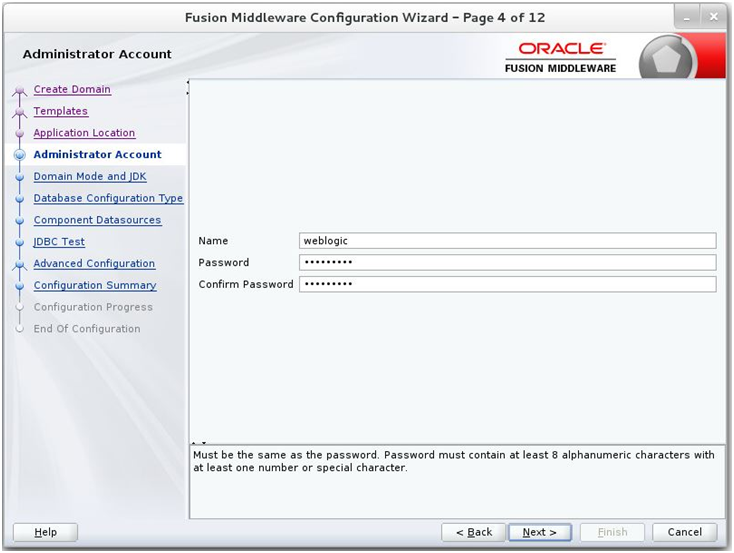
Click Next. The Domain Mode and JDK window appears. Set the Domain Mode as Production and select the JDK version (JDK 1.8 with the latest security updates) you want to use.
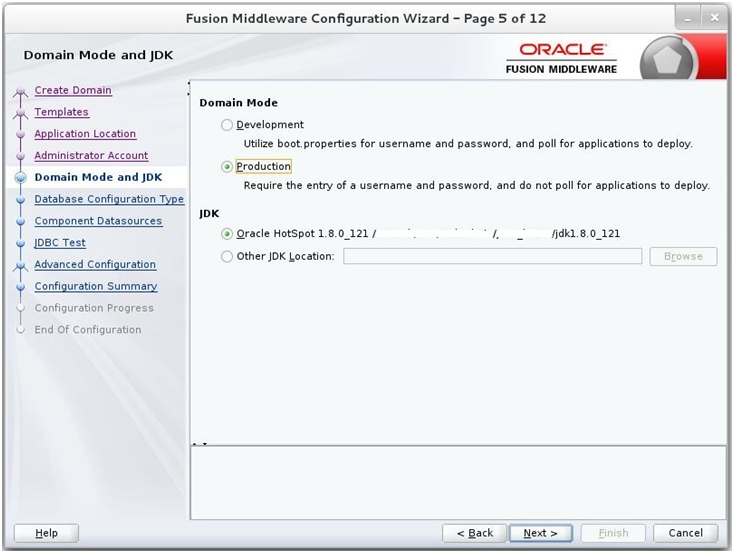
Click Next. The Database Configuration Type window displays.
Select the RCU Data radio button.
Select Oracle as the Vendor.
Select Oracle's Driver (Thin) for Service connections; Version 9.0.1 and later as the Driver.
Enter the Service, Host Name, Port, Schema Owner, and Schema Password for the *_STB schema created using RCU.
Click Get RCU Configuration.
The Connection Result Log displays the connection status.
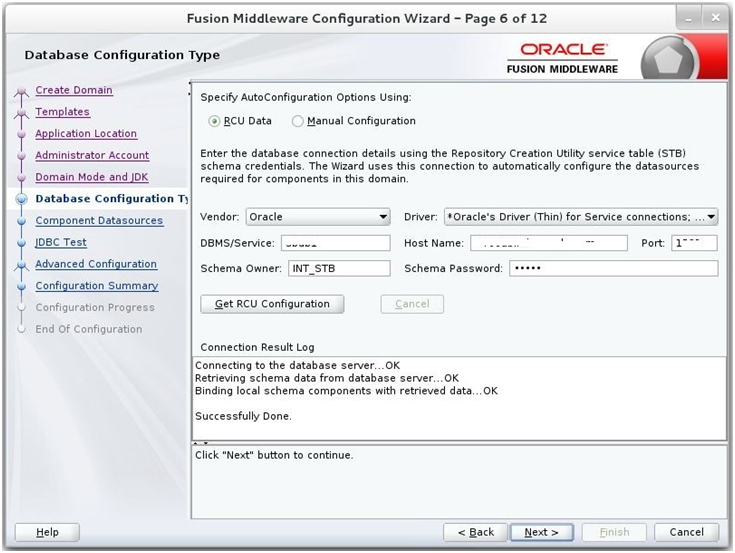
Click Next. The JDBC Component Schema window appears.
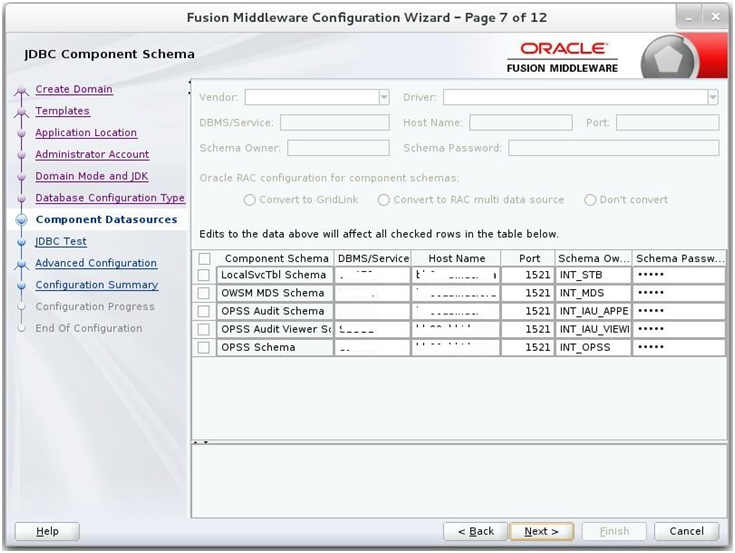
Click Next. The JDBC Component Schema Test window displays the status on whether the JDBC tests on the schemas were successful.
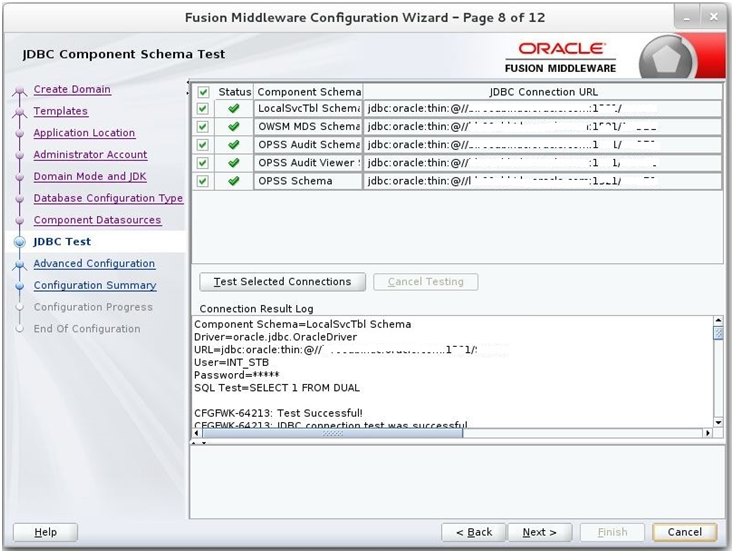
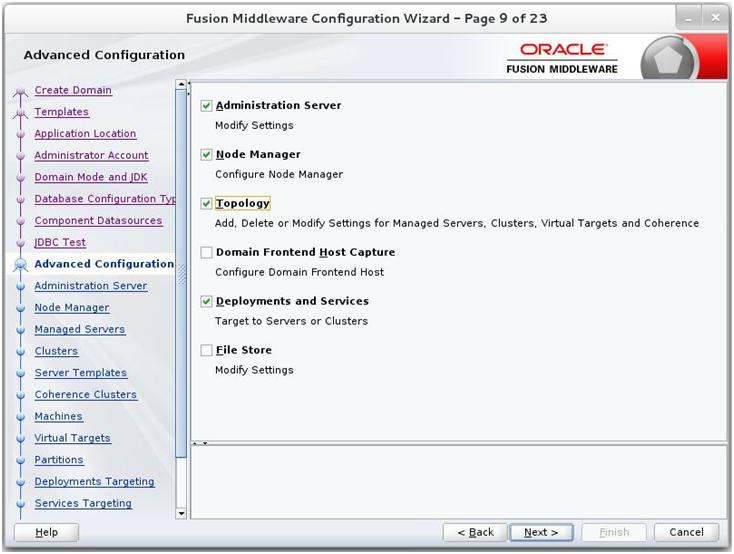
Click Next. The Advanced Configuration window displays. Select all the checkboxes, except Domain Frontend Host Capture and JMS File Store options, in this window.
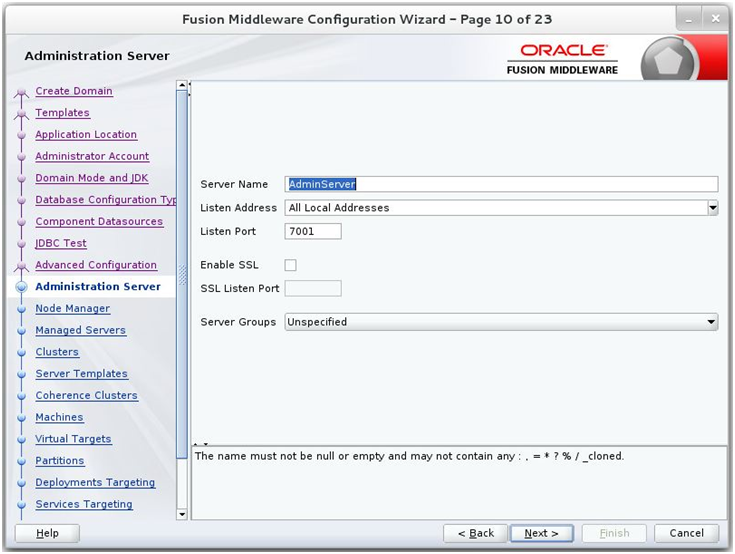
Click Next. The Administration Server window appears. Enter the Listen Address and the Listen Port details.
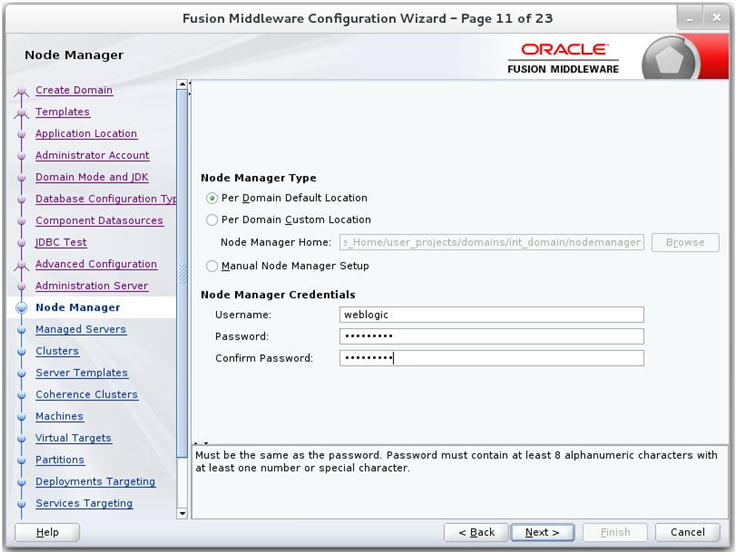
Click Next. The Node Manager window appears. Select the Node Manager Type and enter the Node Manager Credentials.
Click Next. The Managed Servers window appears.
Click Add to add a managed server on which you will deploy the application.
Enter the Server Name, Listen Address, and Listen Port for the managed server.
Set the Server Groups to JRF-MAN-SVR.
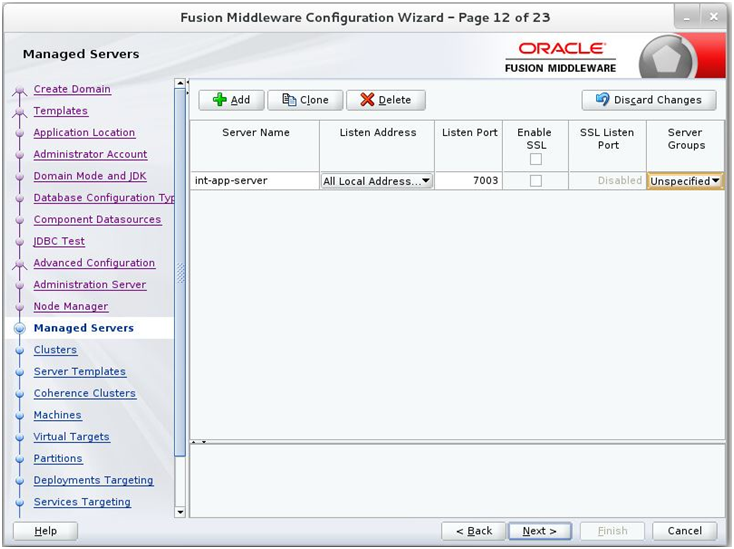
Click Next. The Clusters window appears.
Click Add to add a cluster. This is an optional step in the procedure.
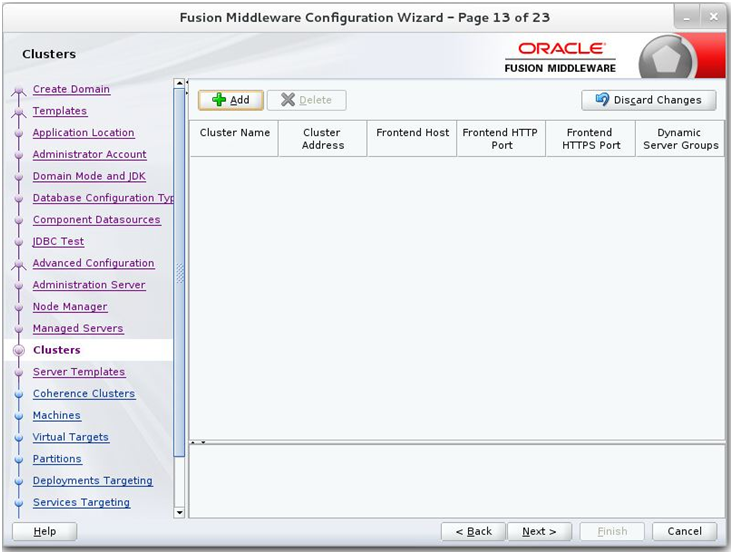
Click Next. The Coherence Clusters window appears.
Add a coherence cluster. This is an optional step in the procedure.
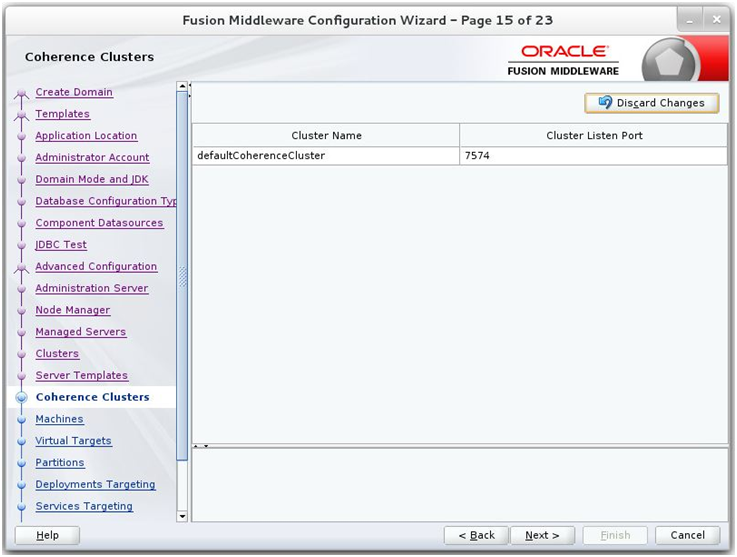
Click Next. The Machine window appears.
Click Add.
Enter the Name and the Node Manager Listen Address for the managed server.
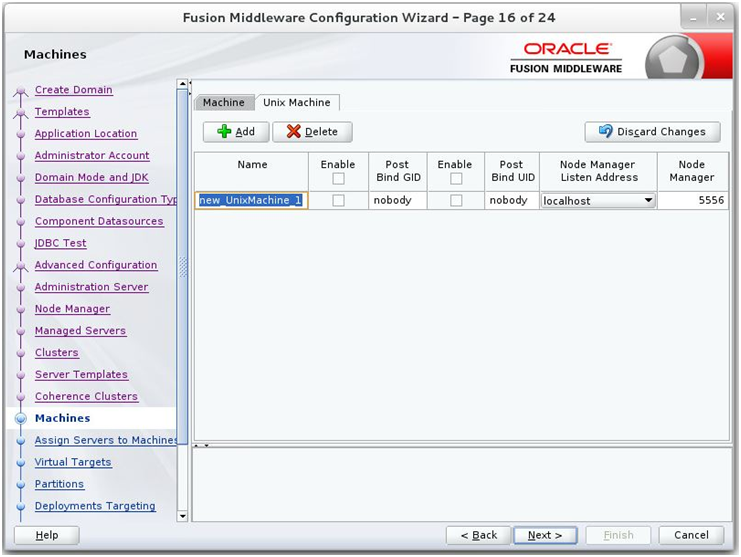
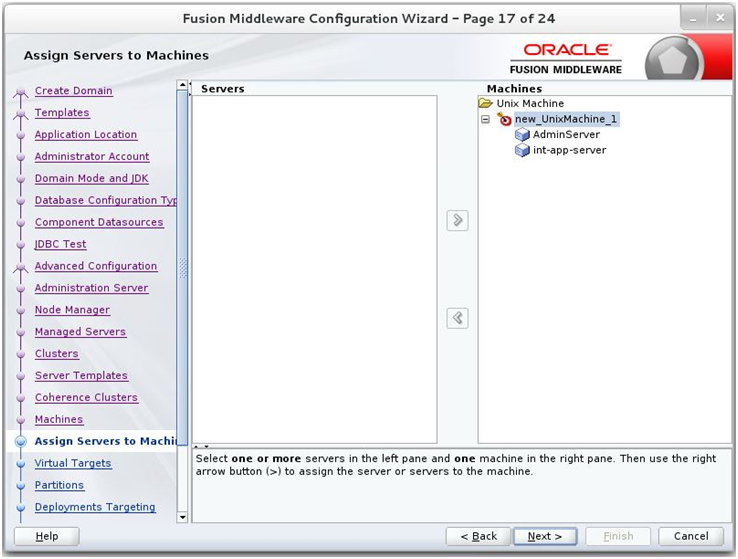
Click Next. The Assign Servers to Machines window appears. Add the Admin Server and the managed server to the computer.
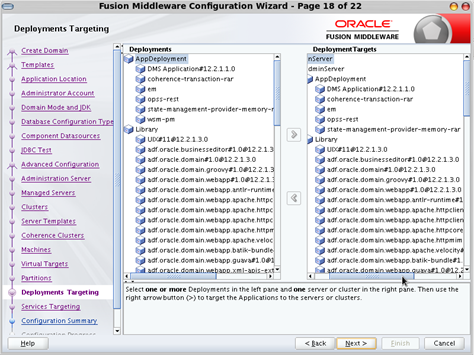
Click Next. The Deployments Targeting window appears. Select wsm-pm from Deployments and add it to Admin Server in Targets.
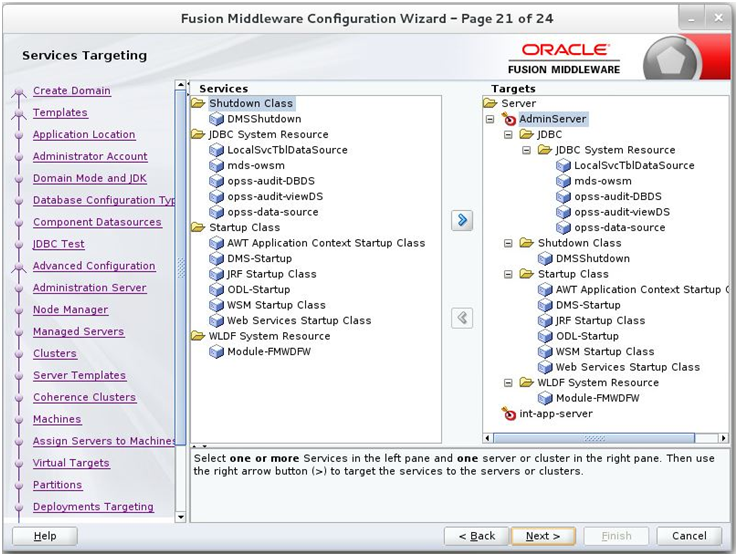
Click Next. The Services Targeting window appears.
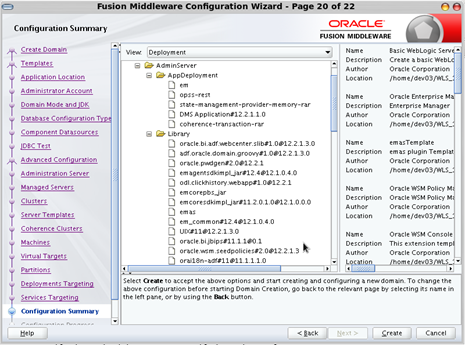
Click Next. The Configuration Summary window appears. Verify that all information described in this window is accurate.
Click Create. The Configuration Progress window displays a message when the domain is created successfully.
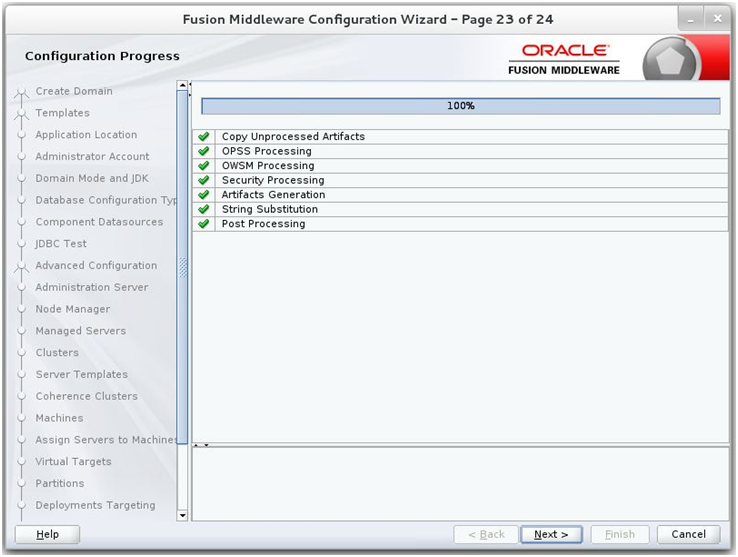
Click Next. The Configuration Success window displays the Domain Location and Admin Server URL once the configuration is complete.
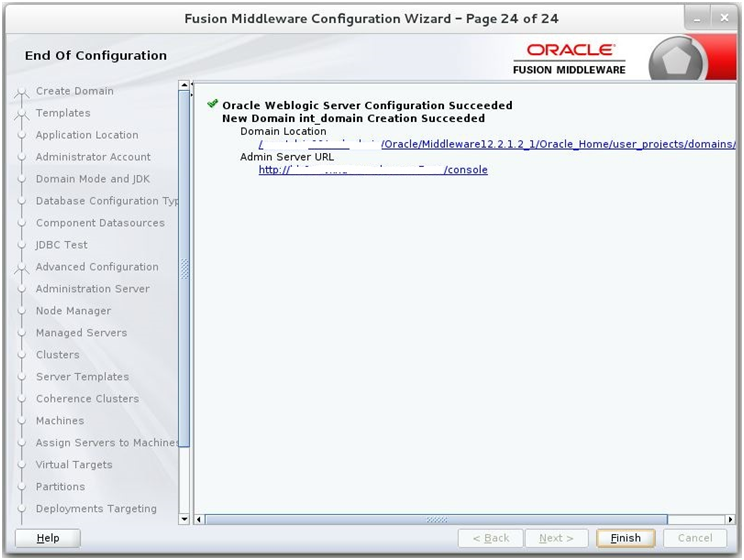
Click Finish to complete creating the WebLogic domain and managed servers.
Add the following security policy to $ORACLE_HOME/wlserver/server/lib/weblogic.policy file.
grant codeBase "file:/<DOMAIN_HOME>/-" {
 permission java.security.AllPermission;
 permission oracle.security.jps.service.credstore.CredentialAccessPermission "credstoressp.credstore", "read,write,update,delete";
 permission oracle.security.jps.service.credstore.CredentialAccessPermission "credstoressp.credstore.*", "read,write,update,delete";
};
Start the Weblogic Admin and Manage Server.
Set JTA timeout to 43200.
Log in to Admin console
Click on the domain name
Select the JTA tab and change the timeout value to 43200.