| Oracle® Retail Integration Bus Cloud Service Service-Oriented Architecture Enabler Tool Guide Release 19.1.000 F31993-01 |
|
 Previous |
 Next |
| Oracle® Retail Integration Bus Cloud Service Service-Oriented Architecture Enabler Tool Guide Release 19.1.000 F31993-01 |
|
 Previous |
 Next |
This appendix provides step-by-step instructions for installing the Oracle Retail Service-Oriented Architecture Enabler tool as a Web application in Oracle WebLogic.
To install the Oracle Retail Service-Oriented Architecture Enabler tool as a Web application in Oracle WebLogic, complete these steps.
Using the WebLogic Server Administration Console, complete the following steps:
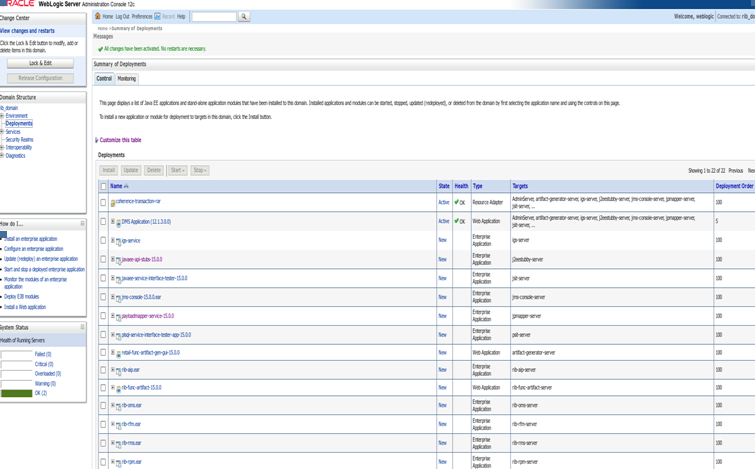
Navigate to the Deployments page:
In the left navigation bar, click Lock & Edit. Click Install.
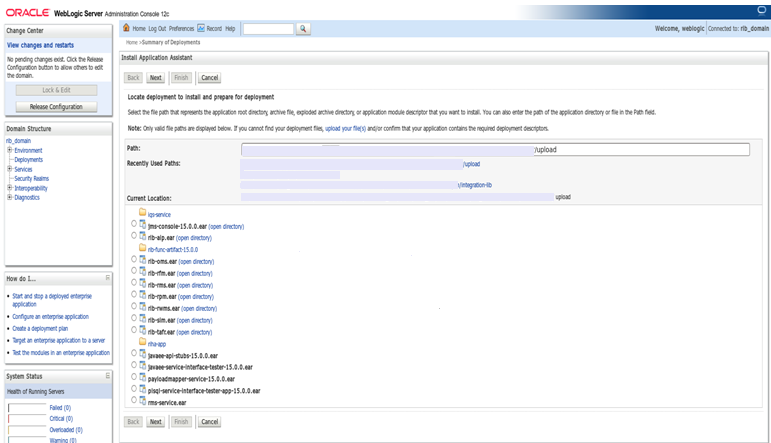
The Locate deployment to install and prepare for deployment page is displayed. Follow the instructions to locate the retail-soa-enabler-gui-<version>.war file.
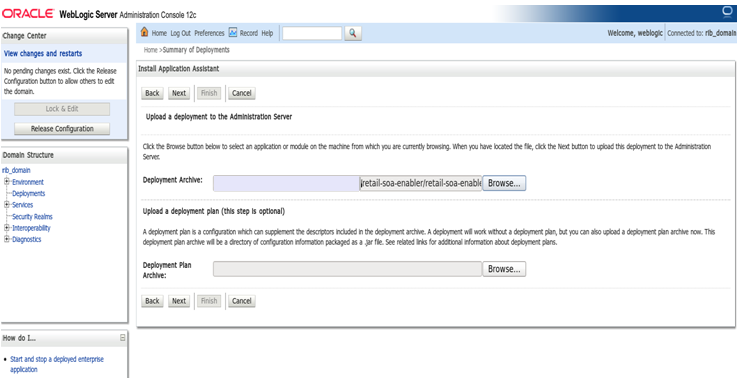
Upload your file(s).
On the Upload a Deployment to the admin server page, use the Browse button to locate the retail-soa-enabler-gui-<version>.war file in the Deployment Archive.
Select the retail-soa-enabler-gui-<version>.war.
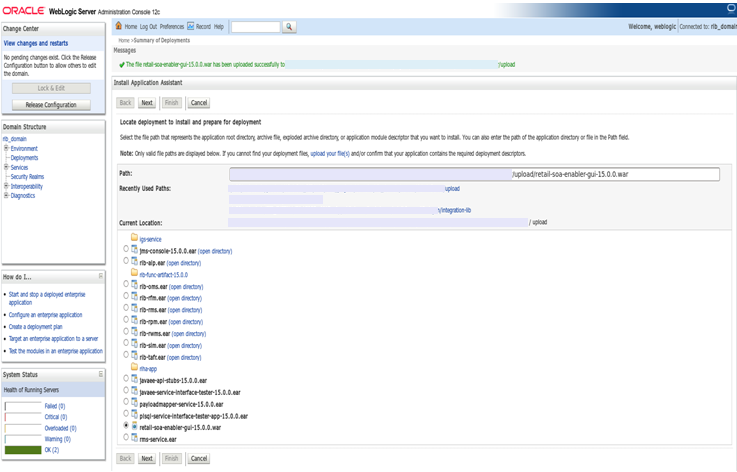
Click Next and move to Choose targeting style.
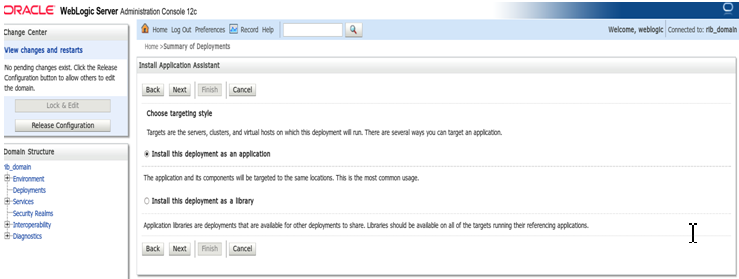
Select Install this deployment as an application.
Select the Deployment Target.
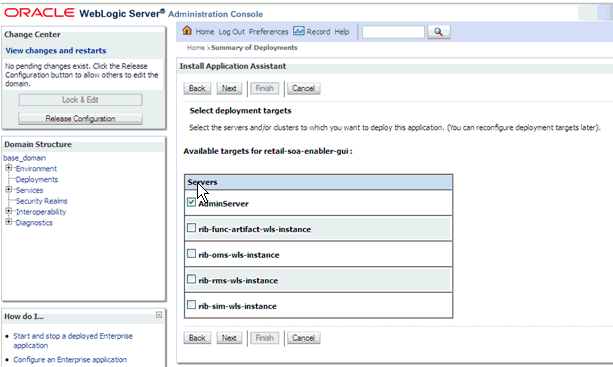
Click Next to select security options. Here select the option DD Only: Use only roles and policies that are defined in the deployment descriptors. 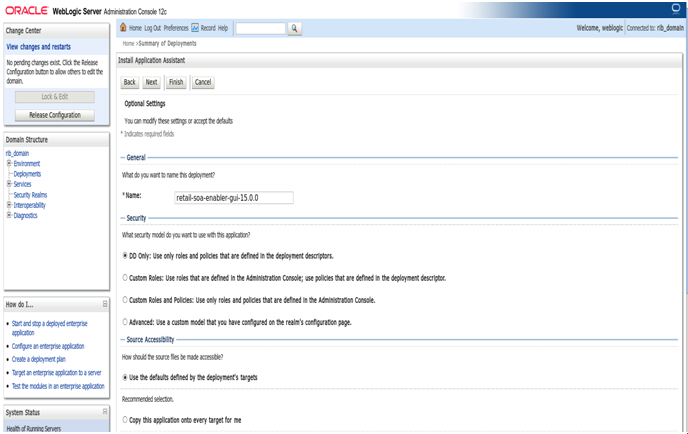
|
Note: Choosing an option other than DD Only can result in redirection to an error page for the RSE Admin GUI after deployment. |
Click Next to review your choices. Click Finish.
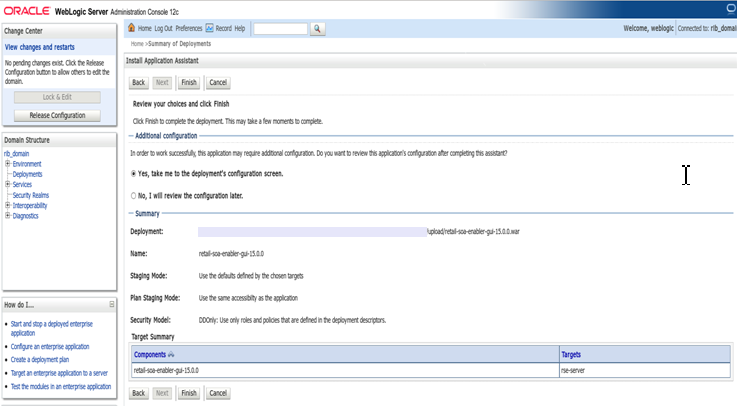
Select No, I will review the configuration later.
Click Finish to deploy the application.
Click Activate Changes to finish the deployment.
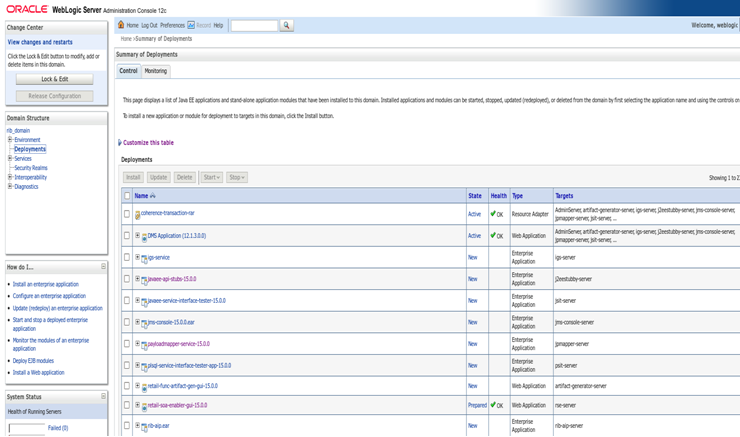
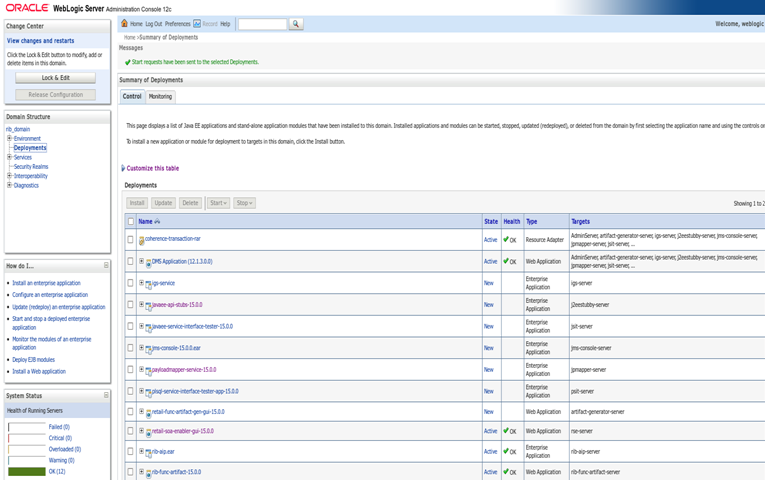
Select the retail-soa-enabler-gui-<version> application. Click Start > Servicing All Requests.
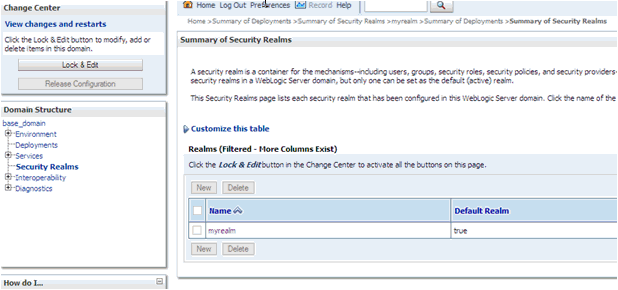
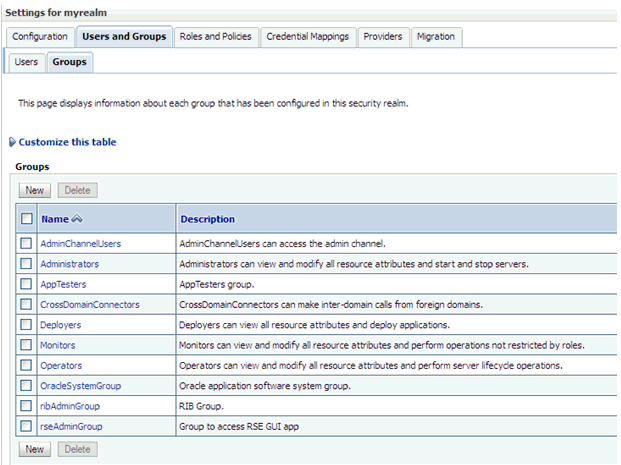
Next step is to add group and user required to access RSE GUI application. To create the group, click on Security Realms.
Click on the default realm name and go to Users and Groups tab, and go to Groups tab.
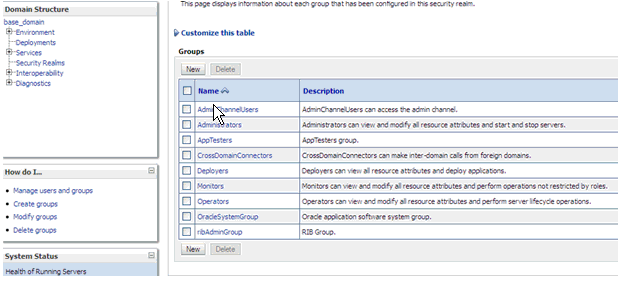
Click on New button. In the next page, enter the name of group as rseAdminGroup. Enter description for the group.
Click OK button. The new group gets added.
Now go to the Users tab of security realm.
Click on New button to create a new user. In the next page, enter username and password for the new user to be created.
Click OK button. The new user gets added.
Now click on the new user and go to Groups tab of that user.
Select the group rseAdminGroup from the Available window and move it to Chosen window.
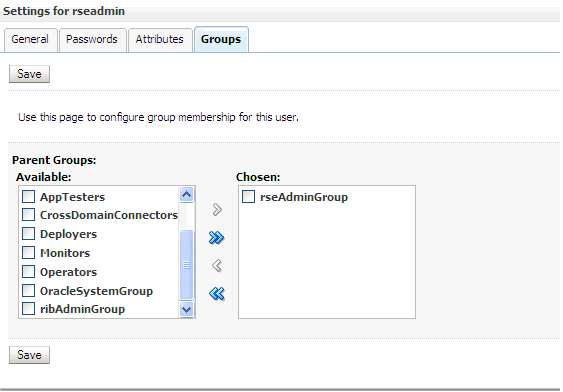
Click Save button. It will add the newly created user to the group rseAdminGroup.
This completes the security setup for RSE GUI application. Now if you go to the RSE GUI login page, you should be able to login using the new user.
To create the rseAdminGroup, do the following:
In WebLogic, click Security Realms.
Click on myrealm and then Users and Groups.
Click on groups and then New.
Enter rseAdminGroup in the name field, leaving the other fields at default.
Click OK.
Add at least one user to the rseAdminGroup group.
Navigate to the Deployments page.
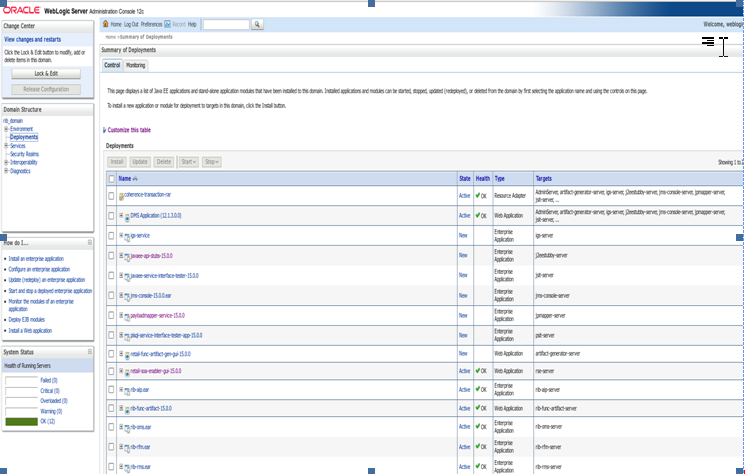
On the Summary of Deployments screen, locate retail-soa-enabler-gui-<version>.
Click retail-soa-enabler-gui-<version> to view settings for the retail-soa-enabler-gui.
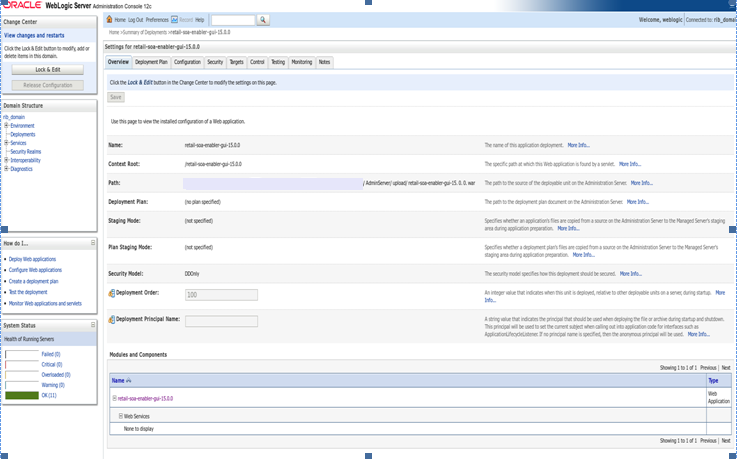
Select the Testing tab.
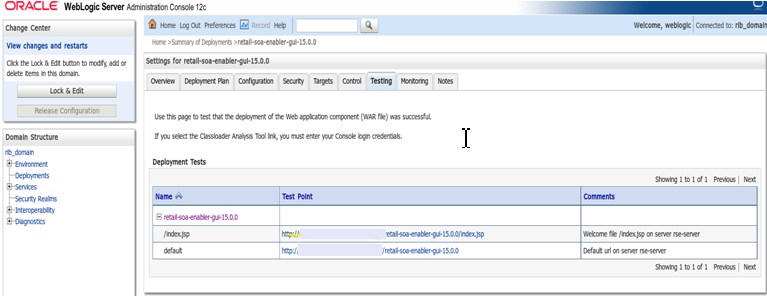
Click the index.jsp URL in the Test Point.
The URL should open to the login screen for the Retail Service-Oriented Architecture Enabler Home page.
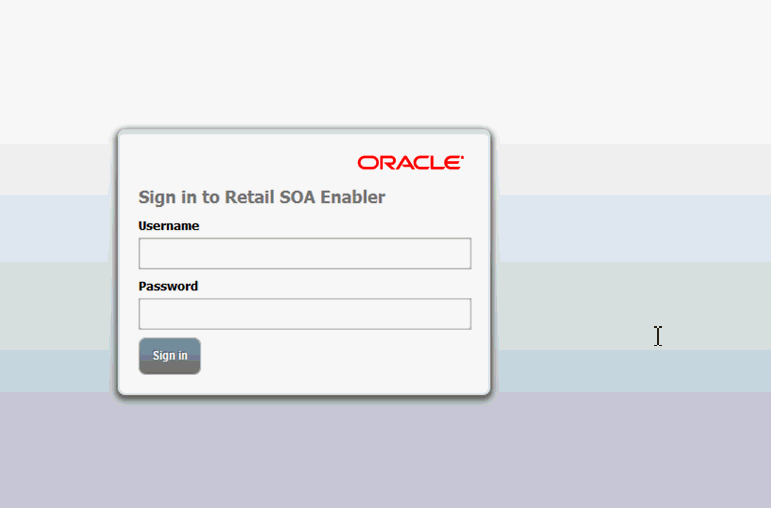
Enter the credentials created in Creating the rseAdminGroup section.
The RSE home page is displayed.
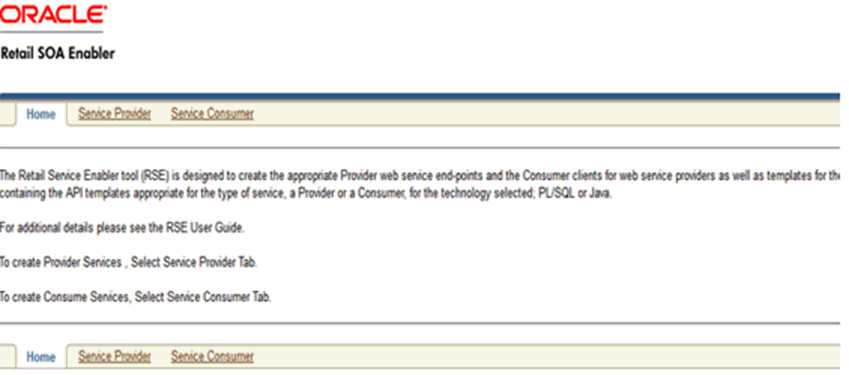
The installation is complete. See Chapter 4, "User Interface Usage."
If the retail-soa-enabler-gui-<version> application has already been deployed, follow these steps:
If the retail-soa-enabler-gui-<version> application is running, select Stop and When Work Completes or Force Stop Now, depending on the environment. The recommended option always is When Work Completes.
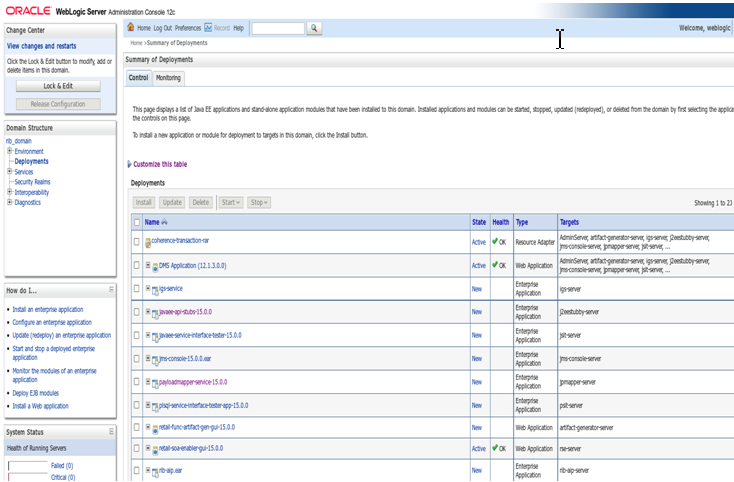
Click Lock & Edit and select the required application retail-soa-enabler-gui-<version> and then click Delete.
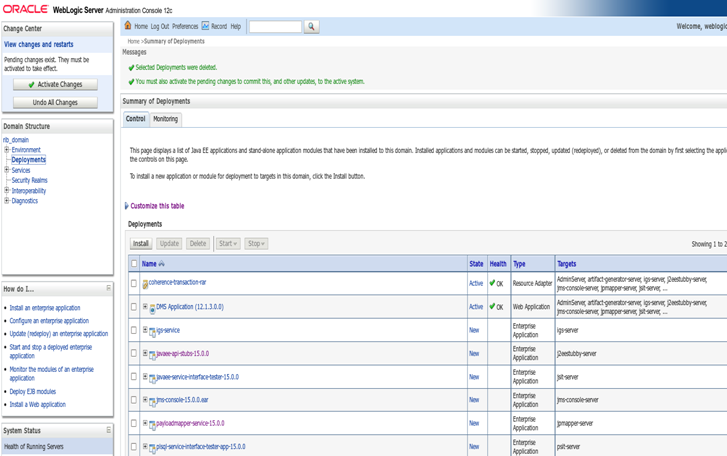
Click Activate Changes.
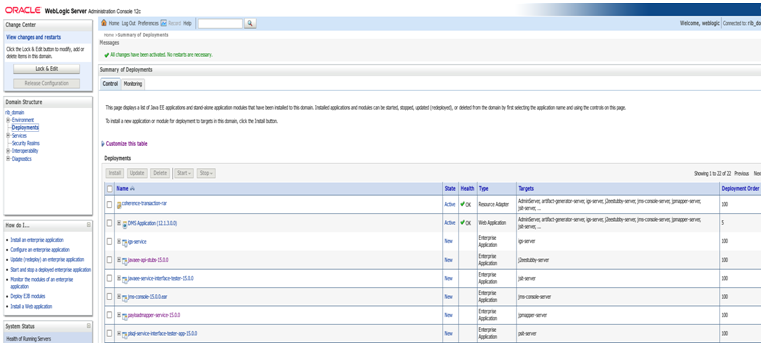
The retail-soa-enabler-gui-<version> should now not show on the Summary of Deployment screen.
