| Oracle® Universal Content Management Web Parts User Guide Release 10gR3 E10884-01 |
|
 Previous |
 Next |
Home > Web Parts User Guide > Installation and Configuration > Installation Interface Screens
| Oracle® Universal Content Management Web Parts User Guide Release 10gR3 E10884-01 |
|
 Previous |
 Next |
Home > Web Parts User Guide > Installation and Configuration > Installation Interface Screens
The following screens are used to configure the Web Parts product on your SharePoint system:
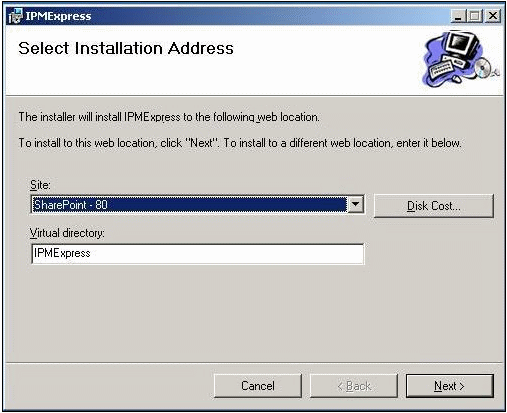
This screen is used to specify the web location for the software. See "Using the Installer" for details.
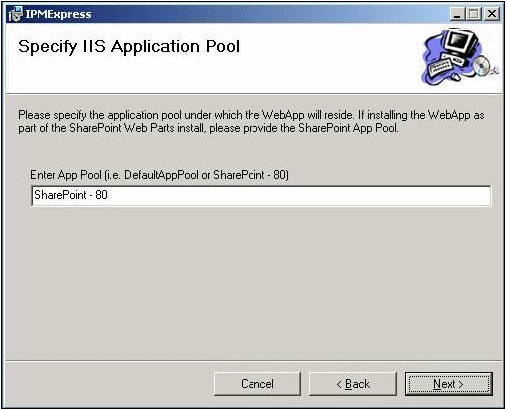
This screen is used to specify the application pool under which the WebApp will reside. See "Using the Installer" for details.
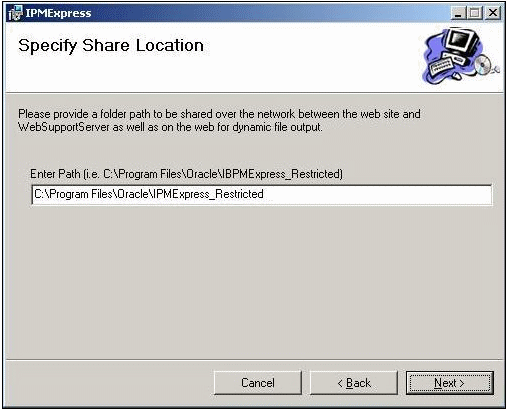
This screen is used to provide a path to a directory that will be shared over the network. See "Using the Installer" for details.
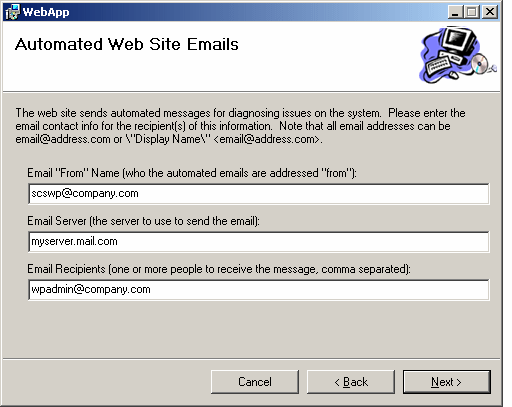
This screen is used to specify who will receive diagnostic emails. See "Using the Installer" for details.
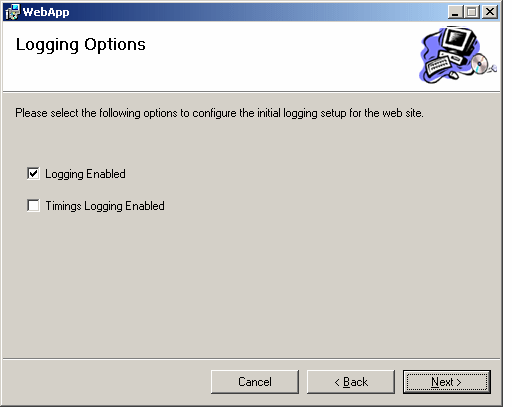
This screen is used to specify the type of logging that will be initially used. See "Using the Installer" for details.
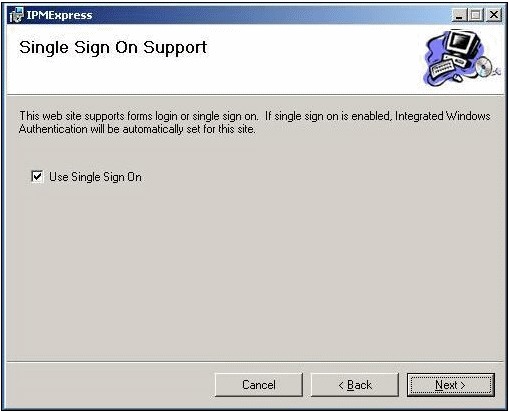
This screen is used to specify the type of sign on that is used. See "Using the Installer" for details.
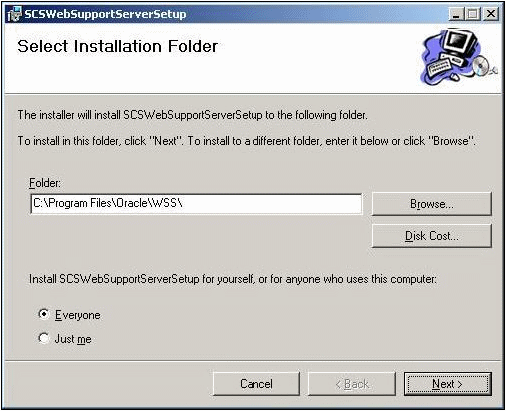
This screen is used to specify the location of software installation. See "Using the Installer" for details.
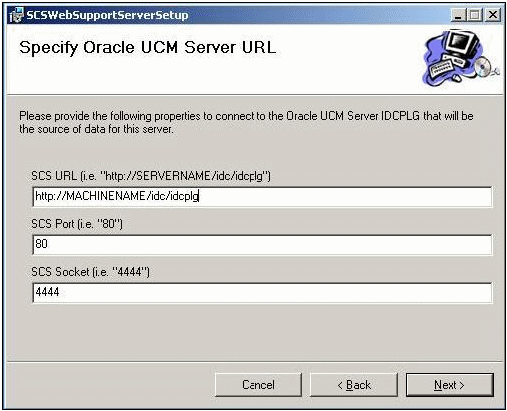
This screen is used to specify the URL of the Oracle Content Server used. See "Using the Installer" for details.
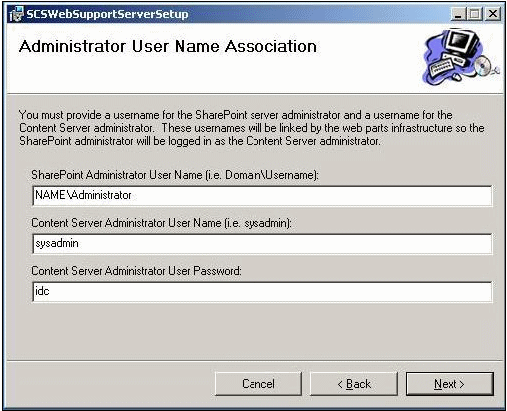
This screen is used to specify the user name of the SharePoint administrator and the Content Server administrator. See "Using the Installer" for details.
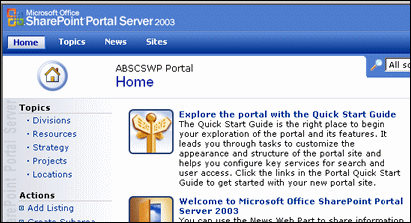
The SharePoint Main Screen is the starting page for your SharePoint portal. To access this page, go to your SharePoint home page. To begin creating a page, click Sites at the top of the screen.
See your SharePoint documentation for complete details about accessing this screen and using other options on this screen.
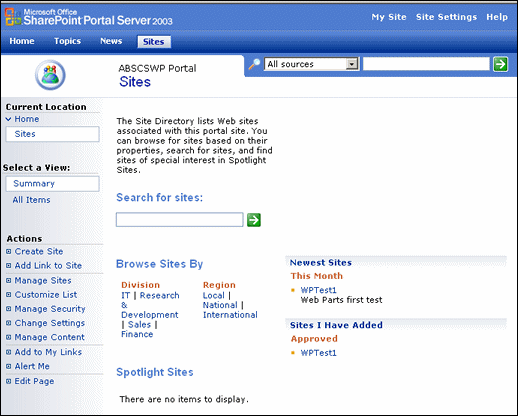
The Site Listing Screen displays all web sites available through the SharePoint portal. Use this page to add your Content Server to an existing site. To access this page, click Sites on the SharePoint Main Screen.
See your SharePoint documentation for complete details about using other options on this screen.

The Site Content Screen displays the content that is resident on the site to be used for the Content Server. Use this page to create a new page for your Content Server. You can add a variety of pages for the Content Server, as shown in the illustration. To access this page, click the name of the web site where the Web Parts product page will be installed on the SharePoint Site Listing Screen.
See your SharePoint documentation for complete details about using other options on this screen.
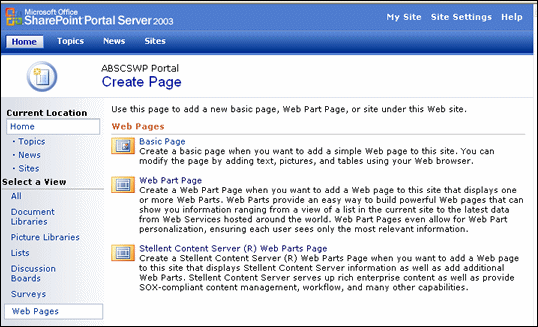
The SharePoint Create Page Screen is used to add web pages or web part pages to your SharePoint site. To access this page, click Create on the SharePoint Site Content Screen.
See your SharePoint documentation for complete details about using other options on this screen.
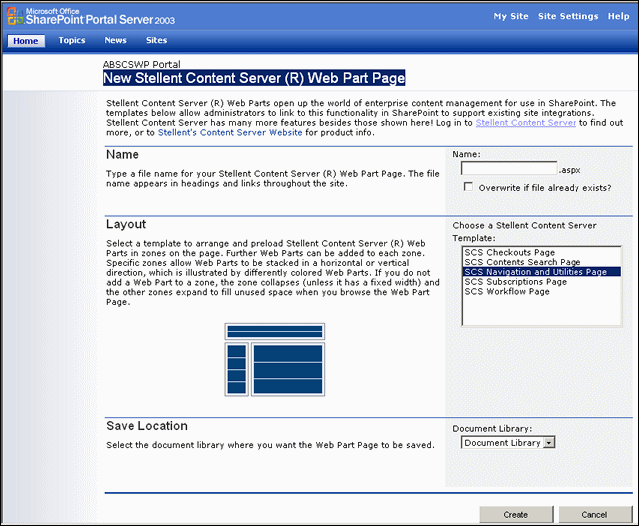
The New Web Parts Page is used to configure the Web Parts product portal. To access this screen, select Content Server Web Parts Page from the SharePoint Create Page Screen.
This screen is divided into three sections:
Name: Enter a name for the page. This name will appear in headings, links, and in other areas throughout the Web Parts product site. Consult your SharePoint documentation for details about naming conventions.
Layout: Choose from one of the available layouts. You can later add and subtract elements from each part.
Save Location: Choose the document library from the list where the Web Parts product page will be stored. Any document libraries that were previously created are displayed in the list.
To exit without saving your change, click Cancel. When done, click Create.
The New Page Screen is displayed in the layout you selected.
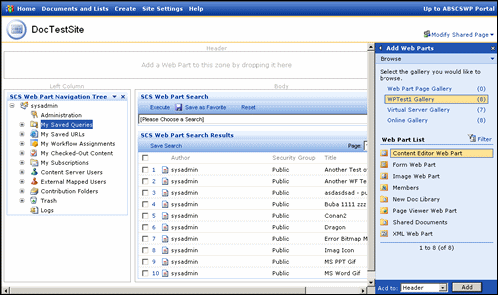
The New Page screen is displayed after you choose to create a new Web Parts product page. See Chapter 3, "Using Web Parts" for details about using the functionality on this page. See Chapter 4, "Customizing the Software" for details about customizing this page.