|
Siebel Customer-Centric Enterprise Warehouse Installation and Configuration Guide > Integrating Additional Data >
Creating New Tables
After reviewing the required format and naming convention for the tables you want to create, you can create the actual table itself. The process of creating the table is the same regardless of the kind of tables you want to create. The important difference is the naming convention and to maintain their respective formats. The following procedure provides information on creating a target table. If the table is used as a source as well, you can copy the table into the Sources folder and modify its properties as necessary. To create new target tables
- Open PowerCenter repository and select the Siebel Business Analytics folder, if you are creating any kind of table except a staging table.
If you are creating a staging table, open the corresponding prepackaged source specific configuration folder. The rest of the procedure remains the same.
- Select Tools > Warehouse Designer.
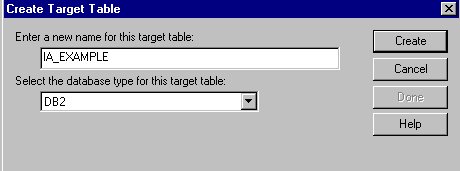
- Select Targets > Create to open the Create Target Table window.
- Following the appropriate naming convention for the type of table, enter a new name for the table.
- Select the database type from the list window and click Create, as shown in the following figure.
NOTE: The required database type for all tables is DB2.
- When the table appears in the Warehouse Designer, click Done to close the Create Target Table window.
- Double-click the newly created table to open the Edit Table window.
- Enter a description in the Description window on the Table tab.
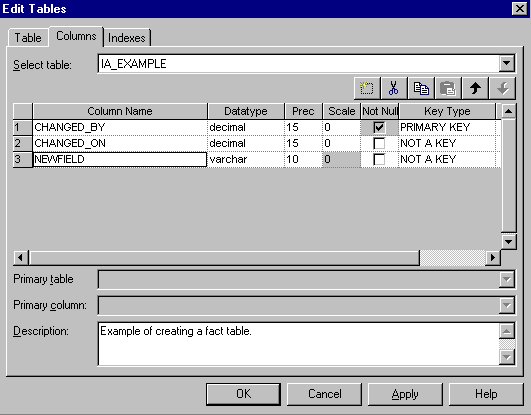
- Click the Columns tab to add columns to the table.
Click the Add Column icon and add columns, data type, and set precision as required, as shown in the following figure.
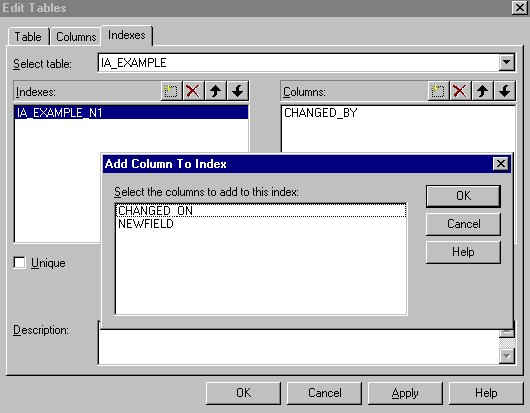
- Click the Indexes tab, and then click the New Insert button to enter the table name with the appropriate index suffix in the Indexes window.
NOTE: The format for the index is [TABLE NAME]_N[SEQUENTIAL NUMBER] for nonunique indexes, or [TABLE NAME]_U[SEQUENTIAL NUMBER] for unique indexes. For example, IA_EXAMPLE_N1 or IA_EXAMPLE_U1. Although indexes are not required, they help speed processing time by connecting nonunique tables.
- Click the New Insert button in the Columns window to open the Add Column to Index dialog box:
- Highlight the column from the list that you want the index to look locate, and click OK.
- You must repeat clicking the New Insert button, highlight the appropriate column, and then click OK for each column you want to add, as shown in the following figure.
- If the index is unique, select the Unique check box.
Do not check the box for nonunique indexes.
- Click OK to return to the Warehouse Designer.
The new table is automatically added to the repository. Save changes before exiting PowerCenter Designer.
|